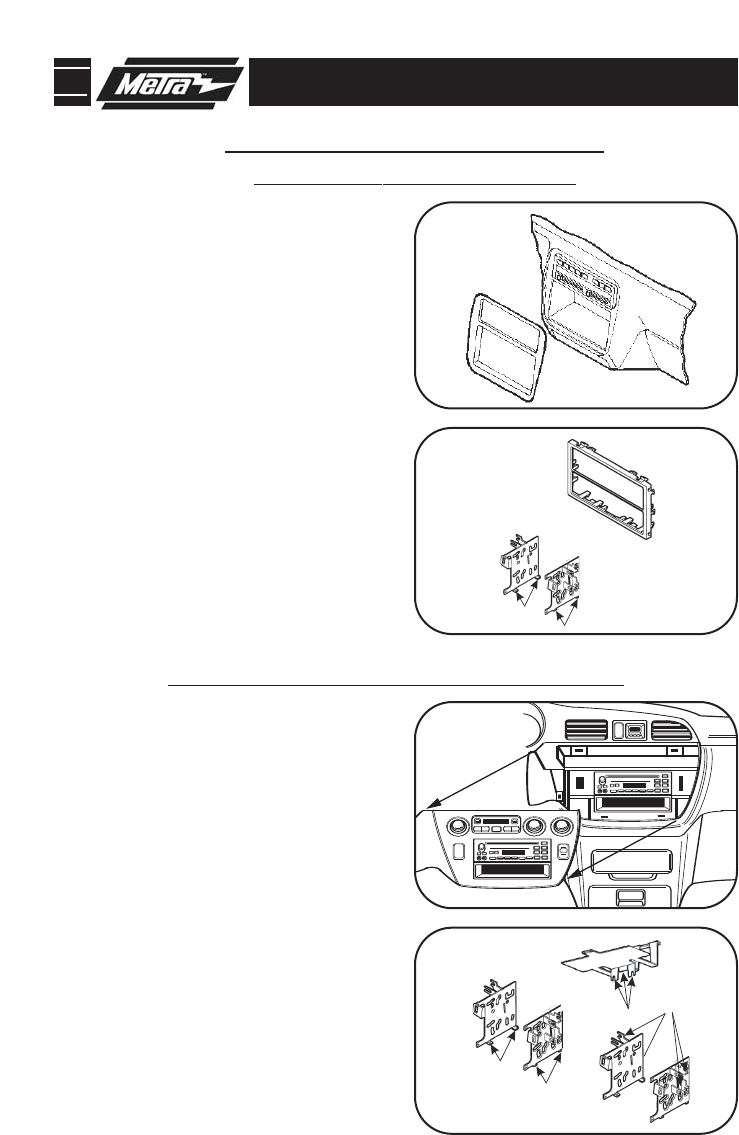
95-7801 DASH DISASSEMBLY
HONDA ODYSSEY 1995-1998
ISUZU OASIS 1996-1999
7
1
Disconnect the negative battery terminal
to prevent an accidental short circuit.
3
Cut and remove all mounting clips on the
Radio Housing EXCEPT clips "D" and "H"
(Fig. A). Cut and remove the slots on the
bottom of the
ISO Brackets (Fig. B). (THE
REAR SUPPORT TRAY WILL NOT BE
USED)
.
(Fig. B)
Skip to step #3b on Page
10.
Lower the glove box assembly. Remove (2)
Phillips screws exposed on the right side of
the underdash. Remove (2) Phillips screws
from the driver's side knee bolster and (1)
Phillips screw in the coin pocket. Remove
(5) Phillips screws from the underdash
panel and remove the panel. Remove (4)
Phillips screws from the cupholder assem-
bly and remove. Remove (2) Phillips screws
securing the factory head unit and discon-
nect the wiring.
(Fig. A)
2
HOND
A ODYSSEY 1999-2004
1
Disconnect the negative battery terminal
to prevent an accidental short circuit.
2
Unclip the radio trim bezel (including the
climate control panel) and remove).
Remove (4) Phillips screws securing the
factory head unit and disconnect the
wiring.
(Fig. A)
Cut and remove the mounting tabs from
the bottom of the
Rear Support Tray (Fig.
A). Cut and remove the slots on the bottom
of the
ISO Brackets (Fig. B). Locate tabs
"B" on the ISO Brackets for mounting, cut
and remove tabs
"A" (Fig. C). Cut and
r
emo
ve all mounting clips on the
Radio
Housing.
(Fig. B)
Skip to step #3b on Page 10.
3
1
A
2
"D"
"D"
Fig. B
F
ig. A
"H"
"H"
B
A
"B"
Fig. B
Fig. C
Fig. A
B


