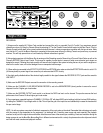
RECORDING:
1) Always use the supplied A.C. Mains Cord provided and connect the unit to a grounded (3 pin) A.C.outlet. If you experience ground
related hum or buzz, try lifting the Chassis Ground by selecting LIFT on the Chassis Ground switch located on the Rear Panel. Circuit to
Chassis Ground (switch down) is the normal position and should be used - unless you experience a problem with this type of noise. Make
sure that the A.C. cord of the
Recto Preamp
is connected to the same power strip as the Mixing Console and power amp, or powered
monitors. This will help prevent hum or buzz created by different references to ground.”
2) Always begin sessions with the
Recto Pre
by zeroing out the Recording console Channel Input Trim and Output Fader as well as the
Preamp’s RECORD Output Level Control. This preamp is capable of output levels in excess of what some consoles input stages are
designed to accept. Following this simple practice will ensure that all stages of the system including the ears of you and the engineer or
others in the control room, will not be damaged from an unexpected volume surge.
3) When nothing is connected to the EFFECTS LOOP SEND and RETURN jacks, make sure that the EFFECTS MIX control is set to 10%
(all the way down) to prevent signal loss across the pot and associated LOOP circuitry.
4) Use high quality shielded cable of the shortest length possible for the signal between the RECORD OUTPUT jacks and the console’s
LINE INPUT.
5) Make sure the RECORD Outputs are used for connection to the recording console.
6) Make sure the CHANNEL 2 LIVE BRIGHT/WARM RECORD is set to the WARM/RECORD (down) position to ensure the correct
response from the 3 higher gain Lead modes.
7) Make sure the RECORD OUTPUT Level control is set above the “MIN” level mark on the chassis. This practice ensures the best
performance from Channel 2’s three higher gain Lead modes.
8) If you experience unwanted breakup in CHANNEL 1 CLEAN (or FAT with lower BASS control settings) with low front end GAIN settings,
try setting the CHANNEL1 Input Stage switch to -3db. This will pad the grid of the input tube and substantially increase the headroom at
this pre-control stage.
NOTE: As with any system comprised of individual components, all the parts make up the whole. Remember that achieving great results
with this preamp is also dependant on the equipment it is interfaced with. Consoles, power amps and most especially, the playback
monitors are all part of the signal chain and therefor affect the overall tone of the sounds you are dialing. Great care was taken during the
design process to use the
Rectifier Recording Pre
in different environments with a variety of systems and monitor styles and should
work well with most consoles and playback monitors.
PAGE 2
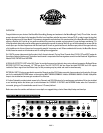
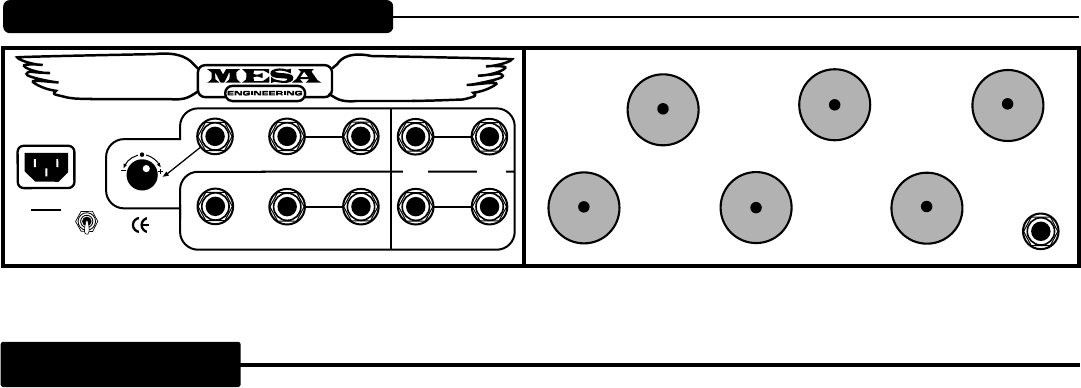
REAR VIEW :
Rectifier Recording Preamp
WARNING
:
To reduce risk of fire or
electric shock, replace fuse with
same type and rating only. Do not
expose this unit to rain or moisture.
WARNING
:
To reduce risk of fire or electric
shock, Do not remove cover. No user-
serviceable parts inside. Refer
servicing to qualified personnel.
RECTO~PREAMP
ALL TUBE
RECORDING AMPLIFIER
RECORD
OUT
TO MIX
CONSOLE
LEFT
RIGHT
LIVE
OUT
TO
PWR
AMP
(ALT FX PATCH)
RETURN - L
RETURN - R
EXTERNAL SWITCHES
SEND
CH1 - CH2
SOLO
MODERN
EXT. TRIGGER
TO POWER AMP
10%
100%
FX MIX
NORMAL
117 V~
1 AMP
60 HZ.
POWER
LIFT
GROUND
HANDBUILT IN PETALUMA CALIFORNIA PATENTS PENDING FOR MUTE, RECORDING & SOLO FEATURES TUBES: SIX 12AX7
INPUT
Helpful Hints:


