LIVE - SOLO: (Continued) Channel format. The controls will affect both sounds, so you will not be able to dial up independent Channels,
but when used with the companion power amp
(Rectifier Stereo 2:100)
this little trick can be quite effective. This “smart power” amp
tracks the preamp mode and switches the negative feedback circuit to match the Mode in use on the
Recto Pre
. In this scheme, the SOLO
Control is switched to a different part of the circuit where it ceases to be a parallel OUTPUT and becomes a separate MASTER volume for
the VINTAGE mode. You lose the ability to have the SOLO feature , but you gain an additional sound you can footswitch to.
NOTE: It is not possible to use SOLO in the MODERN Mode. We opted for the 3 MODE LIVE feature over being able to trigger SOLO in
the MODERN Mode for obvious reasons. If you find that you never use or need the 3 MODE LIVE feature because you do not use
VINTAGE in your live application; it is possible to modify the circuit to defeat this option and give you access to the MODERN Mode with
the SOLO feature. Call our Customer Service department and a Product Specialist can send you a diagram that will enable you or a
technician to remove this feature. However, before you do this, may we suggest trying the 3 MODE LIVE feature and make sure that this
won’t come in handy for you in a future musical situation. Follow these steps to reconfigure the SOLO feature to create a 3 Mode scenario;
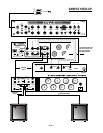
1) The FOOTSWITCH must be connected via the stereo cable to the Front Panel FT.SW. jack.
2) Connect the LIVE OUT jacks to the
Recto Preamp
Inputs of the
Rectifier Stereo 2:100
power amplifier and connect your cabinets to
the proper impedance Speaker Output jacks. (You may use other
Mesa
, or even non
Mesa
power amplifiers, however the MODERN
mode will not be the sound of the
Dual Rectifier Head
because only the
Rectifier Stereo 2:100
has the mode tracking feature.) The
Stereo Simul-Class 2:90
has a switchable MODERN feature but the sound of this power amp is smoother and less aggressive and will
not duplicate the sound of the MODERN mode as it is found in the
Solo Heads
.
3) Connect an unshielded cable from the MODERN EXT. TRIGGER TO POWER AMP jack located on the lower left of the
Recto Pre
Rear
Panel to the MODERN EXT. TRIGGER jack on the Rear Panel of the
Rectifier Stereo 2:100
(or
Stereo Simul-Class 2:90
). Caution! If
the preamp is in CHANNEL 2 MODERN mode when you connect this cable, the volume will jump dramatically as the negative feedback is
triggered off.
4) Select MODERN in CHANNEL 2 and set the level with the Channel MASTER to the desired level. Select SOLO on the Footswitch to
trigger the VINTAGE Mode and set the desired level with the SOLO Control.
5) Use the CHANNEL button on the Footswitch to toggle between CHANNEL 1 and 2 and the SOLO button on the Footswitch to toggle
between MODERN and VINTAGE modes.
6) To Review; The CHANNEL 2 MASTER Controls the level of the MODERN mode and the SOLO Control becomes the master for the
VINTAGE mode.
This ability to reconfigure the way the SOLO Control operates greatly enhances the possibilities for live performance applications. We
suggest that you try this scenario at some point if for no other reason, than to educate yourself on the dramatic effect negative feedback
has on the tone in a power section. The removal of it creates an explosive, dynamic and very forward and powerful sound that should be
experienced at some point by all tube afficionados.
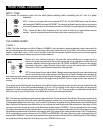
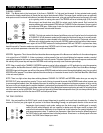
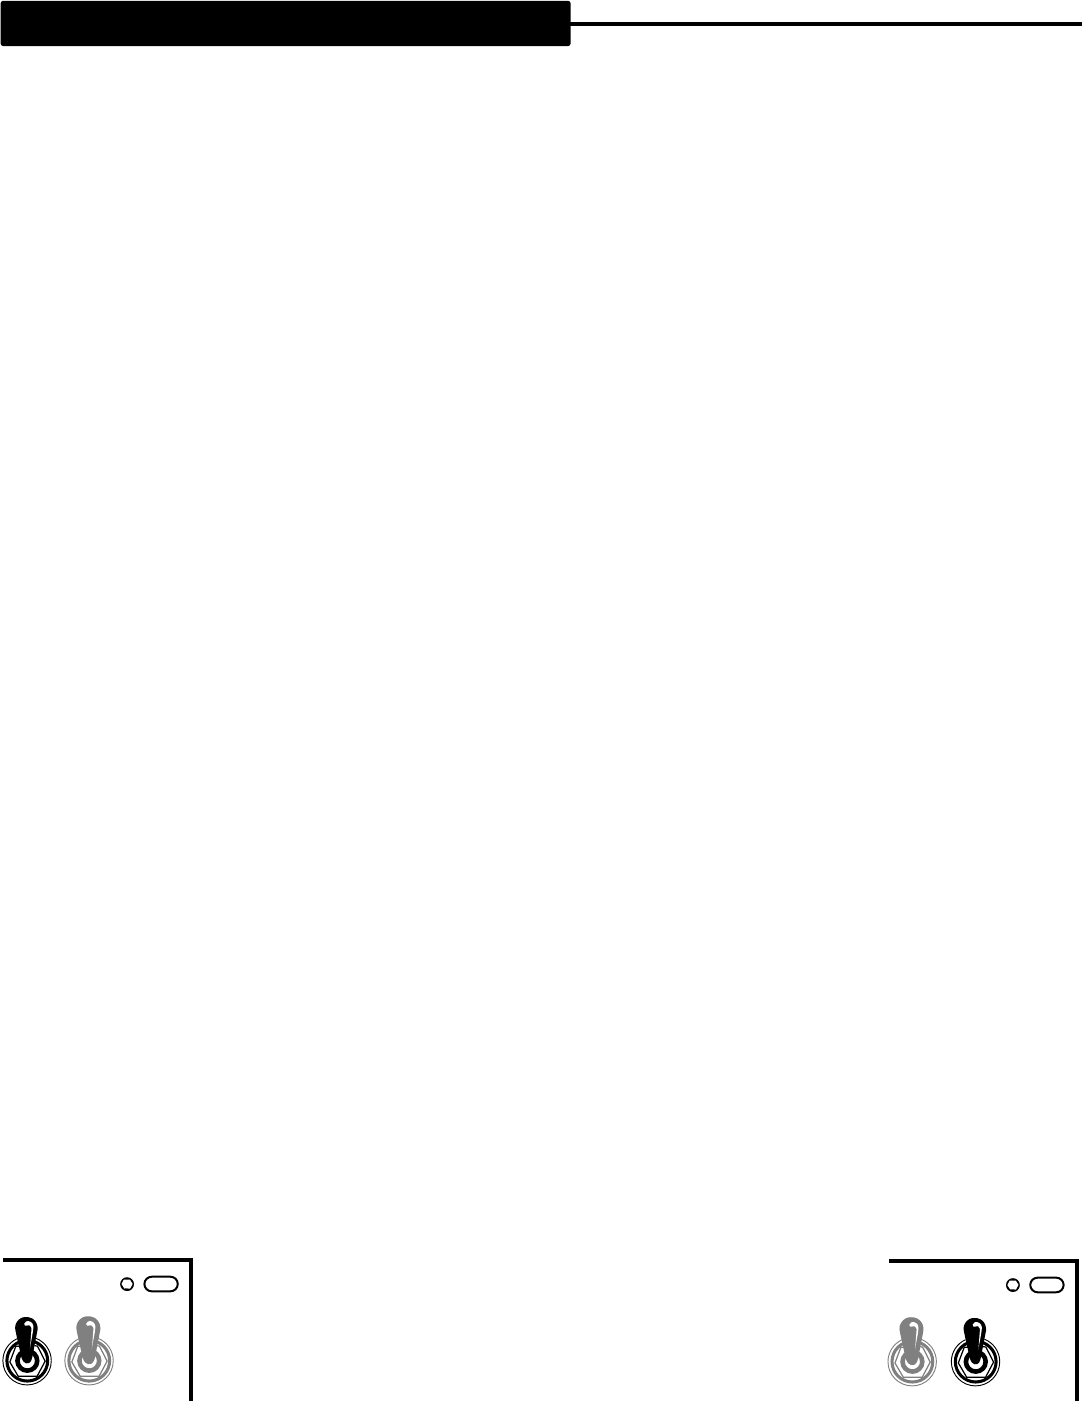
STANDBY: Perfect for set breaks... this toggle switch also serves an even more important purpose. In the Standby position the tubes are
at idle so that during power up they may warm up before being put to use. Before Power is switched on, make sure the STANDBY switch
is in the Standby position. Wait at least 30 seconds and then flip the STANDBY switch to the ON position. This prevents tube problems
and increases their toneful life substantially.
POWER: This switch delivers the A.C. power to the
Recto Pre.
Follow the
cold start procedure described in the ON/ STANDBY section above when pow-
ering up your new
Recto Pre.
PAG E 10
FRONT PANEL CONTROLS: (Continued)
STANDBY
ON
POWER
ON
STANDBY
ON
POWER
ON


