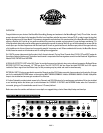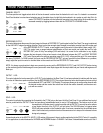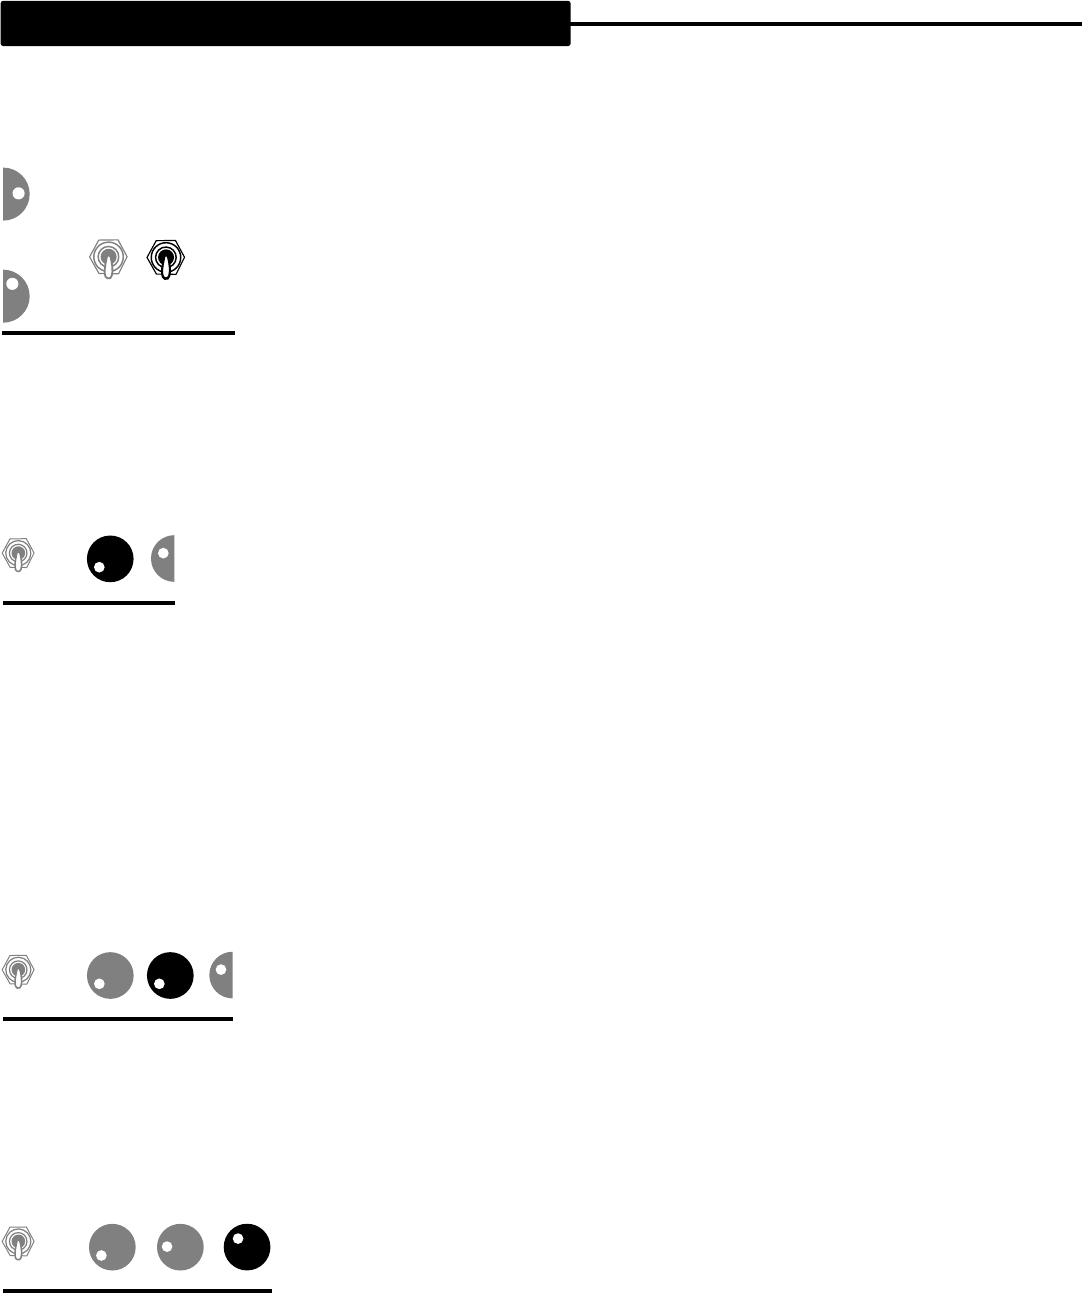
CHANNEL SELECT:
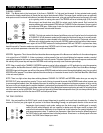
This three position mini toggle selects which of the two channels is active when the footswitch is not in use. It is located in a convenient
Front Panel location to make channel selection easy in the studio where it might likely be hardwired in to a system or patch bay. Set in its
center FOOTSWITCH position with the footswitch connected via a stereo cable, the channels may be
accessed remotely by toggling between them with the FOOTSWITCH CHANNEL button.
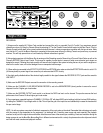
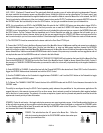
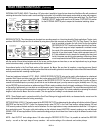
RECORDING OUTPUT:
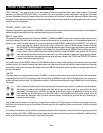
This control determines the amount of signal present at the pair of RECORD OUT jacks located on the Rear Panel. The range is optimized
for the LINE INPUT stage of recording consoles. There is more than enough signal strength to overload a consoles’ input at the upper end
of the RECORDING OUTPUT Control, so we suggest running the control in the middle to lower range, 9:00 -
2:00. This control uses a ganged element potentiometer so that one control can handle the level for both
RECORD OUT jacks. At very low settings (9:00 and below) it is normal for the calibration to vary slightly
between the two elements in the pot and create a level difference between the LEFT and RIGHT RECORD
OUT jacks. Staying within the optimum operating range (9:00 - 2:00) will prevent this quirk. If for some reason
like when (CHANNEL 1’s GAIN cranked) you must use the RECORDING OUTPUT set very low and this level difference is a problem,
simply adjust the input trim control or channel slider on the console until the two RECORD OUT levels match.
NOTE: It is always a good practice to begin every session by zeroing out the RECORDING OUTPUT (and LIVE OUTPUT) before turning
up the monitoring levels. Avoid damage to unwary ears and/or mixer input stages with this simple habit and your friends and engineers will
thank you.
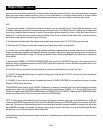
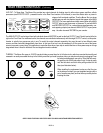
OUTPUT - LIVE:
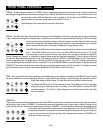
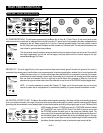
This control adjusts the level present at the LIVE OUT jacks located on the Rear Panel. It has been optimized to interface with the inputs
of our four all-tube stereo power amplifiers. Like the RECORDING OUTPUT, the pot used here also has a dual element so that one control
can handle both LEFT and RIGHT LIVE Outputs. This scheme allows you to configure the channels with
the desired modes and then control the overall level of both the relative channels, and the stereo out-
puts with one control.
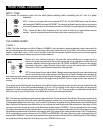
SOLO - LIVE:
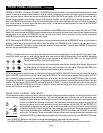
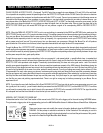
This control is activated by connecting the Footswitch to the FT. SW. jack on the lower left of the Front Panel. It is an additional level control
wired in parallel with the OUTPUT Control and provides a footswitchable boost for use in LIVE applications. This feature works in both
channels and in all Modes since it is wired in parallel with the OUTPUT it can only be set to achieve
a level higher than that of the OUTPUT and not below. The SOLO® feature is triggered when
SOLO has been selected on the Footswitch after it has been connected via the provided stereo
cable. Use this feature to provide two levels of the same sound or to step out for increased volume
during solo passages.
As mentioned earlier in the HELPFUL HINTS - LIVE section of this manual, there is another application for the SOLO Control. It is possible
in Live applications to switch between the VINTAGE and MODERN Modes in CHANNEL 2 and have 3 footswitchable sounds out of this 2
PAGE 9
FRONT PANEL CONTROLS: (Continued)
LIVE
BRIGHT
CH2
VOICING
WARM
RECORD
CHAN
1
FOOT
SWITCH
2
CHAN
TER
CHAN
1
FOOT
SWITCH
2
CHAN
OUTPUT
OUT
CHAN
1
FOOT
SWITCH
2
CHAN
OUTPUT
OUTPUT - LIVE
CHAN
1
FOOT
SWITCH
2
CHAN
OUTPUT
OUTPUT - LIVE - SOLO


