


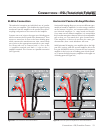


Now that you know all the connection options and how to
set them, it’s time to make the speakers work in their target
environment. For this part, it is recommended that an audio
analyzer be used (RTA or a computer based instrument).
Start with default settings. Look at the 200Hz to 500Hz
area of the ESL-transition tower alone. If there is too much
energy in this area, try changing the jumpers in the passive
high-pass accordingly (see page 26).
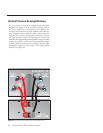
Note how low the transition tower is playing. The transition
tower is somewhat dependent on back wall reflections for
its low frequency extension. If it is set right it should respond
well down to 60HZ.
If it does not play to 60Hz, the speaker is either to close or to
far from the back wall. If the speaker is over 7 feet from the
wall, try moving it back. If it is under 5 feet, try moving it out.
Side wall distance can effect this as well. Some experimen-
tation may be in order.
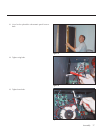
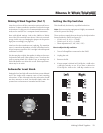
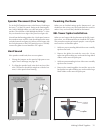
Subwoofer Level Knob
Setting the level too high will cause the bass to seem bloated
and is the single most common cause of bad sounding
subwoofers. A rule of thumb is that the subwoofer should
not draw attention to itself, but should simply make the
systems low end seem more extended and accurate.
This should only be done by a qualified technician.
Note: Sonic measuring equipment is highly recommend-
ed for this part of the setup.
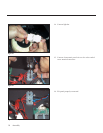
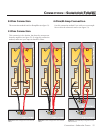
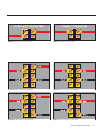
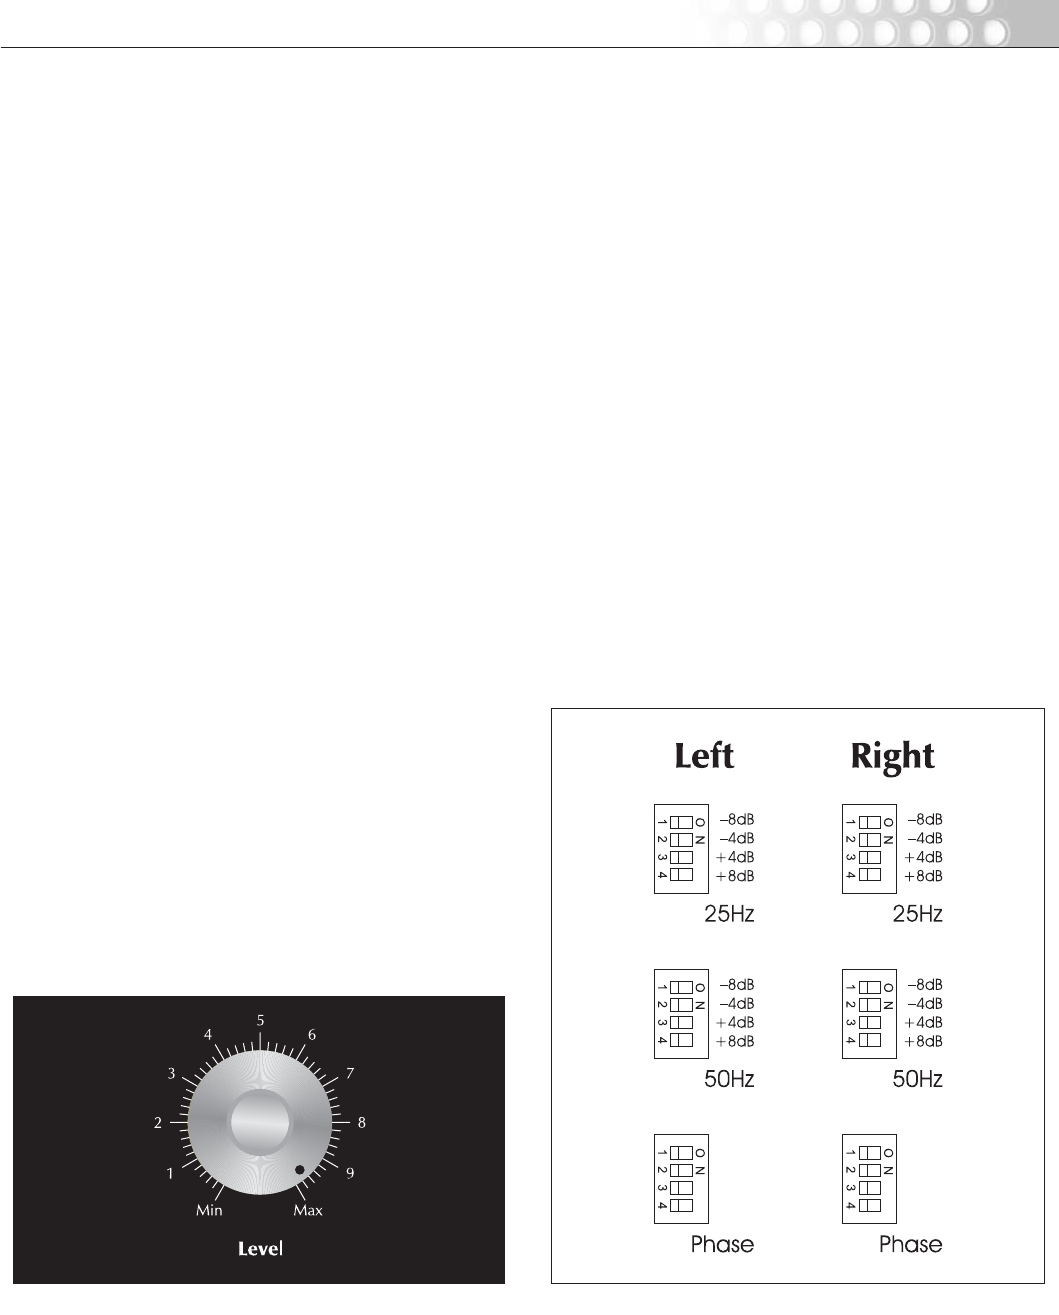
There are three controls that can be set by the dip switches
located inside the EXOS (see figure 65):
— 25Hz Level (–8,–4,0,+4,+8)dB
— 50Hz Level (–8,–4,0,+4,+8)dB
— Phase Adjustment (0°, 90°, 180°, 270°)
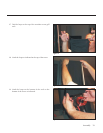
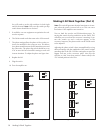
How to adjust the dip switches:
1 Turn off all amplifiers connected to the EXOS.
2 Unplug the unit.
3 Remove the lid.
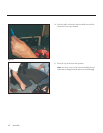
4 If more output is desired at 25Hz flip the +4dB or the
+8dB dip switches to on. If less bass is desired at
25Hz flip the –4dB or the –8dB dip switches to on.
Figure 64. The Exos E2.5 subwoofer level knob. Figure 65. The exos six dip switch clusters. All set in their default position.
Making It Work Together (Part 1) Setting the Dip Switches
MAKING IT WORK TOGETHER
Making It Work Together 29