


ENGLISH
22
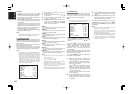
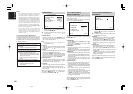
5 CS II (CIRCLE SURROUND II)
PARAMETER
1.
Select “CS II” in the SETUP MAIN MENU with
the
or cursor buttons, and press the
ENTER button.
2.
To Select desired contents as below, press
the or cursor buttons.
TRUBASS:
Set the TRUBASS level between 0 and 6 level in
1 level interval with the
or cursor buttons.
TRUBASS produced by the speakers are an
octave below the actual physical capabilities of
the speakers adding exciting, deeper bass
effects.
SRS DIALOG:
Set the SRS DIALOG level between 0 and 6 in 1
level intervals with the or cursor buttons.
This can be popped out of the surround audio
effects, allowing the listener to easily discern what
the actors say.
If “NONE” was selected for the Center speaker
setting, in the Speaker size set up menu, then this
setting will not appear.
After you complete this portion of the set up, move
cursor to “MAIN” with the or cursor buttons and
press the
ENTER
button.
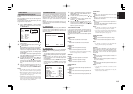
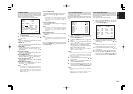
4 PL II (PRO LOGIC II)
MUSIC PARAMETER
Pro Logic II-Music mode creates a rich and
enveloping surround ambience from stereo
sources such as CDs.
In this
mode, SR7500 includes three controls to
fine-tune the soundfield as follows.
Select “PL II MUSIC” in the SETUP MAIN MENU
with the
or cursor buttons, and press the
ENTER button.
PARAMETER:
Select “DEFAULT” or “CUSTOM” with the or
cursor buttons.
If you select “CUSTOM”, you can adjust three
parameters as listed below.
PANORAMA:
Select the Panorama mode On or Off with the
or cursor buttons.
Panorama wraps the sound of the front left and right
speakers around you, for an exciting perspective.
DIMENSION:
Set the Dimension level between 0 and 6 level in
1 level intervals with the or cursor buttons.
Adjust the soundfield either towards the front or
towards the rear.
This can be useful to help achieve a more
suitable balance from all the speakers with
certain recordings.
CENTER WIDTH:
Set the Center width level between 0 and 7 in 1
level intervals with the or cursor buttons.
Center Width allows you to gradually spread the
center channel sound into the front left and right
speakers.
At its widest setting, all the sound from the
center is mixed into the left and right.
This control may help achieve a more spacious
sound or a better blend for the front image.
If “NONE” was selected for the Center speaker
setting, in the Speaker size set up menu, then
this setting will not appear.
After you complete this portion of the set up, move
cursor to “MAIN” with the or cursor buttons and
press the ENTER button.
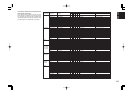
4PL II MUS I C PARAMETER
PARAMETER : DEFAULT
PANORAMA : OFF
DIMENSION : 4
CENTER WI DTH : 0
MA I N EX I T
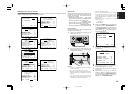
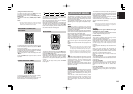
3 PREFERENCE
1.
Select “PREFERENCE” in the SETUP MAIN
MENU with the
or cursor buttons, and
press the ENTER button.
2.
To select a desired content, press the or
cursor buttons.
STANDBY MODE:
When this function is set to “ECONOMY”, you
can reduce the power consumption when the
unit is in the standby mode.
Note:
• TV-AUTO and RS-232C are disabled in the
“ECONOMY” setting.
TV AUTO:
Select the TV AUTO ON/OFF function to enable
or disable with the or cursor buttons. (refer
to page 29)
OSD Info:
Select the OSD information function to enable or
disable with the or cursor buttons.
If you select “ENABLE”, the SR7500 will display
the status of the feature (Volume up/down, input
select, etc..) on the TV monitor. But if you do not
desire this information, select “DISABLE ”.
VIDEO CONVERT:
Select the VIDEO CONVERT function to enable
or disable with the or cursor buttons. (Video
cable connection: Refer to page 24)
LFE LEVEL:
Select the output level of the LFE signal included
in the Dolby Digital signal or the DTS signal.
Select 0 dB, -10 dB or OFF with the or
cursor buttons.
After you complete this portion of the set up, move
the cursor to “MAIN” with the or cursor buttons
and press the
ENTER
button.
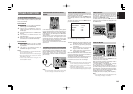
3 PREFERENCE
STANDBY MODE : ECONOMY
TV-AUTO : DISABLE
OSD I NFO : ENABLE
VIDEO CONVERT : ENABLE
LFE LEVEL : 0 dB
MA I N EX I T
MIC SETUP ERROR (MIC SET ERROR)
The microphone (MC-10) is not properly
connected.
→ Check the microphone connection.
AMBI NOISE ERROR (AMBI NOISE ER)
Measurement cannot be done correctly
because of excessive ambient noise.
→ Either temporarily turn off power to noisy
devices such as air conditioning or move
them out of the room.
→ Retry measurement when the room is
quiet.
SPEAKER SET ERROR (SPK SET ERROR)
The speakers are not properly connected.
→ Recheck speaker layout and
connections.
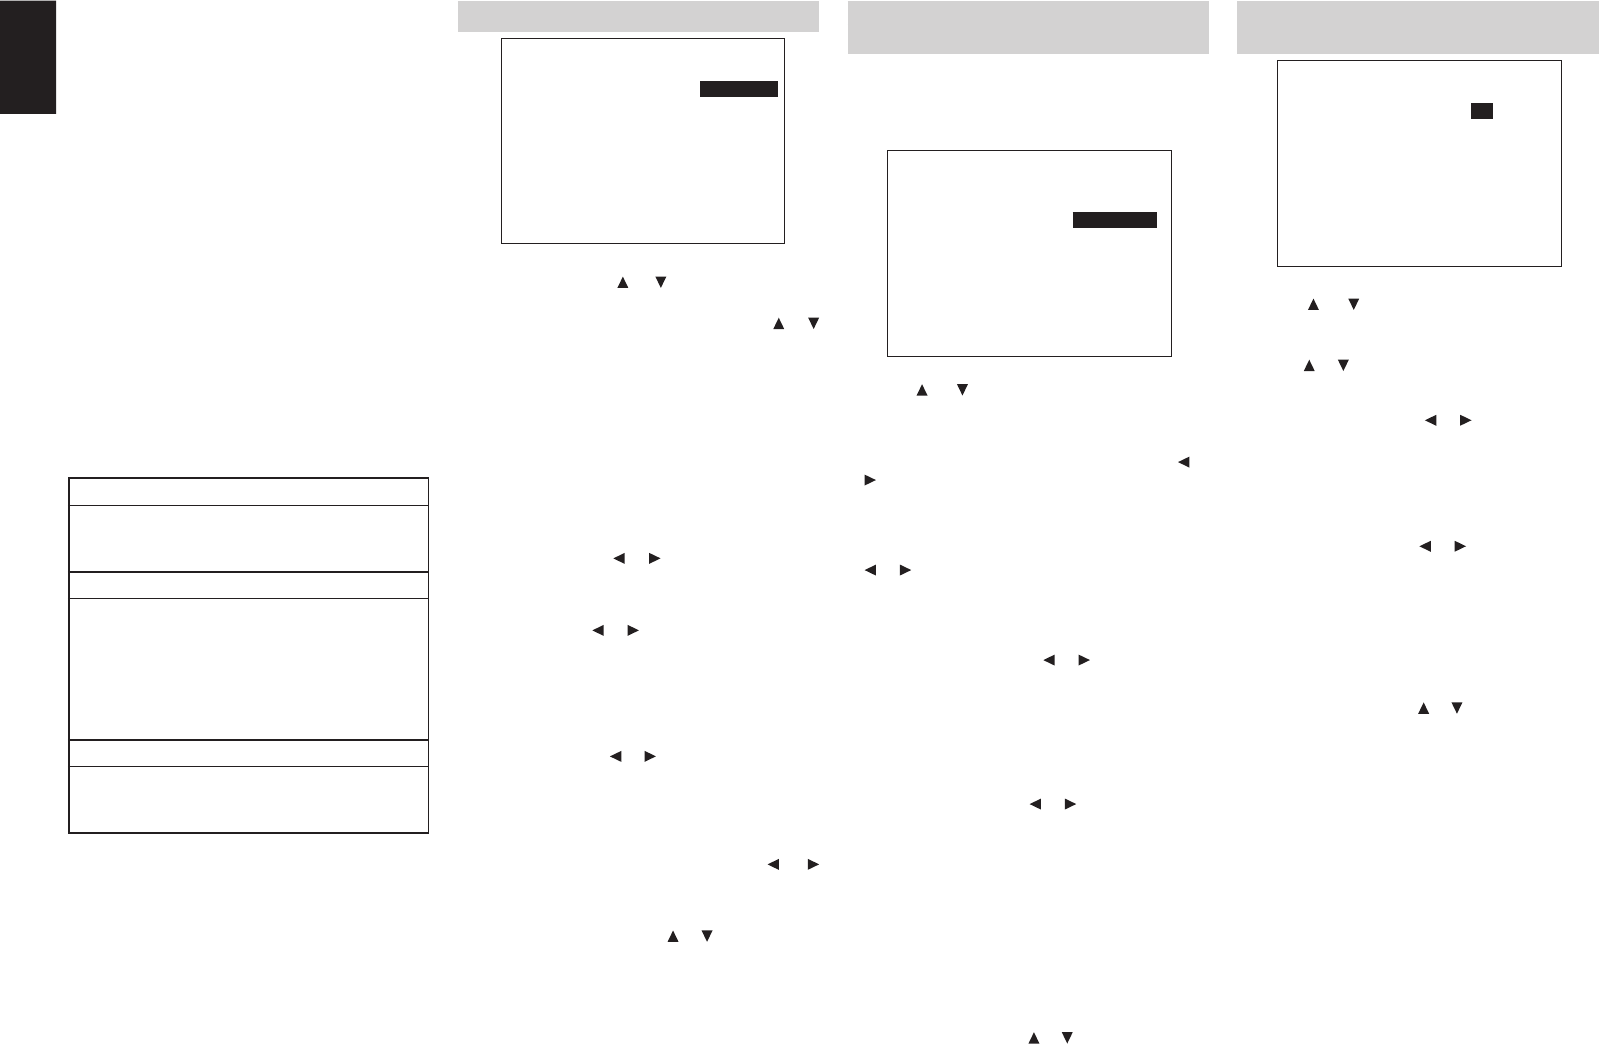
5CSII PARAMETER
TRUBASS : 0
SRS D IALOG : 0
MA I N EX I T
Notes:
• The measured speaker distance may differ from
the actual distance from speakers. Nevertheless,
the measured value is suitable for the speakers.
• To make changes to individual speakers, select 2.
SPEAKER SETUP on the SETUP MAIN MENU,
then select MANUAL for 2-1 SPEAKER SETUP.
• The included microphone is designed specifically
for this receiver. Other microphones do not
guarantee suitable measurement results. Use the
included microphone to conduct measurements.
• During measurement, press the ENTER or EXIT
button to cancel measurement.
• In some rooms, an error may occur during auto
speaker setup or it may not be possible to set
Speaker distance correctly because of room
acoustics. In such case, set the speaker distance by
MANUAL setup.
Error Indications During Measurement
If trouble occurs during measurement, an error
message is displayed on the monitor screen and
FL display. Those errors and their remedies are
described below. The message appearing on the
FL display is given in ( ).
04.10.13, 5:14 PMPage 22