


16
Getting started
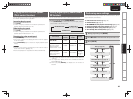
Basic connections Basic operation Specifi cations IndexAdvanced connections Advanced operations Explanation of terms Troubleshooting
ENGLISH
16
Getting started
Basic connections Basic operation Specifi cations IndexAdvanced connections Advanced operations Explanation of termsAdvanced operations Troubleshooting
3
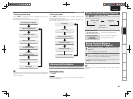
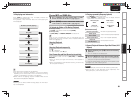
Press [ENTER] to end the setting operation.
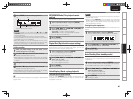
TTL
TRK
TTL
TIME
A
–
EDIT
TEXT
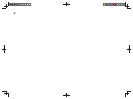
12 34 56 78 910 1112131415
On
Total playing time of side A
Total number of tracks on side A
All tracks to be played on tape side A
On
NOTE
• During edit playback, you can operate only <2>, <5>, and <ON/
STANDBY>
buttons on the main unit. (You cannot use the remote
control for operation.)
This prevents recording errors due to unintentional operation.
• During edit playback, no text information stored on a CD-Text disc
is displayed. Only the time is displayed.
• With Auto Standby On, you can automatically set this unit to
standby mode after the unit is in stop mode continuously for about
30 minutes, during setting in the Edit mode or edit playback.
n Edit recording
1
After you fi nish settings in the edit mode, set the
cassette deck to start recording.
2
Press 1 or 3 to play back the tracks on side A.
Playback starts after about 4 seconds.
• When playback for recording tracks on side A ends, the recording
stops temporarily at the beginning of the fi rst track to be recorded
on side B.
3
Change the cassette tape to side B and start recording.
4
Press 1 or 3 to play back the tracks on side B.
Playback starts after about 4 seconds.
• When playback for recording tracks on side B ends, the recording
stops and the settings in the edit mode are canceled.
You can perform edit recording during the program mode and delete
program mode.
Performing menu settings
MP3/WMA Mode ( File playback mode
setting)
You can select the playback mode for MP3/WMA fi les.
1
Select “MP3/WMA Mode” and press [ENTER].
• The default setting is “Cont. mode”.
2
Press [8, 9] or <8/6, 7/9> to
select the playback mode.
Cont. mode: All fi les on the disc are played.
Folder mode: All fi les in the selected folder are played.
• This unit can play MP3 and WMA fi les.
3
Press [ENTER].
The setting is saved.
Digital Out (Digital audio output setting)
You can prevent analog audio circuits from being affected by digital
audio circuits by turning off the digital audio output. You can use
higher quality sound to play back analog sounds.
1
Select “Digital Out” and press [ENTER].
The current settings appear on the display.
• Digital output is set to “On” at the factory.
2
Press [8, 9] or <8/6, 7/9> to
select “On” or “Off”.
Off: Turns off digital audio output.
On: Turns on digital audio output.
3
Press [ENTER].
The setting is saved.
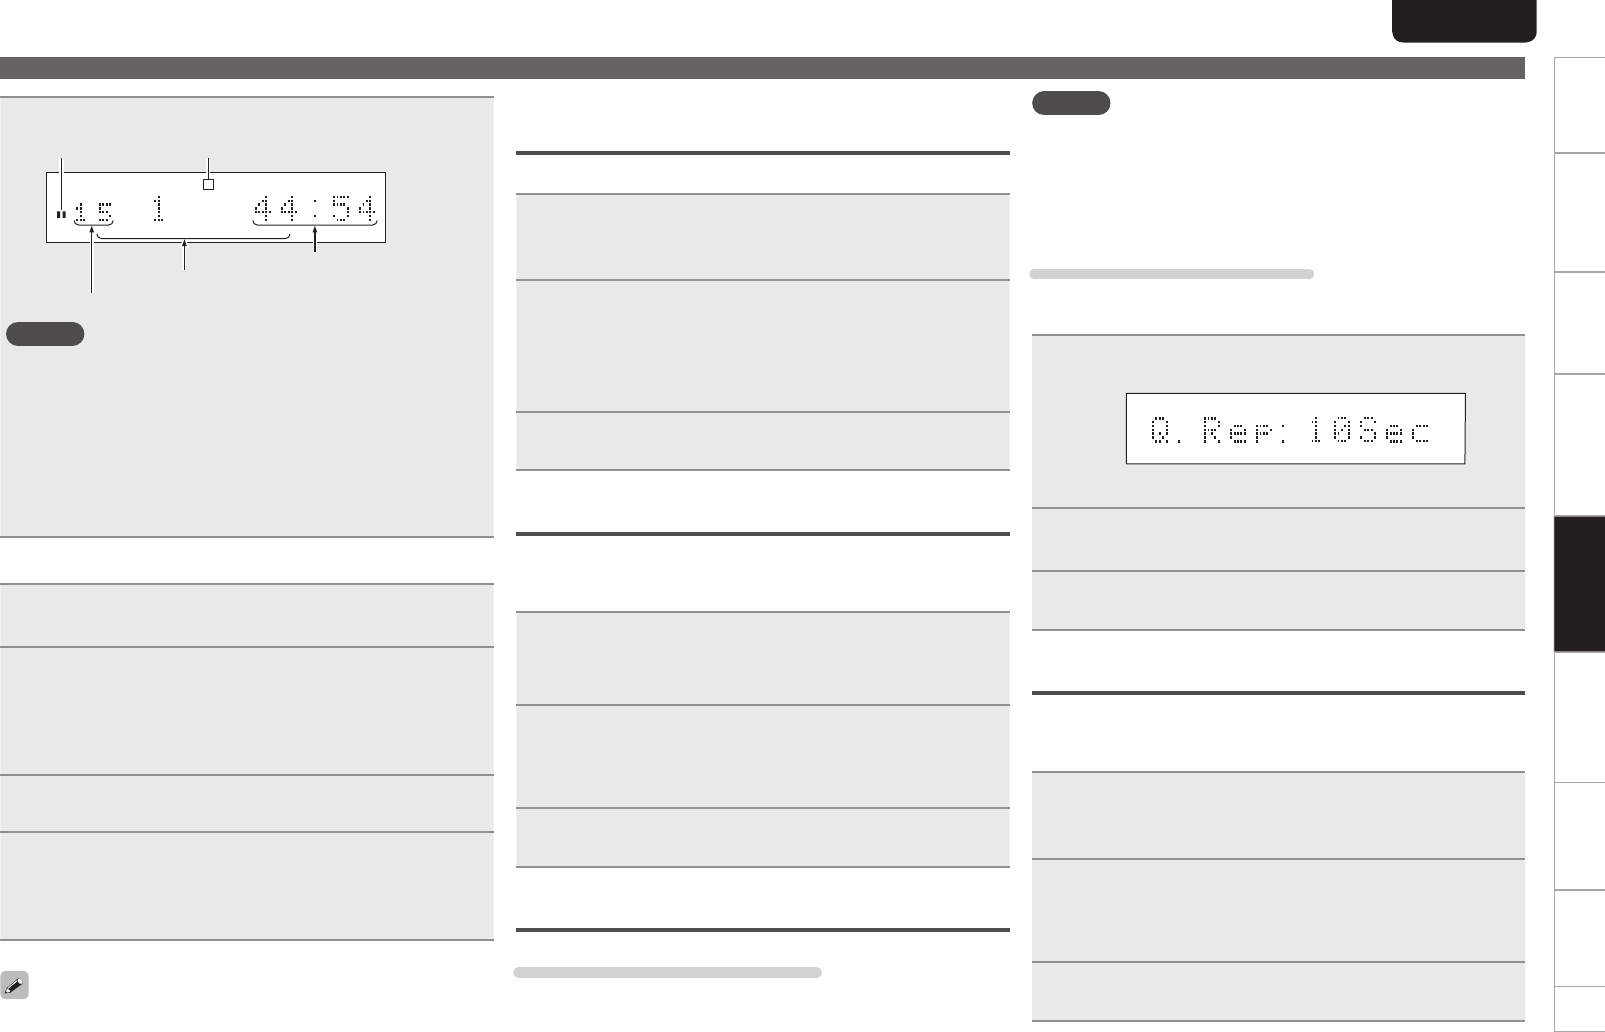
Quick Replay (Quick replay playback)
Using the quick replay function
When you press [Q.REPLAY] during playback, the play position will
jump back from the current position for length of time that was set
and playback is resumed.
NOTE
• You cannot cross over from one track to another when you perform
the quick replay function.
• When you press [Q.REPLAY], if the total length of the track being
played or the track elapsed playing time is shorter than the time set
for quick replay, the play position will return to the beginning of the
track and playback is resumed.
Setting the quick replay time
If a disc is set in the disc tray, remove the disc and then perform the
setting.
1
Select “Quick Replay” and press [ENTER].
The quick replay time current setting appears on the display.
• The quick replay time is set to 10 seconds at the factory.
2
Press [8, 9] or <8/6, 7/9> to
set the desired time (5 – 60 seconds).
3
Press [ENTER].
The setting is saved.
Auto Standby (Auto standby mode)
With Auto Standby On, you can automatically set this unit to standby
mode after the unit is in stop mode continuously for about 30 minutes
(no operation).
1
Select “Auto Standby” and press [ENTER].
The Auto Standby mode current setting appears on the display.
• Auto Standby mode is set to “OFF” at the factory.
2
Press [8, 9] or <8/6, 7/9>to
make the desired setting.
• ON: Enable Auto Standby mode.
• OFF: Disable Auto Standby mode.
3
Press [ENTER].
The setting is saved.