- 8 -
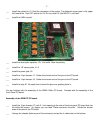
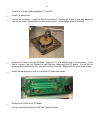
___ Install C4, 3.5-13 pf trimmer capacitor. Note that C4 has two pins that are common (connected).
They should line up with the two holes in the PC board that are connected together with a trace on
the bottom.
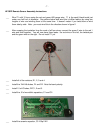
___ Install T1. It lies flat against the PC board and the #18 wire will pass through the center (you will
install this later). Hold the PC board so you can read the silk screen. With the PC board in this
position, install T1 with the green wire coming over the top on the right, and the red wire coming
from underneath to the left.
___ Install the #18 bare wire (included in the kit) to the PC board in the hole to the left of T1. Place the
other end through the center of T1 and solder to the bottom of the PC board.
___ Install 1/8" stereo jack.
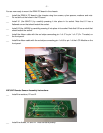
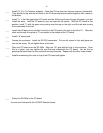
___ Unwrap the enclosure. Install the SO-239 connectors. Put one #4 screw in hole and place two
nuts on the screw. Do not tighten them at this time.
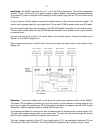
___ Place the PC board onto the SO-239s. Align the 1/8” jack with the hole in the enclosure. Once
this is in place, you may tighten the nuts that are underneath the PC board. You do this by
pressing the board down on the nuts while turning the screw. Repeat with the other three screws.
___ Install the remaining four nuts on top of the PC board and tighten.
___ Solder the SO-239s to the PC board.
You are now finished with the HF/QRP Remote Sensor.


