19
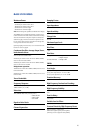
AC Power Distribution
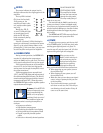
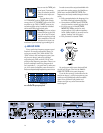
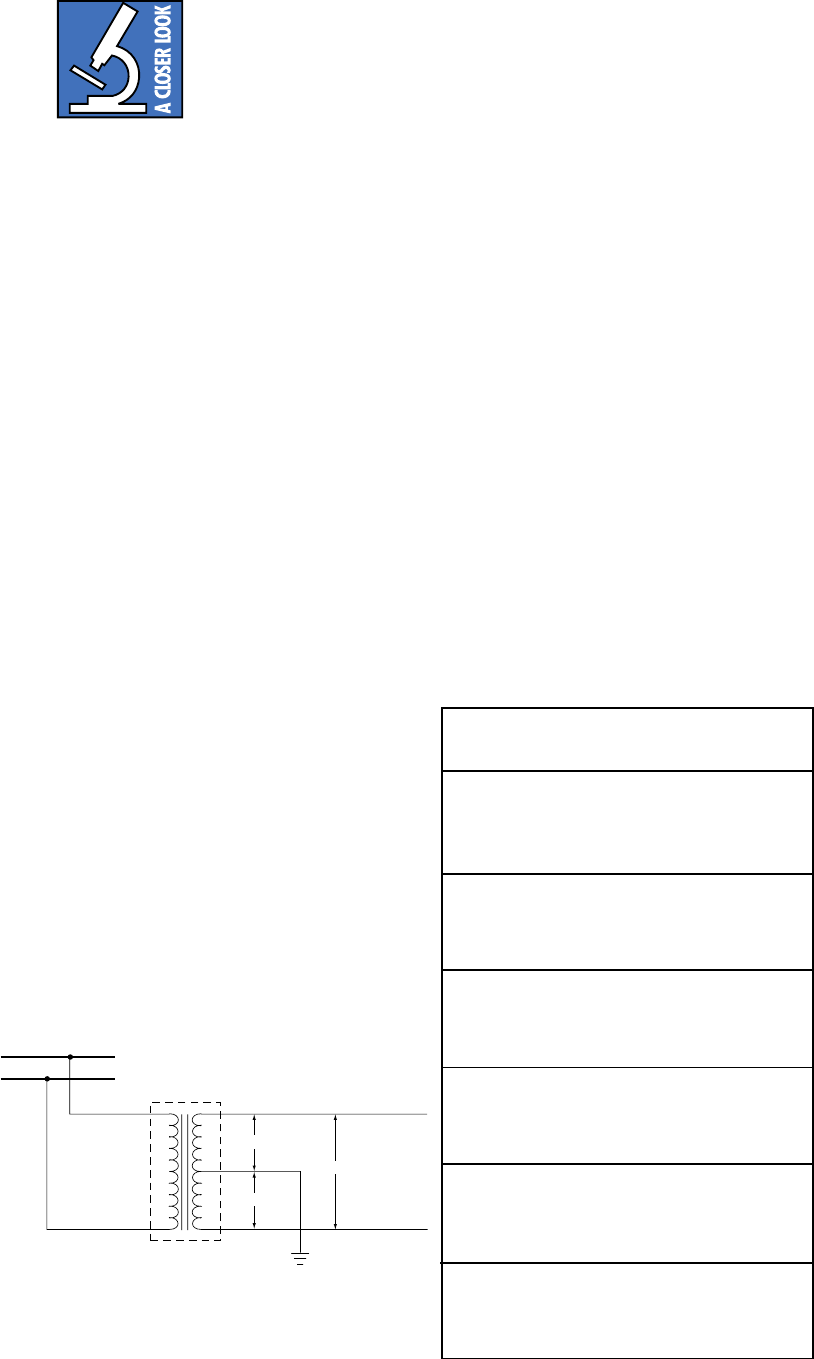
The majority of AC outlets
encountered in homes and
clubs are served by a 240VAC
center-tapped service en-
trance transformer. This
provides two phases of AC power on either side
of the center tap at 120V each.
In order to minimize ground loops, the safety
grounds for all the outlets should be connected
to a common (“star”) grounding point, and the
distance between the outlets and the common
grounding point should be as short as possible.
If lighting is used in a show, it is preferable
to power the lights from one leg of the service,
and power the audio equipment from the other
leg. This will help minimize noise from the
lights coupling into the audio (particularly if
SCRs are used).
When setting up for a show, oftentimes you
are plugging into an AC power distribution sys-
tem you know nothing about. You may even be
faced with 2-wire outlets that are missing the
third safety ground pin. It’s a good idea to have
a three-wire AC outlet tester in your toolbox so
you can check the outlets yourself to make
sure they are wired correctly. These testers will
tell you if the polarity of the hot and neutral
wires is reversed and if the safety ground is dis-
connected. Don’t use an outlet if it is wired
improperly! This is to protect yourself as well
as your equipment.
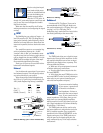
If you find that you must plug into a two-
wire outlet, you will need to use a two-wire to
three-wire adapter (cheater plug). These come
with a metal tab that you put underneath the
center screw that holds the AC outlet faceplate
in place. This center screw should be grounded.
You can check it by connecting the adapter to
the outlet and then plugging in your AC outlet
tester.
INPUT WIRING
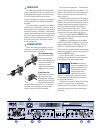
Use a high-quality 3-conductor shielded
cable to connect the signal between the signal
source (mixing console, equalizer, etc.) and
the balanced inputs to the amplifier. If you’re
using the unbalanced inputs, use a high-quality
2-conductor shielded cable. Your Mackie
Dealer can recommend a suitable cable for
your application.
OUTPUT WIRING
Use heavy gauge, stranded wire for connect-
ing speakers to the M•800 amplifier’s
SPEAKER OUTPUT
terminals. As the distance
between the amplifier and the speakers in-
creases, the thickness of the wire should also
increase. Speaker wire has resistance, and
when electricity passes through a resistor,
power is lost. The thicker the wire, the less
resistance it offers, and the more power actually
gets to the speakers.
The thickness of wire is rated in gauges.
Use the chart below to determine the correct
gauge of wire to use according to the distance
between the speakers and the amplifier, and
the impedance of the load the amplifier is driv-
ing. This ensures that the power lost across the
speaker wire is less than 0.5 dB.
Load Gauge of
Wire Length Impedance Wire
Up to 25 ft. 2Ω 14 gauge
4Ω 16 gauge
8Ω 18 gauge
Up to 40 ft. 2Ω 12 gauge
4Ω 14 gauge
8Ω 18 gauge
Up to 60 ft. 2Ω 10 gauge
4Ω 12 gauge
8Ω 16 gauge
Up to 100 ft. 2Ω 8 gauge
4Ω 10 gauge
8Ω 14 gauge
Up to 150 ft. 2Ω 6 gauge
4Ω 8 gauge
8Ω 12 gauge
Up to 250 ft. 2Ω 4 gauge
4Ω 6 gauge
8Ω 10 gauge
TRANSFORMER
120V
120V
240V
HIGH VOLTAGE POWER LINE
EARTH
GROUND
(NEUTRAL)
PRIMARY
WINDING
SECONDARY
WINDING
240V Center-Tapped Secondary


