


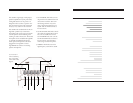


When Using Battery Power:
a. Ensure the power switch (CH A POWER)
on top of the 705iR is turned off.
b. Plug the power supply/charger cable into
a standard AC outlet.
c. Plug the other end of the power supply/
charger into the DC power jack on
the back of 705iR. e LED above
the DC will glow red. A solid green LED
indicates the 705iR is fully charged.
d. Charge the batteries completely prior to
first use. Charging time can take as
long as 10 to 14 hours. When fully
charged, the circuit switches to a trickle
charge, which will not overcharge or
damage the batteries.
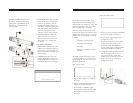
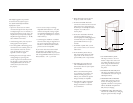
e 705iR has a built-in speaker, which
should be directed toward the area of the
classroom where the students are sitting. e
unit can be placed on a table top or book
-
shelf at a height of 36 to 60 inches.
e ideal position in the classroom is cen
-
tered along the longest wall. However, due to
different classroom setups, this is not always
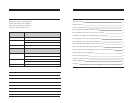
possible. Here is a quick guide to choosing
a location:
Centered on the longest wall
Centered on the short wall
In a corner
Placing the unit directly in front of
a window.
e 705iR operates with battery power in
a portable application, or you can leave the
system connected to AC power for a more
permanent application.
When using AC power:
a. Plug the power supply into a standard
AC outlet.
b. Plug the other end of the power supply/
charger into the DC power jack.
c. Turn the CH A POWER on and set
an appropriate volume level. e 705iR
may be left on at all times when using
AC power.
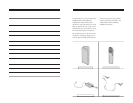
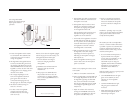
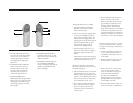
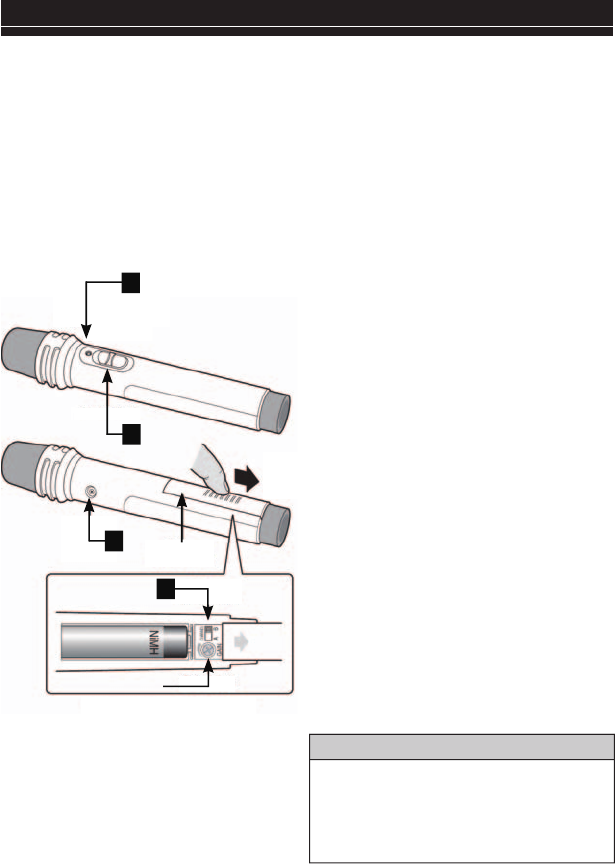
e HM-70 handheld microphone is
an optional microphone that can be
ordered from LightSPEED. It can be
used alone or in tandem with the
LT-70 LightMic.
1. POWER SWITCH: is 3-position
switch allows you to turn the micro-
phone on (up position), mute the
microphone (middle position), and
turn off the microphone (down posi-
tion). e red LED above the switch
lights when the switch is in the
“MUTE” or power “ON” positions.
2. CHANNEL SELECT SWITCH:
is switch allows you to choose
between Channel A or Channel B.
is switch is set to Channel B at
the factory.
3. POWER/CHARGE LED
INDICATOR: is two-color LED
indicator is located directly above the
power switch. It glows red when the
HM-70 is powered on and glows green
when charging.
4. CHARGING JACK: Use the jack
labeled CHARGER to connect the
charging cable from the 705iR to the
HM-70 for daily battery recharging.
(is is not covered by the warranty.)