16
Setting the Clock
INFO
Remote
ONLY
Without setting the built-in clock, you cannot use Daily
Timers (see page 29).
• To exit the clock settings, press CLOCK/TIMER as
required.
• To correct a mis-entry during the process, press
CANCEL (while holding SHIFT). You can return to the
previous step.
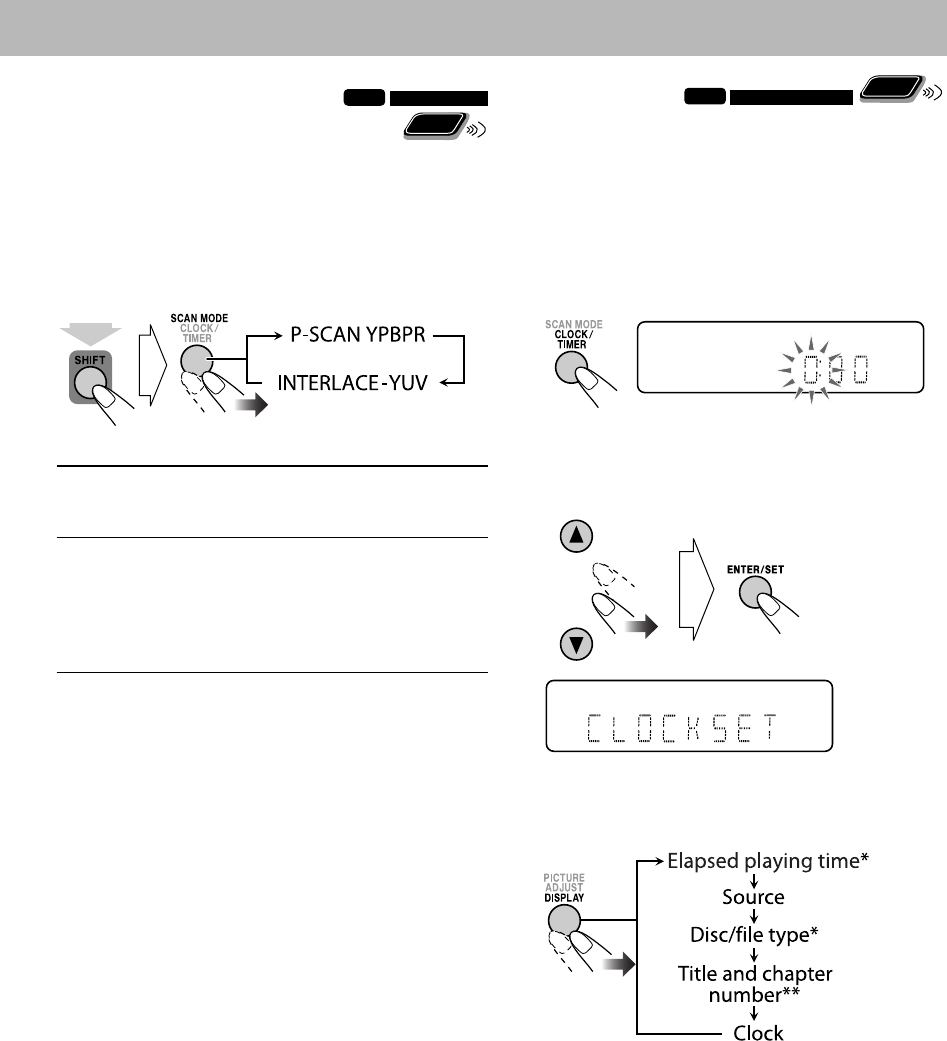
1 Activate the clock setting mode.
• If you have already adjusted the clock before, press
the button repeatedly until the clock setting mode is
selected.
2 Adjust the hour, then the minute.
Now the built-in clock starts working.
To check the current clock time during playback
Ex.: While playing a disc...
* Only while playing back a disc or USB mass storage class
device.
** Only while playing back the following discs/files:
MP3/WMA/JPEG/MPEG-1/MPEG-2/DivX files:
Group and file number.
DVD Video/DVD-VR: Title and chapter number.
Changing the Scanning Mode
INFO
This System supports progressive scanning.
Select the video signal output according to the type of
your TV. If you connect a progressive TV through the
COMPONENT VIDEO OUT jacks, you can enjoy a high
quality picture playback by selecting “P-SCAN YPBPR.”
Before playback...
INTERLACE-
YUV
For a conventional TV.
Select when connecting the TV through
the VIDEO OUT jack.
P-SCAN
YPBPR
For a progressive TV.
Select to enjoy a progressive scanned
picture through the COMPONENT
VIDEO OUT jacks.
• The PRGR. (Progressive) indicator lights
on the display.
Remote
ONLY
(while holding...)
UX-L5V[U]6th.indb 16UX-L5V[U]6th.indb 16 09.4.2 11:08:34 AM09.4.2 11:08:34 AM
