


14 TD-EX90
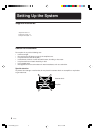
CD synchronized recording
CDs can be recorded with a simple, one-touch operation. By using the features of the CD player
you can easily create an original tape of your favorite music.
Be sure to make the Compu Link connection among the EX series components.
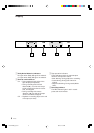
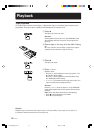
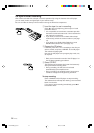
1 Load the tape for use in recording.
Press 0 to open the tape tray, place a tape on it and
press 0 to close it.
• It is not possible to record onto a cassette tape with
the broken accidental erasure tab. Use a cassette the
tab of which is not broken.
• If you want to record music on both sides of tape
continuously, switch the reverse mode on (see page
13).
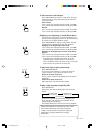
• If you want to use Dolby Noise Reduction, press
DOLBY NR to select B or C (see page 13).
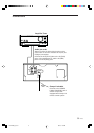
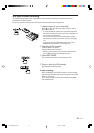
2 Prepare the CD player.
Load CDs, press CD 1, 2 or 3 according to the disc you
want to record, and press &/CANCEL of the CD player.
This selects the playing CD.
Now set the CD player to the program play mode, etc.,
as required.
* Refer to the instruction manual of the CD player for
the CD player operating procedures.
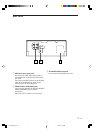
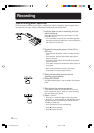
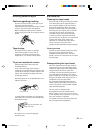
3 Press CD REC.
The CD player and cassette deck start simultaneously
and synchronized recording starts.
• During recording, the CD source is selected
automatically by the amplifier/tuner.
• During recording, the amplifier/tuner’s input source
cannot be changed even by pressing its INPUT.
To stop recording:
Press &/CANCEL of the CD player to stop recording.
The cassette deck will stop after leaving a non-recorded
blank of 4 seconds.
If you want to stop recording immediately, press 7 of
the cassette deck.
CD RECREC PAUSE
1-23.TD-EX90[J]/1 5/12 98.6.4, 11:59 AM14