


9
Basic Operations
The following operations are commonly used when you play any sound sources.
Operations hereafter will be explained using the buttons on the front panel.
You can also use the buttons on the remote control for the same functions if they have the same and similar names/marks.
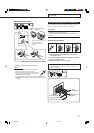
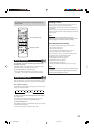
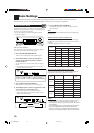
Selecting the Source to Play
When you have connected digital source components using the
digital terminals, first change the input mode for these components
to the digital input mode (see page 11).
Press one of the source selection buttons.
Notes:
• When connecting a CD recorder to the TAPE/CDR jacks, change
the source name shown on the display. For details, see page 12.
• By pressing the one of the audio source selection buttons—TAPE/
CDR, CD, and FM/AM—on the remote control, you can turn on the
receiver and select the audio source.
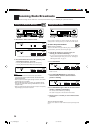
Daily Operational Procedure
1 Turn on the power.
• See “Turning On the Power” below.
2 Select the source.
• See “Selecting the Source to Play” to the right.
3 Adjust the volume.
• See “Adjusting the Volume” on page 10.
4 Select the Surround or DSP modes.
• See “Activating the Surround Modes” (page 25) and
“Activating the DSP Modes” (page 27).
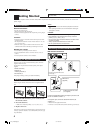
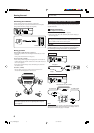
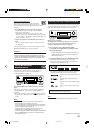
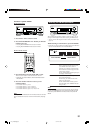
Turning On the Power
Press STANDBY/ON (or STANDBY/ON AUDIO on
the remote control).
The STANDBY lamp goes off.
To turn off the power (into standby mode),
press STANDBY/ON (or STANDBY/ON AUDIO on the
remote control) again.
The STANDBY lamp lights up.
Note:
A small amount of power is consumed in standby mode. To turn off
the power completely, unplug the AC power cord.
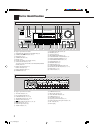
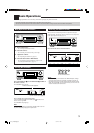
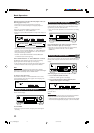
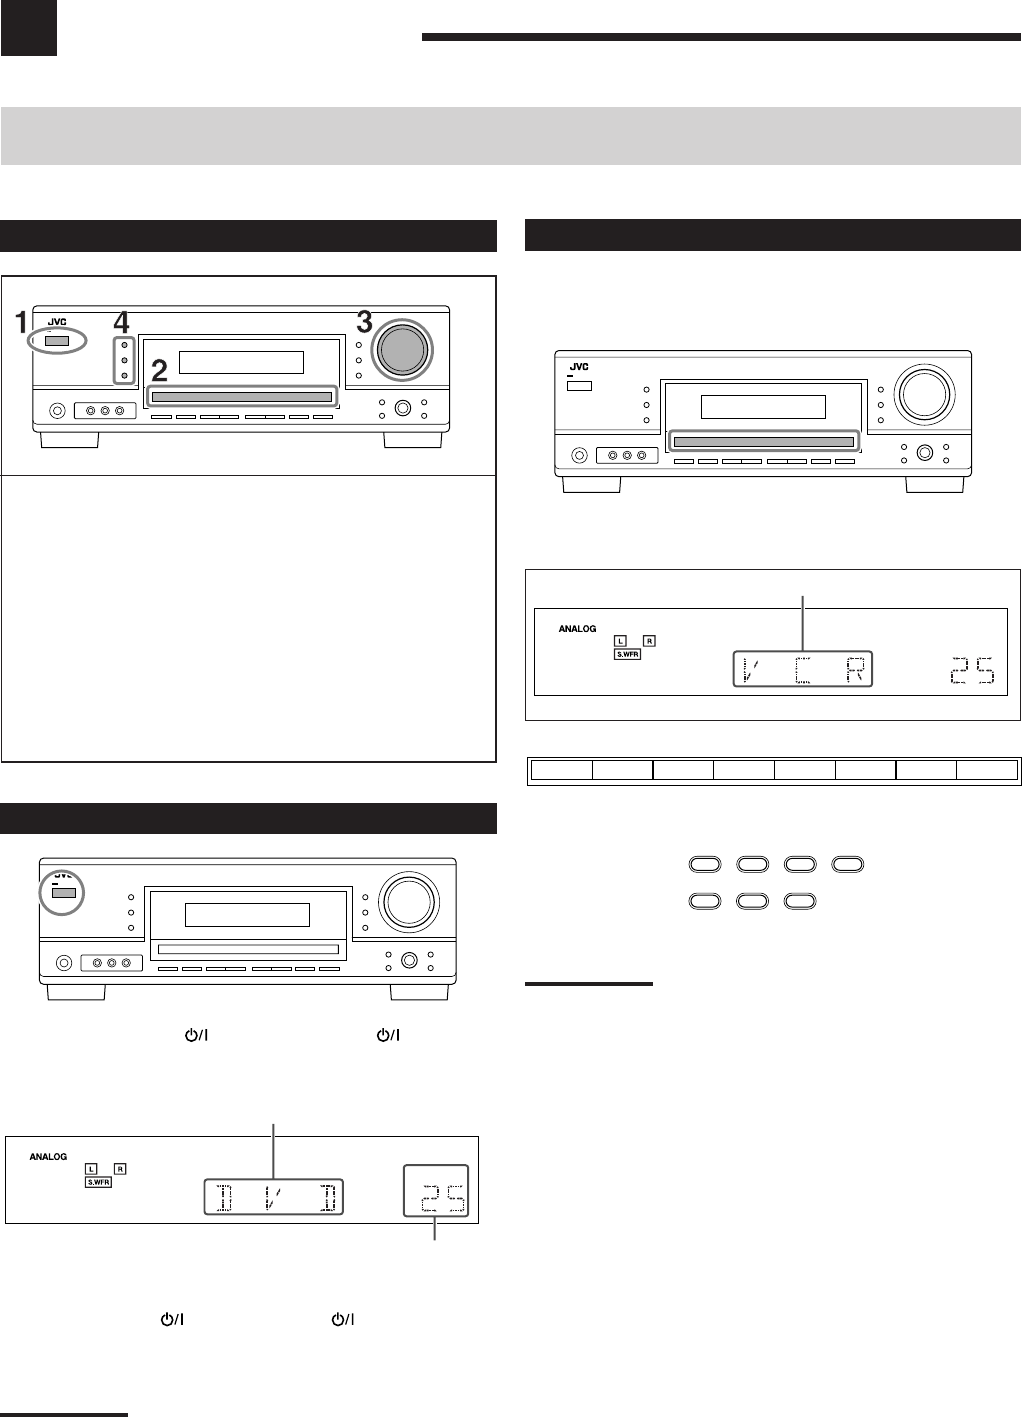
On the front panel
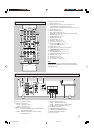
On the remote control
VOLUME
Current source name appears.
Current volume level appears.
DVD VCR CD AMTV SOUND TAPE/CDR
SOURCE NAME
AUX FM
TAPE/CDR CD DVD
FM/AM TV SOUND VCR
AUX
Selected source name appears.
VOLUME
09-13_RX-5060B[J].p65 05.12.17, 14:499