


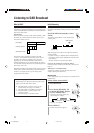


25
3
Start playing the source—FM, AM (MW),
DAB or auxiliary equipment connected to
AUX jack.
• When the source is FM, AM (MW), or DAB, tune in to
the station you want to record.
• When recording from discs, see “Recording Discs—
Disc Synchronized Recording” on page 26.
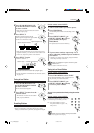
4
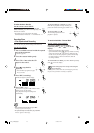
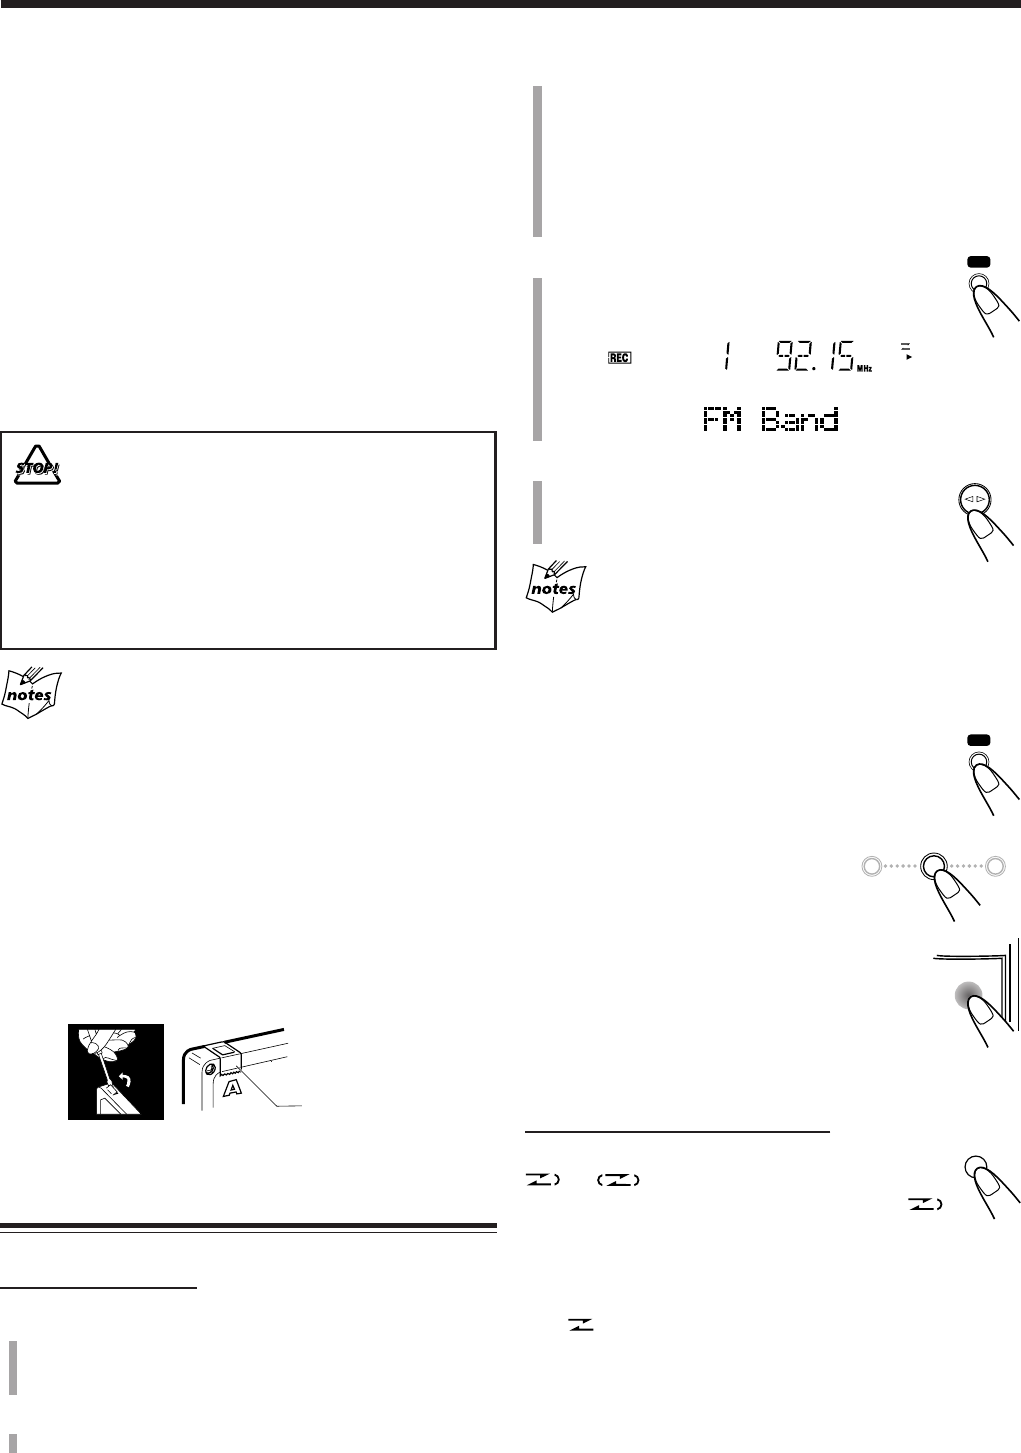
Press REC (recording).
• The REC indicator appears and 3 indicator
lights up on the display.
5
Press TAPE ¤ ‹.
3 indicator starts flashing and the recording
starts.
• If no cassette is inserted when you press REC
“No TAPE” appears on the display.
• If a protected tape is inserted when you press REC
“TAPE Protect” appears on the display.
To stop recording for a moment, press REC.
The recording is paused. To resume recording, press
TAPE ¤ ‹.
To stop recording, press 7.
The recording stops.
To remove the cassette, press PUSH OPEN
while recording is stopped.
To record on both sides—Reverse Mode
On the remote control ONLY:
Press REV. MODE (reverse mode) until
or is lit on the display.
• When using the Reverse Mode for recording,
lights up and start recording in the forward ( 3 )
direction first.
To cancel the Reverse Mode, press REV.MODE repeatedly
until is lit on the display.
IMPORTANT:
• It should be noted that it may be unlawful to re-record
pre-recorded tapes, records, or discs without the
consent of the owner of copyright in the sound or video
recording, broadcast or cable program and in any
literary, dramatic, musical, or artistic embodied
therein.
• The recording level is automatically set correctly, so it is
not affected by the other sound settings. Thus, during
recording you can adjust the sound you are actually
listening to without affecting the recording level.
• If recordings you have made have excessive noise or static,
the unit may be too close to a TV. Increase the distance
between the TV and the unit.
• You can only use type I tape for recording.
• DO NOT turn off the unit while playing back or
recording a tape. The cassette deck or tapes
may be damaged.
• DO NOT use type II and type IV tapes since the
unit is not compatible with such tapes.
• The use of C-120 or longer tape is not
recommended, since characteristic deterioration
may occur and this tape easily jams in the pinch
rollers and the capstans.
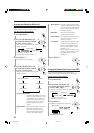
At the start and end of cassette tapes
There is leader tape which cannot be recorded onto. Thus, when
recording from discs, FM/AM (MW)/DAB broadcasts, or external
equipment, wind the leader tape first to ensure that the recording
will be made without losing any music.
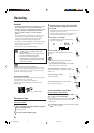
To protect your recordings
Cassettes have two small tabs on the back to protect against
unexpected erasure or re-recording.
To protect your recording, remove these tabs.
To re-record on a protected tape, cover the holes with
adhesive tape.
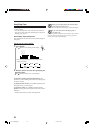
Recording
Adhesive tape
Recording on a Tape
On the unit ONLY:
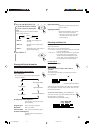
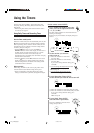
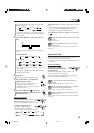
1
Put a recordable cassette in with the exposed
part of the tape down.
• See also page 16.
2
Close the cassette holder gently.
REC
REC
PUSH OPEN
REV. MODE
SCROLL DOWN SELECT
4 7 ¢
SCROLL UP
TAPE
25-26_UX-HB4[B]6.p65 04.8.5, 6:17 PM25