


34
English
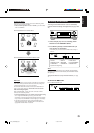
VCR
You can always perform the following operations:
STANDBY/ON
VCR: Turn on or off the VCR.
VCR CH +/–: Change the TV channels on the VCR.
After pressing VCR, you can perform the following operations on
the VCR:
3: Start playing.
REW: Rewind the tape.
FF: Fast-forward the tape.
7: Stop playing, recording, rewind and fast forward.
8: Pause playing and recording. To resume, press 3.
REC PAUSE: Enter recording pause.
To start recording, press this button then 3.
DVD player
You can always perform the following operation:
STANDBY/ON
DVD: Turn on or off the DVD player.
After pressing DVD (or DVD MULTI for RX-6040B/RX-6042S),
you can perform the following operations on the DVD player:
3: Start playing.
4: Return to the beginning of the current (or previous) chapter.
¢: Skip to the beginning of the next chapter.
7: Stop playing.
8: Pause playing. To resume, press 3.
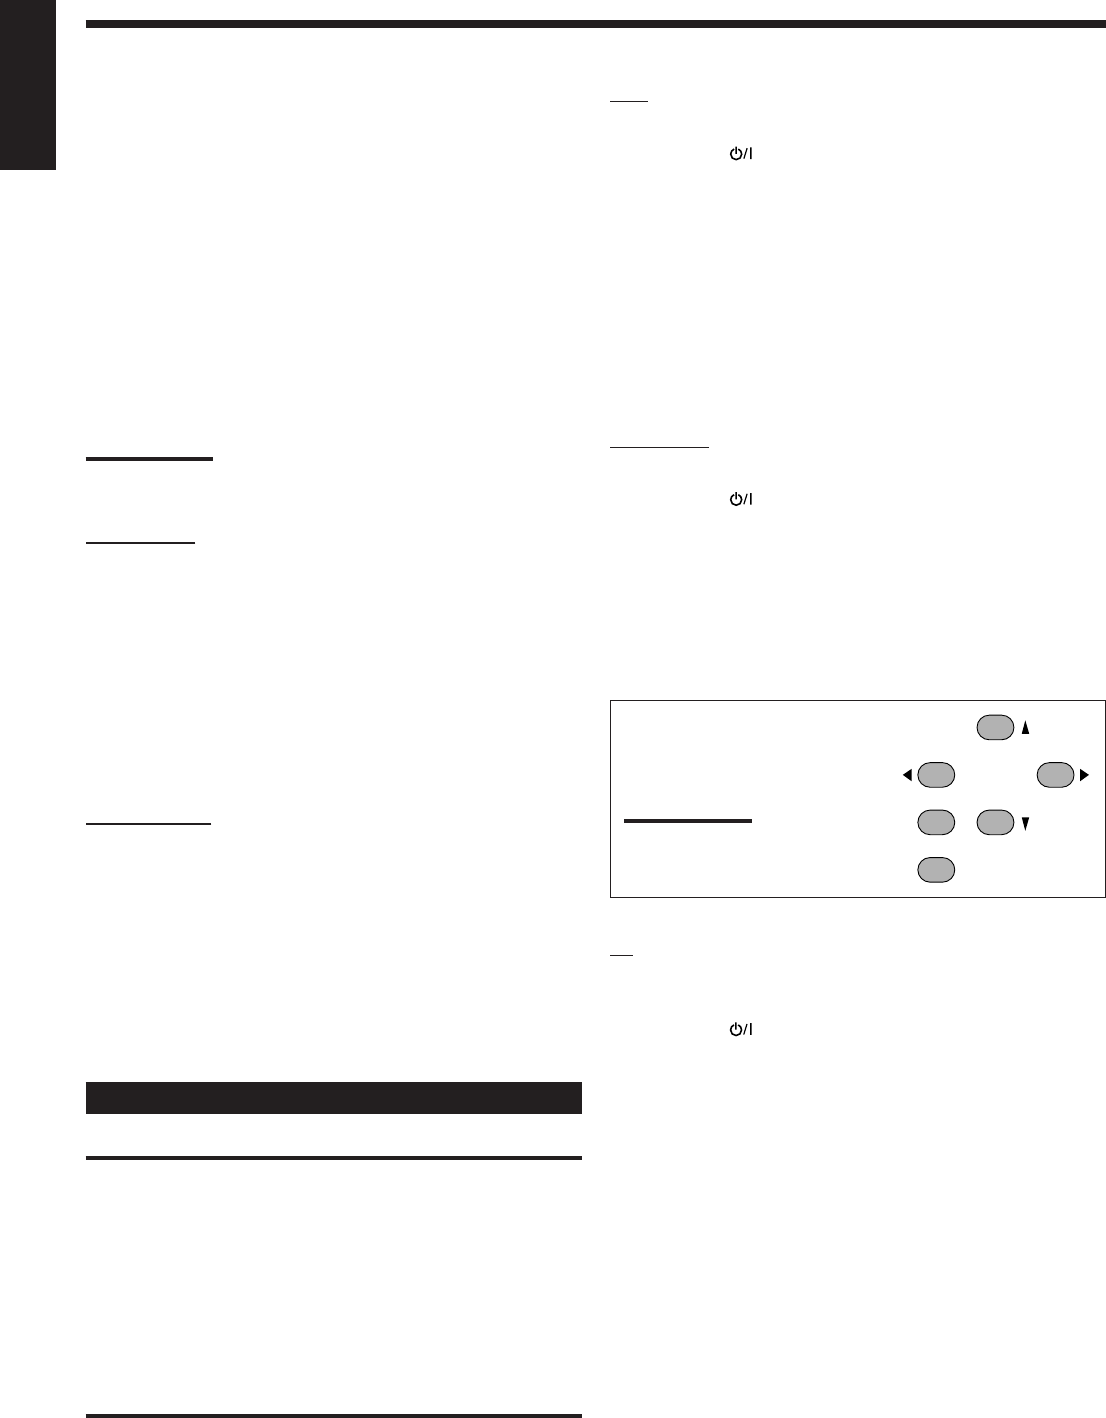
After pressing DVD (or DVD
MULTI), these buttons can be used
for the DVD menu operations.
Note:
For detailed menu operations, refer to
the instructions supplied with the discs
or the DVD player.
TV
Set the TV/CATV selector to “TV.”
You can always perform the following operations:
STANDBY/ON
TV/CATV: Turn on or off the TV.
TV/CATV CH +/–: Change the channels.
TV VOLUME +/–: Adjust the volume.
TV/VIDEO: Set the input mode (either TV or VIDEO).
After pressing TV SOUND, you can perform the following
operations on the TV:
1 – 9, 0, 100+ (+10): Select the channels.
RETURN (10): Alternate between the previously selected
channel and the current channel.
If your CD changer is of 200-disc loading capability (except for
XL-MC100 and XL-MC301), you can do the following operations
using the 10 keys after pressing CD.
1 Select a disc number.
2 Then select a track number (always enter two digits).
3 Press 3 to start playback.
Examples:
• Selecting disc number 3, track number 2, and starting playback.
Press 3, then, 0, 2, then 3.
• Selecting disc number 10, track number 5, and starting playback.
Press 1, 0, then, 0, 5, then 3.
• Selecting disc number 105, track number 12, and starting
playback.
Press 1, 0, 5, then 1, 2, then 3.
Note:
It is required to press each button within 4 seconds in the above
procedure.
CD recorder
After pressing TAPE/CDR, you can perform the following
operations on a CD recorder:
3: Start playing.
4: Return to the beginning of the current (or previous)
track.
¢: Skip to the beginning of the next track.
7: Stop playing and recording.
8: Pause playing and recording. To resume, press 3 .
REC PAUSE: Enter recording pause.
To start recording, press this button then 3.
Cassette deck
After pressing TAPE/CDR, you can perform the following
operations on a cassette deck:
3: Start playing.
REW: Fast-wind the tape from right to left.
FF: Fast-wind the tape from left to right.
7: Stop playing, recording and fast wind.
8: Pause playing and recording. To resume, press 3 .
REC PAUSE: Enter recording pause.
To start recording, press this button then 3.
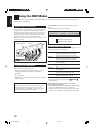
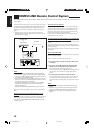
Operating Video Components
IMPORTANT:
To operate JVC’s video components using the supplied remote
control:
• You need to connect JVC’s video components through the AV
COMPU LINK jacks (see page 31) in addition to the connections
using cables with RCA pin plugs (see pages 8 and 9).
• Some JVC’s VCRs can accept two types of the control signals—
remote code “A” and “B.” Before using this remote control, make
sure that the remote control code of the target VCR is set to code
“A.”
• When using the remote control, aim the remote control directly at
the remote sensor on each component, not on the receiver.
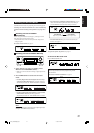
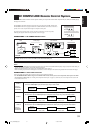
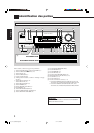
MENU
ENTER
4
7/P
10
2
8
6
Operating JVC’s Audio/Video Components
31-39_5040&6040[C]f.p65 1/13/04, 7:29 PM34