38
English
To stop at any time while recording, press the 7 button (CD control or Cassette Deck control) or the
REC START/STOP button. If you press the CD control 7 button, the Cassette Deck creates a four
second blank space after the Video CD Player stops. If you press any other button to stop the
recording, the Video CD Player and Cassette Deck stop at the same time.
To cancel Auto Edit, press the 0 button for disc number being recorded, or press the PROGRAM/
RANDOM button while the Video CD Player is stopped.
Note: When making SLEEP timer settings while doing Auto Edit recording, set the time so that
there is enough leeway to finish the recording before the power goes off. If the time is set to about
the length of the CD, the power may go off before recording finishes.
Tape to Tape Recording (Dubbing)
Recording from one tape to another is called dubbing.
You can dub tapes simply, with just a single button.
❏ When dubbing tapes, make sure that the playback direction of Deck A and Deck B are the same.
❏ When you want to record both sides of a tape, press the REVERSE MODE button to turn
Reverse mode on.
❏ It is preferable that the type of tape (Type I or Type II) you record from be the same as the type
you record onto.
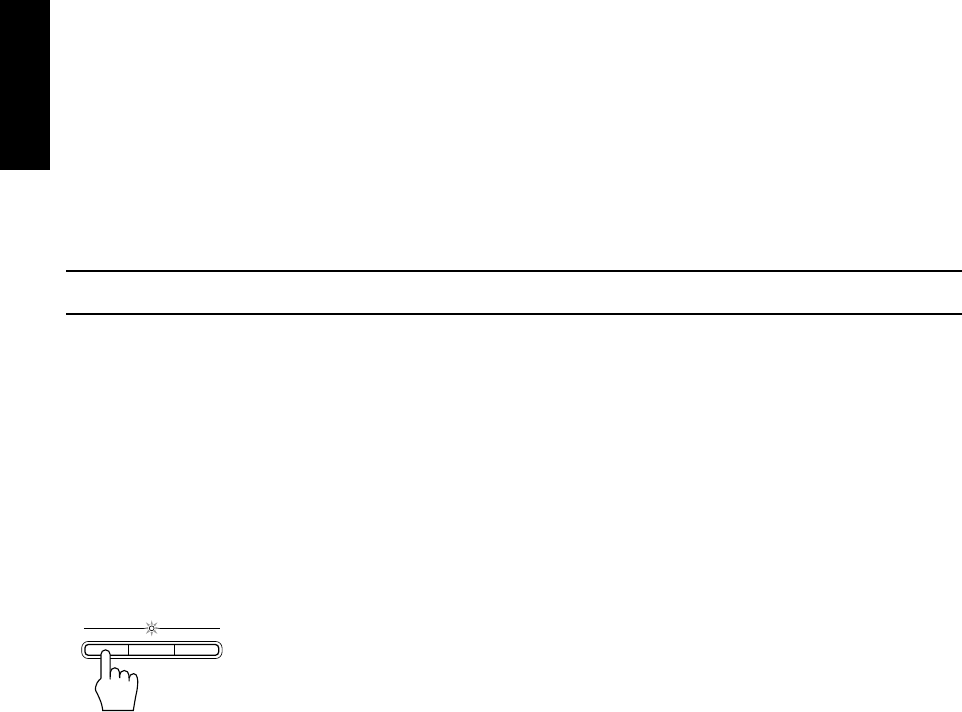
How to Use the DUBBING Button ———————————————————
1.Insert the source cassette you want to copy from into Deck A for playback.
2.Insert the blank or erasable cassette you want to copy onto into Deck B for recording.
3.Press the DUBBING button.
Deck A and Deck B will start simultaneously.
To stop dubbing, press the 7 button or REC START/STOP button.
❏ Dolby NR is inactive in dubbing mode regardless of the setting of DOLBY B NR. The dubbed
tape automatically contains the same processing as the source tape.
❏ When doing dubbing with the DUBBING button, you can hear Sound Mode effects through the
speakers or headphones. However, the sound is dubbed without Sound Mode effects.
CD REC STARTREC
START/STOP
DUBBING


