– 40 –
7
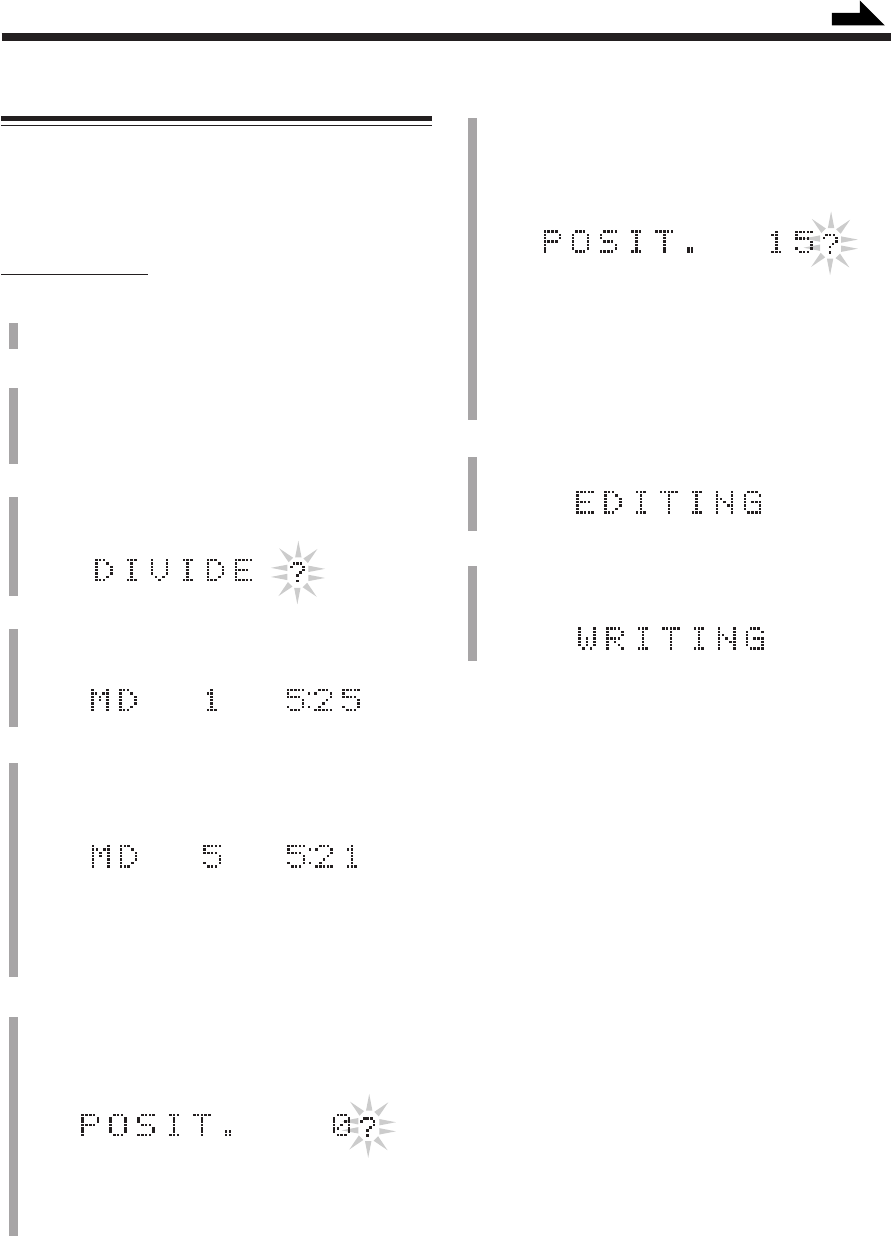
Rotate the left jog dial to precisely adjust the
dividing point.
• You can shift the dividing point up to ±128. This
range (±128) corresponds to approximately ±8
seconds from the original point (Position 0).
When you stop rotating the left jog dial, the unit
repeats the newly selected dividing point.
• When you find the right position, go to the next step.
• If you want to cancel the dividing point, press
CANCEL.
8
Press ENTER (START) to finish the editing
procedure.
9
Press 0 for MD deck B to eject the MD.
“WRITING” appears while the editing you have made
is being recorded on the MD.
To join the divided tracks again, see the JOIN function.
DIVIDE Function
This function allows you to divide one track into two
separate tracks. It is useful, for example, when you want to
add track marks at a certain point within a track or if you
want to separate a recording.
• To stop any time during editing process, press MD EDIT.
On the unit ONLY:
1
Insert an MD you want to edit into the MD B
loading slot.
2
Press one of the MD number buttons (MD 1, MD 2,
and MD 3) corresponding to the MD you want to
edit.
MD deck B starts playing the MD.
3
Press MD EDIT.
MD deck B enters editing mode (with DIVIDE
function selected).
4
Press SET.
The information of the first track (or the current track)
of the MD appears in the main display.
5
Rotate the right jog dial to select the track you want
to divide.
The selected track starts playing.
• If you do not rotate the right jog dial, the same track
plays repeatedly.
• You can rotate the left jog dial to find the dividing
point.
6
Press SET when you find the point where you want
to divide the track.
MD deck B repeats the selected point — a 3-second
period following the dividing point.
• If the dividing point is satisfactory, go to step 8.
• If the dividing point is not satisfactory, go to the next
step.
Ex. When you want to divide track 5
Continued
EN38-48.CA-WMD90R[B]/f 99.3.4, 8:25 PM40


