


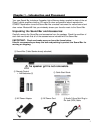
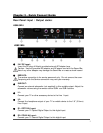
Placement -- Table Stands / Wall Mount Brackets:
The Sound Bar is shipped with the table stands attached. Position the Sound Bar on a
secure table or shelf as noted in the Safety Instructions to avoid damage or injury.
The table stands can also be removed and re-attached for wall mounting. Please carefully
read the wall mounting information provided below.
CAUTION: Wall Bracket Installation: Only a professional installer should install the Sound
Bar onto the wall. Dangerous voltages exist inside walls and extreme caution
must be exercised to avoid injury or deadly electrical currents. High pressure
water and natural gas pipes are also hidden in walls and only professionals
are trained to avoid in-wall hazards.
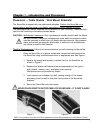
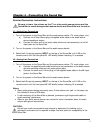
Tips For Professionals: Follow the instructions below for wall mounting the Sound Bar.
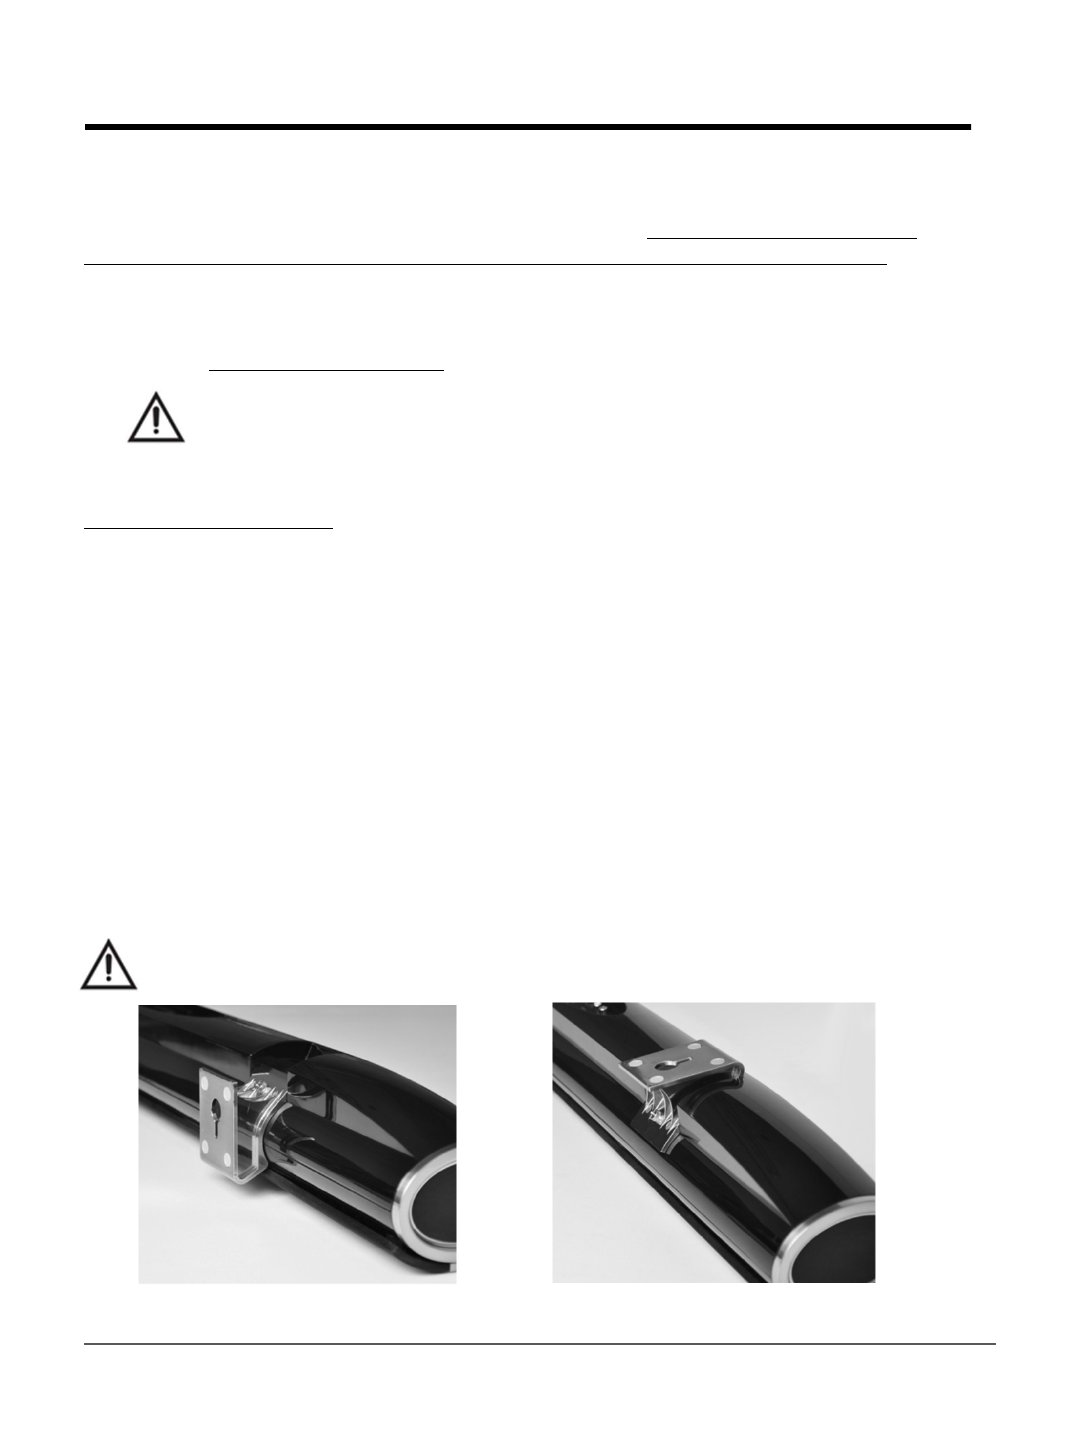
Place the Sound Bar on a secure surface and remove the table stands from
the Sound Bar using a slotted screw driver of appropriate size. See Figure 1.
1. Reverse the stands and securely re-attach them to the Sound Bar as
shown in Figure 2.
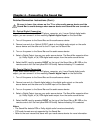
2. Measure and attach wall fasteners that are appropriate to the type of
wall (drywall, masonry, etc.) and fasten them securely.
Wall anchors are not provided by Hitachi.
3. Insert screws (not included) into wall, leaving enough of the screws
protruding from the wall to slide into the key slots of the Sound Bar
brackets.
4. Secure the Sound Bar onto the screws.
Figure 1 Figure 2
NOTE:YourproductmayvaryinfinishorappearancefromthephotographsinthisOwner’sGuide.
5
Chapter 1 – Introduction and Placement
:NEVERPLACEOBJECTSONTOPPANELOFSOUNDBAR–ITISNOTASHELF.