


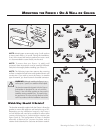

Mounting the Fresco i On A Wall or Ceiling 7
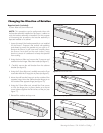
Changing the Direction of Rotation
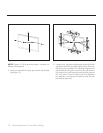
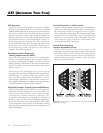
Figure 7. Remove the 2 cap nuts and washers from the hinges.
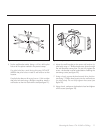
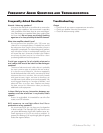
Figure 8. Remove the wall bracket from the cabinet bracket.
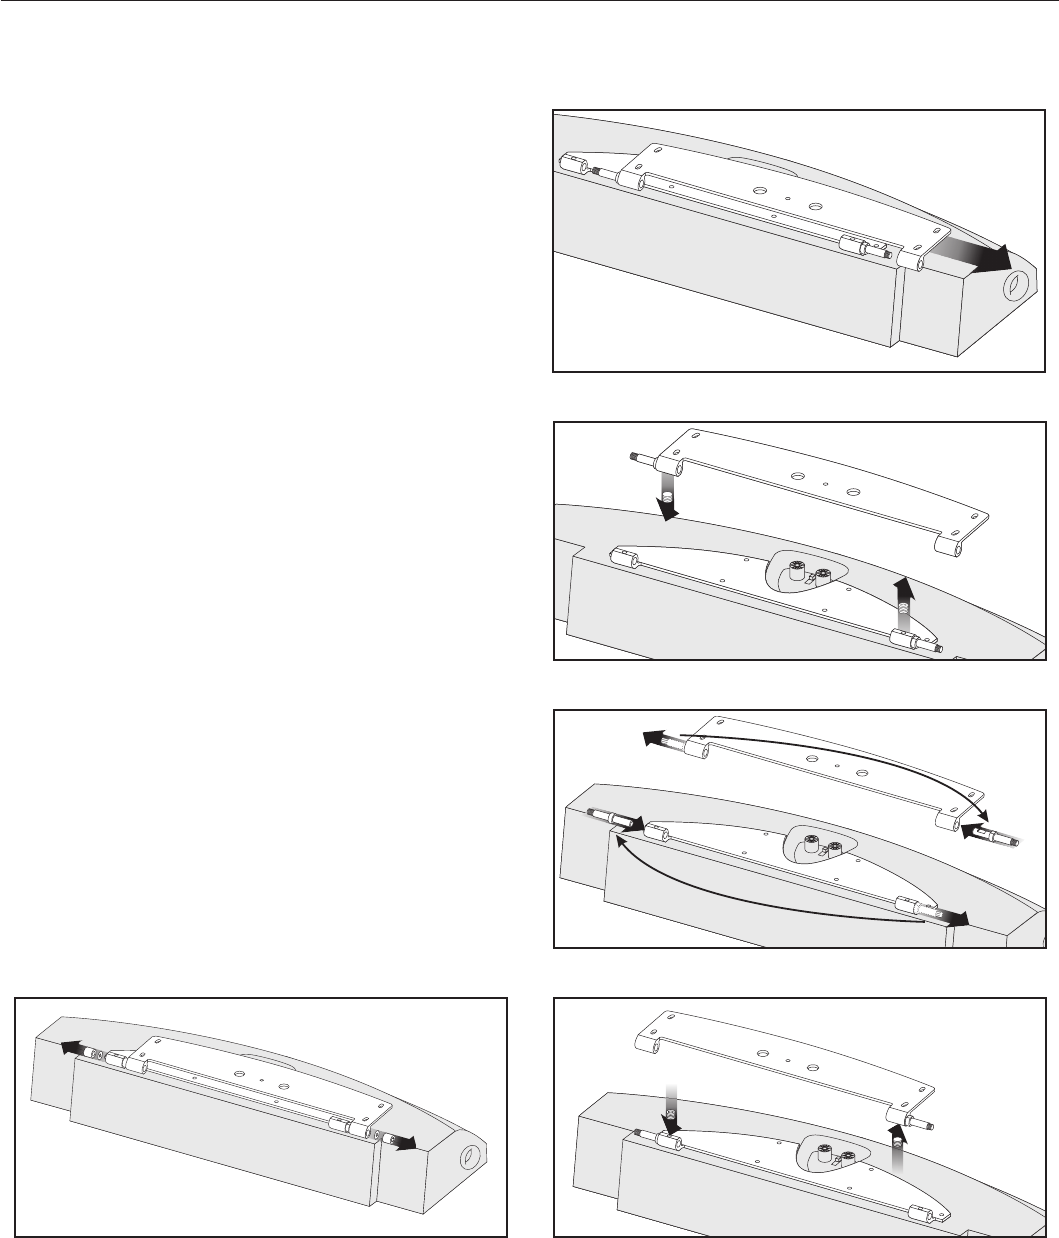
Figure 9. Remove the 2 set screws.
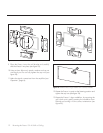
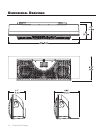
Figure 10. Change hinge pin locations.
Figure 11. Reinstall the two set screws to hold hinge pins in place.
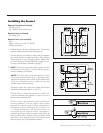
Required tools (included):
2.5mm Allen tool, 6mm Allen tool
NOTE: This procedure can be performed either with
the bracket assembly installed on the Fresco i cabinet or
with the bracket assembly uninstalled. For the purpose
of illustrating this procedure, the bracket assembly is
depicted installed on a cabinet.
1 Ignore this step if the bracket assembly is not installed
on the Fresco i. Prepare a flat surface with padding
and sheets to protect the speaker as you work on it.
Remove the Fresco i's grill cover and carefully place
the Fresco i face down on the work surface, using
books or pieces of cardboard to keep the speaker
from rocking.
2 Using the 6mm Allen tool, remove the 2 cap nuts and
washers from the hinges. Place them aside (see figure 7).
3 Carefully remove the wall bracket from the cabinet
bracket (see figure 8).
4 Using the 2.5mm Allen tool, carefully remove the 2 set
screws that hold the 2 hinge pins in place (see figure 9).
5 Move the wall bracket hinge pin to the outside of the
opposite hinge. Move the cabinet bracket hinge pin to
the outside of the opposite hinge (see figure 10).
6 Using the 2.5mm Allen tool, reinstall the 2 set screws
to lock the hinge pins in place. Make sure the set
screw tightens against the flat surface of the pin (see
figure 11).
7 Reinstall the washers and cap nuts.