Using Memory, Printer, and PC
Use of Printer and PC19
19-3
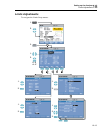
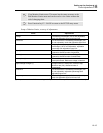
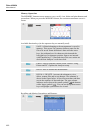
Available function keys for recall and delete:
F1
Return to main menu.
F2
Access to the menu where you can view the highlighted
screen shots and data sets. Use the Function keys PREVious
or NEXT to view other files. Files are grouped in sequence
of date and time. For data sets the entry screen is shown.
Complete data within a data set becomes available for
investigation after you have pressed USE.
F3
To delete the file highlighted with the up/down arrow keys.
F4
To rename the file highlighted with the up/down arrow
keys. Renaming occurs via a menu to define a new name.
Name definition is done with the arrow keys: the up/down
keys for character selection and the left/right keys for
character position. Spaces are inserted with Function key
F3. The selection is confirmed with Function key F5.
F5
Is only available for datasets to view their complete
contents.
Use of Printer and PC
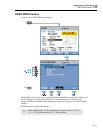
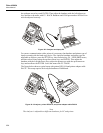
The Analyzer is equipped with an optical RS-232 interface for communication with a PC
or printer. To make the connection with the USB port of modern PC’s an optical interface
cable model OC4USB is supplied with Fluke 434. With the FlukeView software as
supplied with Fluke 434 you can upload waveform data and screenshots in bitmap format
to your PC or laptop. The information supplied with FlukeView software informs you
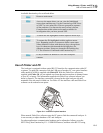
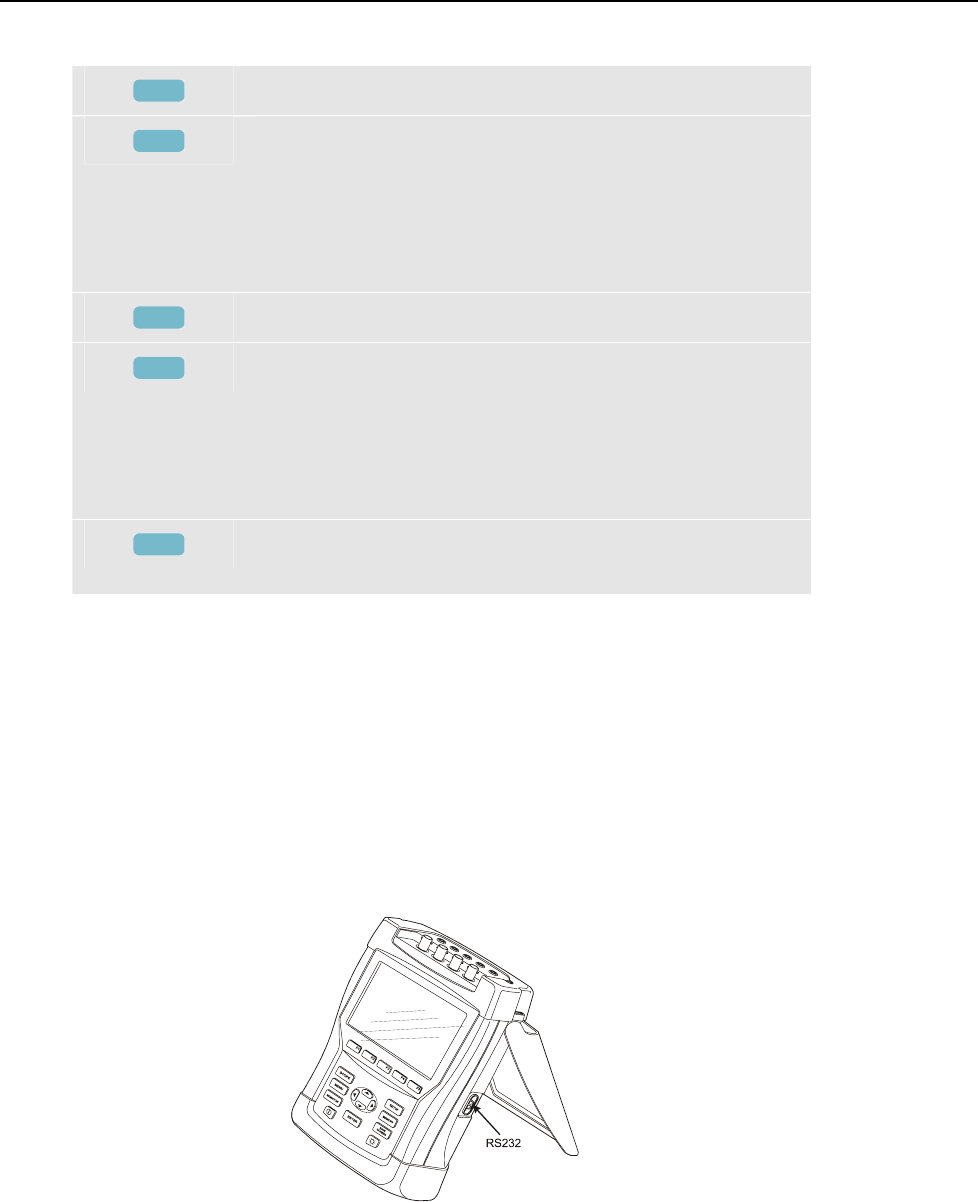
about its features. The interface connection is located at the right Analyzer side and
attainable if the tilt stand is folded out. For Fluke 433 the interface cable and FlukeView
software can be ordered as an option.
Figure 19-1. Location of optical interface
When started, FlukeView software scans the PC ports to find the connected Analyzer. It
is not necessary to adjust baudrate of PC and Analyzer.
For other applications communication baudrate can be adjusted as follows: press the
SETUP key, then Function key F4 – USER PREFerence, and then select RS-232 using


