P/2 DA2 WM/EC
Controls and Installation
P/2 DA2 WM/EC
Controls and Installation
Unity – output signal level is same as that of input
with no added peaking
50% – increases the output signal level and adds
50% of the maximum peaking to the signal
If the edges of the image seem to exceed their
boundaries, or if thin lines and sharp edges look
thick and fuzzy, try changing the level/peak setting.
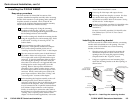
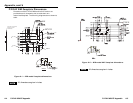
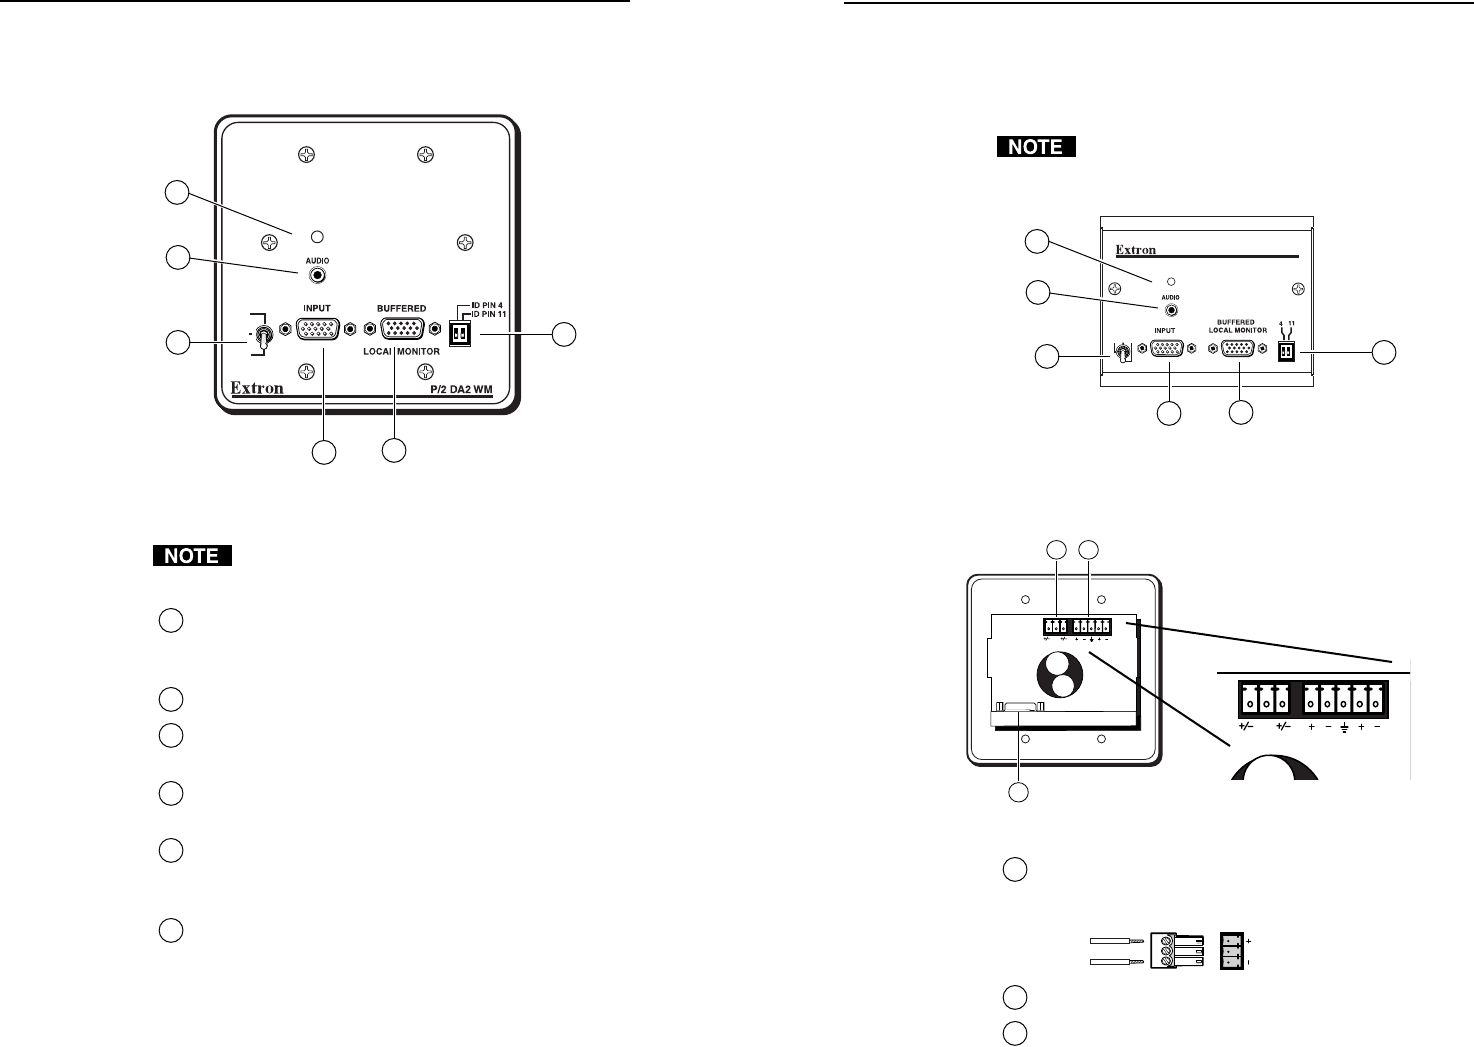
Figure 2-2 — P/2 DA2 EC faceplate features
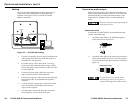
Rear connectors
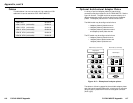
Figure 2-3 — P/2 DA2 WM rear connectors
1
Power input — 12 - 24 VAC or DC (captive screw
connector). The center pole contains no conductor.
Connect the conductors to the outer two poles only.
2
Audio output — 3.5 mm captive screw stereo output
3
VGA output — HD 15-pin female analog video
output connector
AUTO POWER
100%
UNITY
50%
GAIN/PEAKING
1
2
3
4
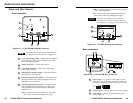
Front and Rear Panels
Front faceplate
Figure 2-1 — P/2 DA2 WM faceplate features
Both WM and EC models have the same front and
rear panel connectors and features. See figure 2-2.
1
2-color power/signal LED — lights amber to indicate
power On only; lights green to indicate power On
with video signal present.
2
Audio input jack — 3.5 mm stereo input
3
VGA input connector — HD 15-pin male analog
video input connector
4
Buffered local monitor output — HD 15-pin female
for output to a local monitor
5
ID bit termination DIP switches — provides proper
ID bit termination for a laptop computer that is not
attached to a local monitor.
6
3-position gain/peaking switch — compensates for
cable capacitance and resistance due to long cable
runs; position switch for best image on the output
display device.
100% – increases the output signal level and adds
100% of the maximum peaking to the signal
5
6
AUTO POWER
P/2 DA2 EC
ID PINS
100%
UNITY
50%
GAIN/
PEAKING
1
2
6
3
4
5
Positive
Negative
N/C
2-2 2-3
Controls and Installation
3
NC
12-24V AC/DC
R
L
1 2
NC
12-24V AC/DC
R
L


