


11
ENGLISH
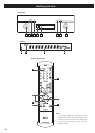
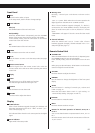
Front Panel
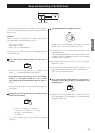
INPUT
Turn this knob to select an input.
In the setup mode, use this knob to change settings.
Power indicator
Blue (on)
The POWER button of the main unit is ON.
Red (standby)
When the POWER button is depressed, press the STANDBY
button of the remote control unit to turn the unit standby.
In the standby mode, press the ON button of the remote
control unit to turn the unit ON.
Off
The POWER button of the main unit is OFF.
POWER
Use this button to turn the unit on and off.
SETUP
Press this button to enter or exit the setup mode (see pages
14-17).
Remote control sensor
Receives signals from the remote control unit. Point the
remote control unit at this sensor when operating the remote
control unit.
Display
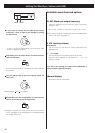
WORD
Use this to turn on or off the word sync function.
The indicator lights when the word sync is on.
MUTING
Use this button to mute the sound.
VOLUME
Turn this knob to adjust the volume.
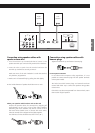
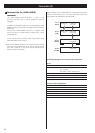
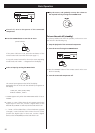
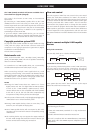
Display
i.LINK indicator
After a future hardware upgrade (charged), this indicator will
light when the INPUT knob is set to “i.LINK” or when “i_RC”
is set to ON (see page 17).
This indicator blinks when the unit cannot perceive the digital
signal.
SETUP indicator
Lights while in the setup mode.
b
a
I
H
G
F
E
D
C
B
A
Message area
Normally, “current input” and volume are shown on the
display.
“OPT” or “COAX” blinks when the unit cannot perceive the
digital signal from the OPTICAL or COAXIAL terminal.
After a future hardware upgrade (charged), if a device is
connected to the i.LINK (AUDIO) terminal, the display will
show its model name (such as SA-10) instead of “current
input”.
“UNKNOWN” will appear if the unit cannot find the model
name.
Channel indicators
When the INPUT knob is set to “i.LINK” after a future
hardware upgrade (charged), channels selected in the “CH”
setup will light (see page 17).
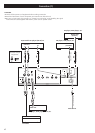
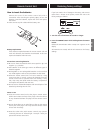
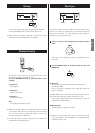
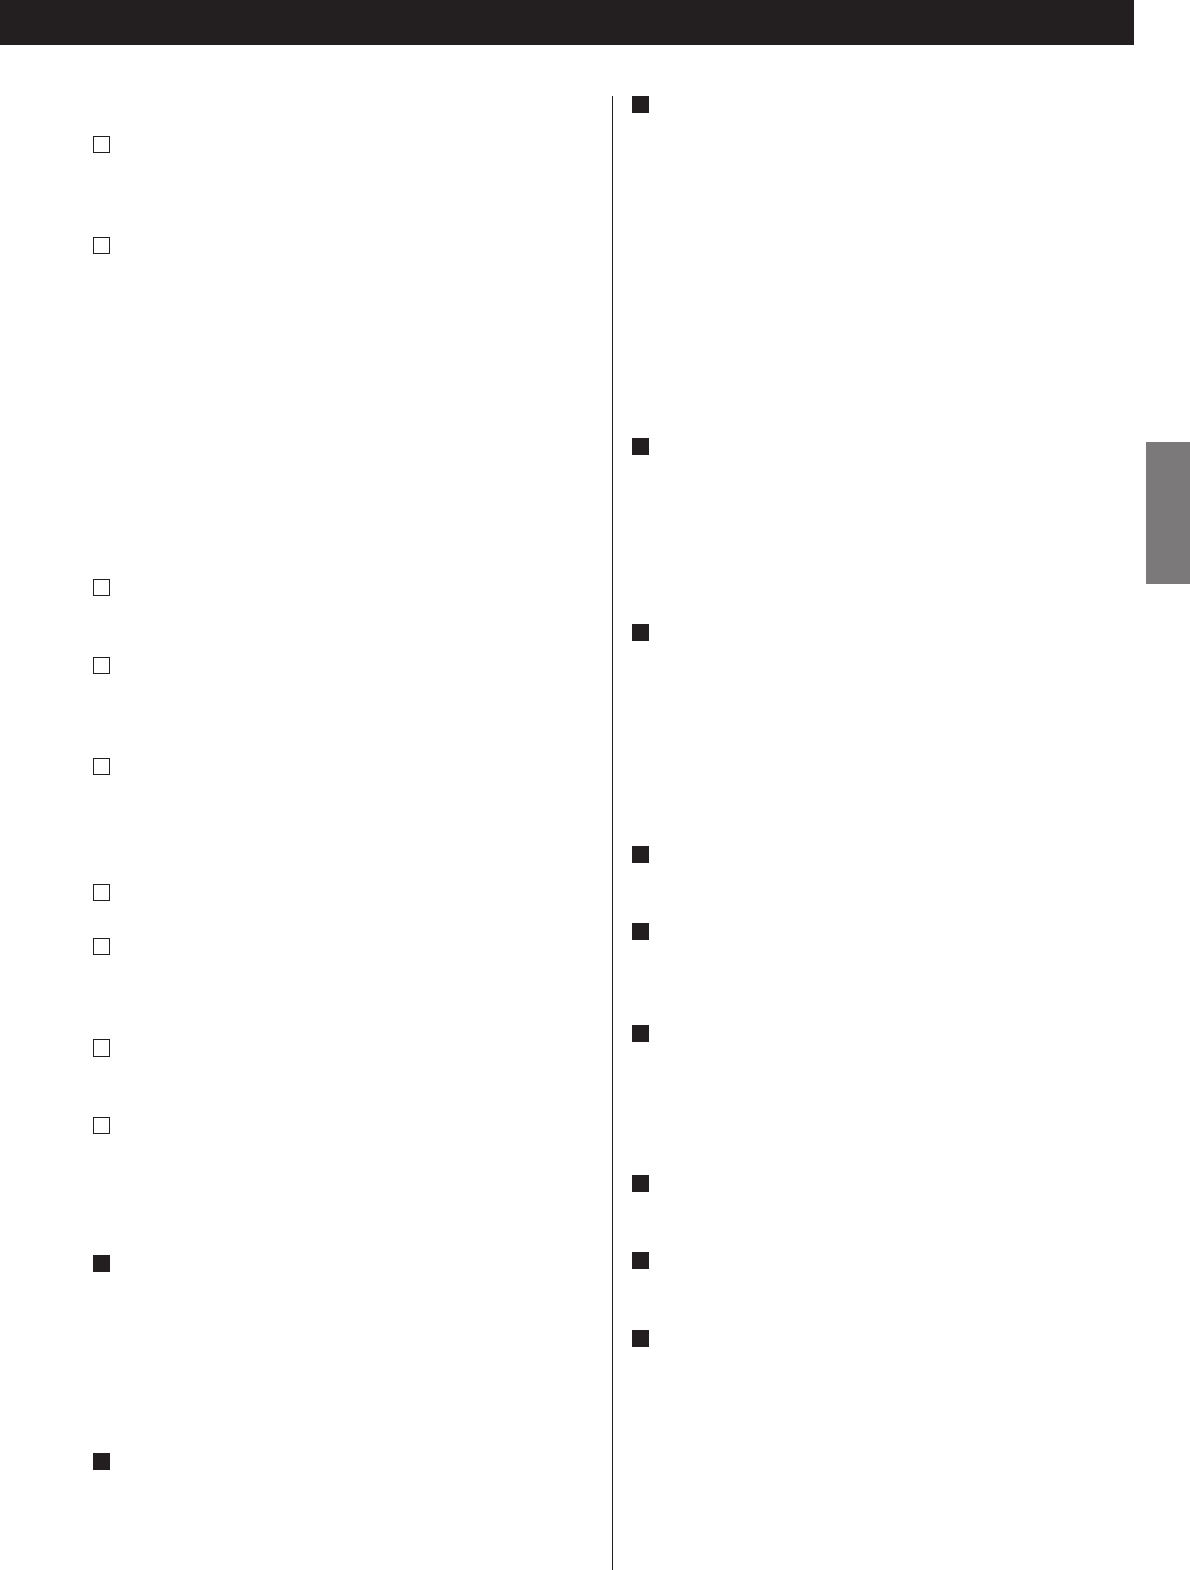
Remote Control Unit
STANDBY/ON
When the POWER button of the main unit is depressed, press
the STANDBY button to turn the unit standby.
In the standby mode, press the ON button to turn the unit
ON.
When you press the ON button, white buttons on the remote
control unit light for several seconds.
VOLUME
Use these buttons to adjust the volume.
DIMMER
Use this button to change the brightness of the front panel
display.
SETUP
Use this button in “Settings for Word Sync, Volume and
i.LINK” on page 16.
Note that this button doesn’t work in “gain setting” or
“name and skip setting” (see pages 14 and 15).
MUTING
Use this button to mute the sound.
INPUT
Use these buttons to select an input.
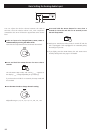
Buttons for the basic operation of Esoteric SA-10, SZ-1
or UZ-1
You can use these buttons to operate Esoteric SA-10, SZ-1 or
UZ-1.
Point the remote control unit at the remote sensor of the SA-
10, SZ-1 or UZ-1.
G
F
E
D
C
B
A
d
c