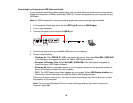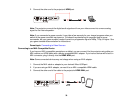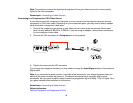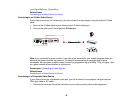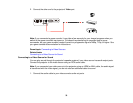
Connecting to a Computer for USB Video and Audio
If your computer meets the system requirements, you can send video and audio output to the projector
through the computer's USB port (preferably USB 2.0). Connect the projector to your computer using a
USB cable.
Note: An HDMI connection is recommended for projecting content requiring high bandwidth.
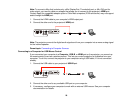
1. In the projector's Extended menu, set the USB Type B setting to USB Display.
2. Turn on your computer.
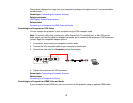
3. Connect the cable to your projector's USB-B port.
4. Connect the other end to any available USB port on your computer.
5. Do one of the following:
• Windows 8.x: Click EPSON_PJ_UD in the upper right-corner, then select Run EMP_UDSE.EXE
in the dialog box that appears to install the Epson USB Display software.
• Windows 7/Windows Vista: Select Run EMP_UDSE.EXE in the dialog box that appears to
install the Epson USB Display software.
• Windows XP: Wait as messages appear on your computer screen and the projector installs the
Epson USB Display software on your computer.
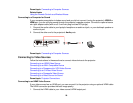
• OS X: The USB Display setup folder appears on your screen. Select USB Display Installer and
follow the on-screen instructions to install the Epson USB Display software.
Follow any on-screen instructions. You need to install this software only the first time you connect
the projector to the computer.
Note: If you are using Windows XP and you see a message asking if you want to restart your
computer, select No.
26


