OPERATION
3-2
November 1998
Part No. 001-7600-001
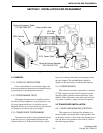
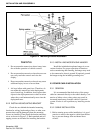
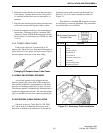
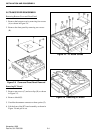
3.2 CONTROLS AND DISPLAY
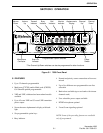
3.2.1 FRONT PANEL CONTROLS
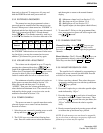
Power Switch (
)
- Press this switch to turn power
on and press and hold it to turn power off. The trans-
ceiver may be programmed so that a password must be
entered to allow operation. Refer to Section 3.3.2 for
more information.
Volume Up/Down Keys ( ) - Adjust the vol-
ume level up or down in up to 32 steps. The minimum
selectable volume level can be set as described in
Section 3.3.3.
Up/Down Keys ( ) - These keys may be pro-
grammed to select the next higher or lower channel or
for other functions. Refer to the descriptions in Section
3.5 for more information.
Microphone Connector - Connection point for the
microphone. Do not connect microphones other than
standard microphone P.N. 589-7600-020 and DTMF
microphone P.N. 589-7600-022 to this transceiver. The
pin assignments could be different and damage to the
microphone or transceiver may result.
F1/F2/F3/F4 - These keys can be programmed to con-
trol any of the functions described in Section 3.5. Place
the applicable included label on the switch to indicate
its function.
3.2.2 DISPLAY
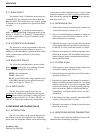
Transmit Indicator ( ) - Indicates that the trans-
mitter is keyed or the 5-tone code is being sent (if appli-
cable). If this indicator is flashing, the internal
temperature is high and the transmitter power output is
being cut back. Normal operation automatically
resumes when the temperature returns to the normal
range.
Busy Indicator ( ) - Indicates the currently selected
channel is busy (see Section 3.4.4).
Bell Indicator ( ) - Appears or flashes when a
5-tone call is detected that the transceiver is
programmed to receive.
Monitor Indicator ( ) - Indicates that the monitor
mode is enabled. This mode disables coded squelch
control so that all messages occurring on the channel
are heard. Refer Section 3.4.4 for more information.
Display - This seven-character display indicates the
selected channel, status information, and error condi-
tions. If information in this display begins flashing, an
error condition is indicated. Two possible causes are a
defective antenna or a battery voltage below 8 VDC.
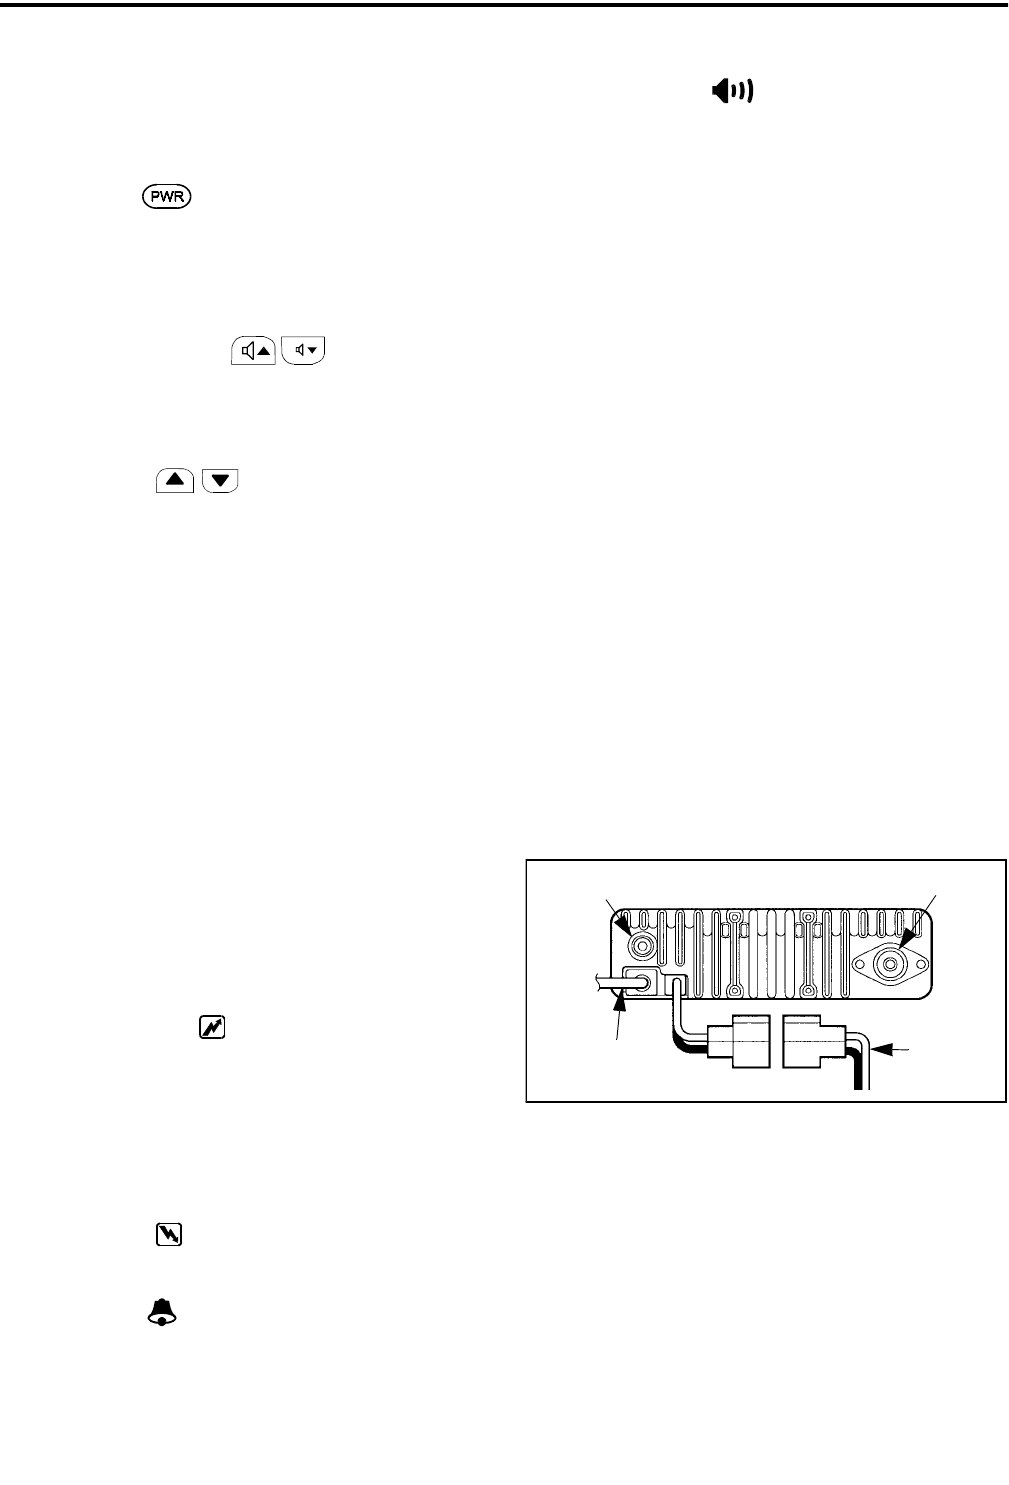
3.2.3 BACK PANEL
External Speaker Jack - Miniature phone jack for
connecting an optional 4-8 ohm external speaker. The
internal speaker is automatically disabled when a
speaker is plugged into this jack.
Antenna Jack - UHF-type jack for connecting the
antenna.
DC Power Cable - Connects the transceiver to a nom-
inal 12 VDC, negative ground vehicle power source.
Refer to Section 2-1 for more information.
Accessory Cable - This optional cable is used to con-
nect accessories such as a horn alert and modem to the
transceiver. Refer to Section 2-1 for more information.
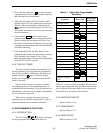
Transceiver Back Panel
3.3 BASIC OPERATION
3.3.1 TURNING POWER ON AND OFF
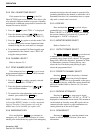
When power is turned on by pressing the
POWER switch, a tone sounds and an opening mes-
sage is displayed if programmed. The transceiver is
Ext Speaker
Jack
Antenna
Optional
Accessory Cable
DC Power
Cable
Jack


