


4
ENGLISH
TABLE OF CONTENTS
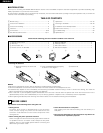
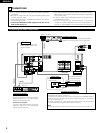
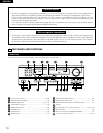
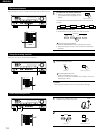
2 ACCESSORIES
Check that the following parts are included in addition to the main unit:
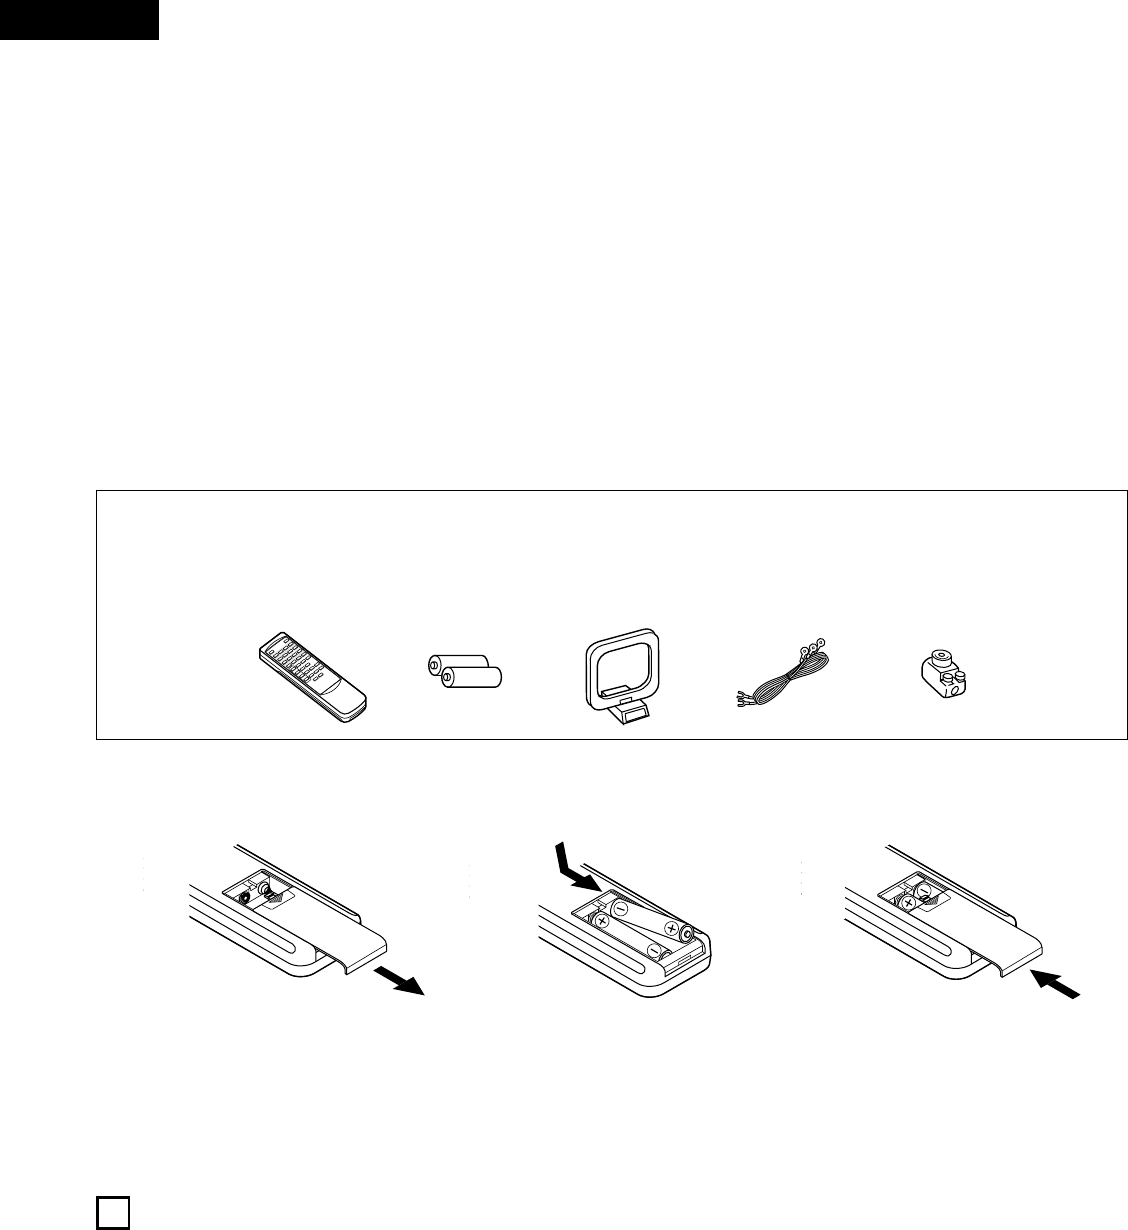
r t yui
B
2
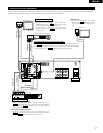
INTRODUCTION
Thank you for choosing the DENON AM-FM Stereo receiver. This remarkable component has been engineered to provide outstanding high
fidelity reproduction of your favorite music sources.
As this product is provided with an immense array of features, we recommend that before you begin hookup and operation that you review the
contents of this manual before proceeding.
q
Operating instructions
..............................................................1
w
Warranty
...................................................................................1
e
Service station list
.....................................................................1
r
Remote control unit (RC-895)
...................................................1
t
Batteries (R6P/AA) ...................................................................2
y
AM loop antenna......................................................................1
u
FM indoor antenna...................................................................1
i
FM antenna adapter.................................................................1
z
Before Using ................................................................................4
x
Cautions on Installation ................................................................5
c
Cautions on Handling ...................................................................5
v
Features .......................................................................................5
b
Connections ...........................................................................6~10
n
Part Names and Functions ...................................................10, 11
m
Operations ...........................................................................12~15
,
Listening to the Radio ..........................................................16~18
.
Initialization of the Microprocessor ............................................19
⁄0
Last function memory ................................................................19
⁄1
Troubleshooting..........................................................................20
⁄2
Specifications .............................................................................21
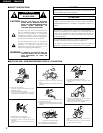
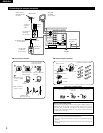
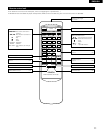
q Press as shown by the arrow and
slide off.
w Insert the R6P/AA batteries properly,
as shown on the diagram.
e Close the lid.
NOTES:
• Be sure the polarities are correct. (See the illustration inside the battery compartment.)
• Remove the batteries if the remote control transmitter will not be used for an extended period of time.
• If batteries leak, dispose of them immediately. Avoid touching the leaked material or letting it come in contact with clothing, etc. Clean the
battery compartment thoroughly before installing new batteries.
• Even if less than a year has passed, replace the batteries with new ones if the set does not operate even when the remote control unit is
operated nearby the set. (The included battery is only for verifying operation. Replace it with a new battery as soon as possible.)
• When replacing the batteries, after removing them wait for about one minute before inserting the new batteries.
• Inserting the batteries:
1
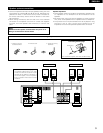
BEFORE USING
Pay attention to the following before using this unit:
• Moving the set
To prevent short circuits or damaged wires in the connection
cords, always unplug the power cord and disconnect the
connection cords between all other audio components when
moving the set.
• Before turning the power operation switch on
Check once again that all connections are proper and that there are
not problems with the connection cords. Always set the power
operation switch to the standby position before connecting and
disconnecting connection cords.
• Store this instructions in a safe place.
After reading, store this instructions along with the warranty in a
safe place.
• Note that the illustrations in this instructions may differ from
the actual set for explanation purposes.