ENGLISH
Getting Started Connections Remote Control Information Troubleshooting Specifi cationsMulti-ZoneSettings
1
Turn the power on for all the equipment connected by
HDMI cable.
2
Set the HDMI control function for all equipment
connected by HDMI cable.
Set “HDMI Control” (vpage 28) to “ON“.
b Please refer to the owner’s manual as regards setting of connected
devices.
b Carry out Steps 1 and 2 should any of the equipment be
unplugged.
3
Switch the television input to the HDMI connected to
the AVR-1910.
4
Switch the AVR-1910 input to the HDMI input source
and check if the picture from the player is ok.
5
When you turn the TV’s power to standby, check that
the power of the AVR-1910 and player also goes on
standby.
If the HDMI control function does not operate properly, check the
following points.
• Is the TV or player compatible with the HDMI control function?
• Is the AVR-1910 properly set?
• Is “HDMI Control” (vpage 28) set to “ON”?
• Is “Power Off Control” (vpage 28) set to “ON”?
• Are the HDMI control function settings of all equipment correct?
NOTE
Should any of the operations below be performed, the interlocking
function may be reset, in which case, repeat step’s 1 and 2.
Menu “HDMI” (vpage 28) setting has changed.
There is a change to the connection between the equipment and the
HDMI, or an increase in equipment.
•
•
NOTE
• When you power off AVR-1910, the HDMI control function does not
operate.
• Some functions may not operate depending on the connected
TV or player. Check the owner’s manual of each device for details
beforehand.
• When “HDMI Control” is set to “ON”, it is not possible to assign an
HDMI terminal to “TV” at “HDMI” (vpage 28).
• When “HDMI Control” (vpage 28) is set to “ON”, power is supplied
constantly to the AC outlet (UNSWITCHED).
Convenient functions
When you make an HDMI connection with a TV or player
compatible with AVR-1910 and HDMI control functions, you can
perform the following operations by setting the HDMI control
function of each device.
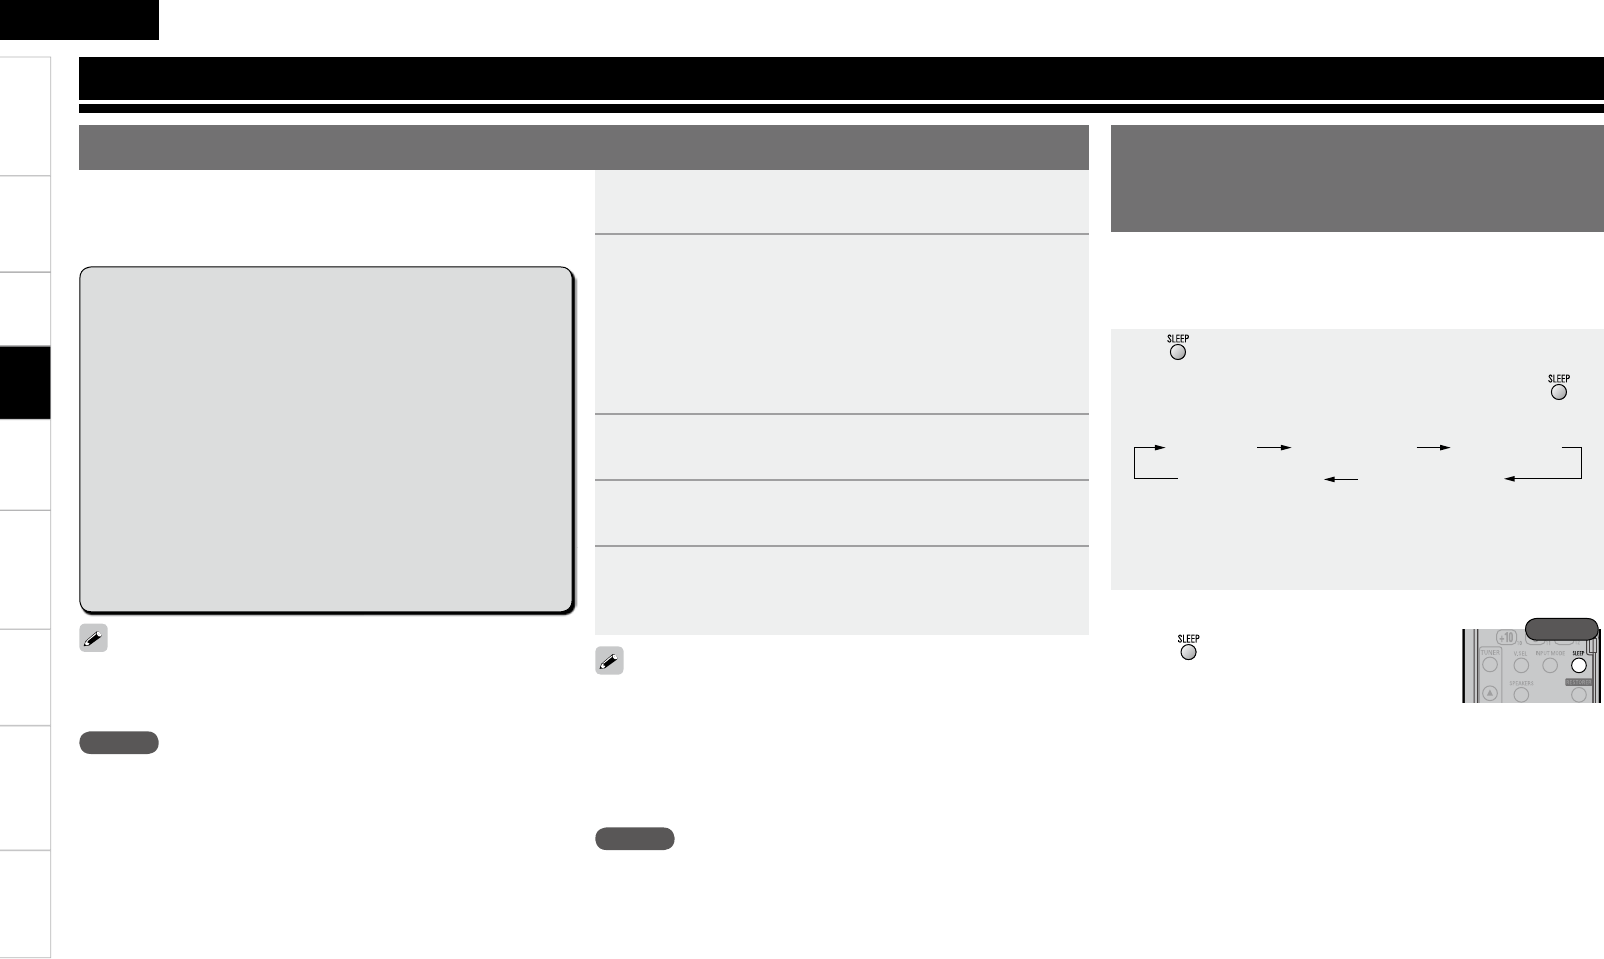
Press and display the time you want to set.
The “SLEEP” indicator on the display lights.
• The time switches as shown below each time is
pressed.
Sleep:OFF Sleep:120min
Sleep:30min Sleep:60min
Sleep:90min
• The time display turns off after about 5 seconds, and the
setting is activated.
• Once the set time has passed, the power is automatically set
to standby.
This function allows you to automatically set the power to standby
after the set amount of time has passed.
When the sleep timer turns the power off in the MAIN ZONE, the
power also turns off in the ZONE2.
HDMI Control Function
Setting the power to standby
after a certain amount of time
(Sleep Timer Function)
n To cancel the sleep timer
Press to set “OFF”.
• The “SLEEP” indicator on the display turns
off.
• To play the TV’s sound on the AVR-1910, make optical digital
connections (vpage 13 “Connecting the TV”).
• To use this function, set “HDMI Control” (vpage 28) to “ON”.
Rear
n AVR-1910 power off can be linked to the TV power
off step
zWhen you set “Output audio from amp” in the TV audio
output setup operation, you can switch the amp power
on.
n You can switch audio output devices with a TV
operation
n You can adjust AVR-1910 volume in the TV volume
adjustment operation
n You can switch AVR-1910 input source through
linkage to TV input switching
n When playing the player, the AVR-1910 input
function switches to the function of that player
Playback


