Commercial Audio Series Business Music System
page 13
Operation Manual
3.1 Powering Up
1. Turn off any equipment connected to the Line Out connectors.
2. Plug the amplifier’s power cord into a 3-wire grounded AC outlet.
3. Turn down the input volume controls.
4. Turn down the master volume control.
5. Turn on the Power switch. The Power indicator should glow.
6. Turn the input volume controls in use about 3/4 up.
7. Turn up the master volume control(s) until the desired loudness or power
level is achieved.
8. Touch up the input levels as needed for equal loudness from each micro-
phone.
9. Turn on any equipment connected to the Line Out connectors.
If you ever need to make any wiring or installation changes, disconnect the
power cord.
3.2 Priority Ducking
If you want a microphone to duck (turn down) the background music, follow
this procedure. On the back of the 180MAx,
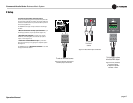
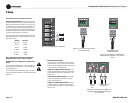
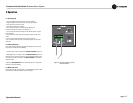
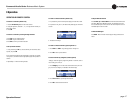
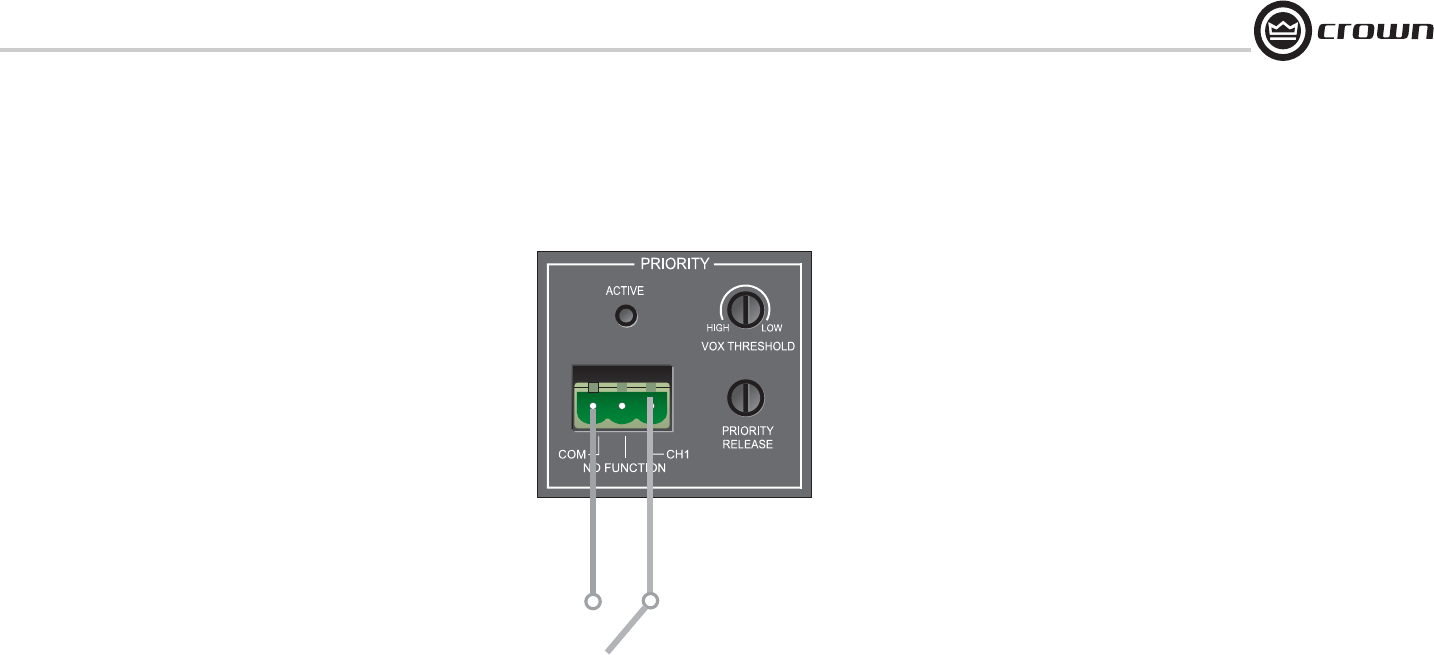
1. Connect a push-to-talk mic switch to the Priority Connector (Figure 3.1).
2. While talking into a microphone, adjust the VOX Threshold control on the
back of the unit. It controls how loud the voice must be before ducking occurs.
The control can be set for no ducking. The Active Indicator will flash when
ducking is active.
3. Adjust the Priority Release control on the back of the unit. It adjusts the
release time of the VOX ducking.
3.3 Music-On-Hold
On the back of the unit, adjust either the 1V or 1W MOH Level Control to obtain
the desired level of Music-On-Hold on your phone system.
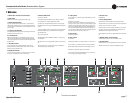
Figure 3.1 Priority Ducking Controls
and Connectors
3 Operation


