


280-7963-00
DMZ637MP 38 DMZ637MP
280-7963-00 280-7963-00
DMZ637MP 4
English
English
English
2. PRECAUTIONS
Be sure to unfold and read the next page.
USE OF CONTROLS, ADJUSTMENTS, OR PER-
FORMANCE OF PROCEDURES OTHER THAN
THOSE SPECIFIED HEREIN, MAY RESULT IN
HAZARDOUS RADIATION EXPOSURE.
THE COMPACT DISC PLAYER and MINI DISC
PLAYER SHOULD NOT BE ADJUSTED OR RE-
PAIRED BY ANYONE EXCEPT PROPERLY
QUALIFIED SERVICE PERSONNEL.
CHANGES OR MODIFICATIONS NOT EX-
PRESSLY APPROVED BY THE MANUFAC-
TURER FOR COMPLIANCE COULD VOID THE
USER’S AUTHORITY TO OPERATE THE EQUIP-
MENT.
INFORMATION FOR USERS:.
CHANGES OR MODIFICATIONS TO THIS PROD-
UCT NOT APPROVED BY THE MANUFAC-
TURER WILL VOID THE WARRANTY.
Handling Compact Discs
Use only compact discs bearing the or
mark.
Do not play heart-shaped, octagonal, or other
specially shaped compact discs.
Some CDs recorded in CD-R/CD-RW mode
may not be usable.
Handling
•
Compared to ordinary music CDs, CD-R and
CD-RW discs are both easily affected by high
temperature and humidity and some of CD-R
and CD-RW discs may not be played. Therefore,
do not leave them for a long time in the car.
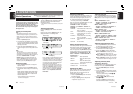
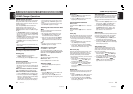
• New discs may have some roughness around
the edges. If such
discs are used, the
player may not work
or the sound may
skip. Use a ball-point
pen or the like to re-
move any roughness
from the edge of the
disc.
•
Never stick labels on the surface of the compact
disc or mark the surface with a pencil or pen.
• Never play a compact disc with any cello-
phane tape or other glue on it or with peeling
off marks. If you try to play such a compact
disc, you may not be able to get it back out of
the CD player or it may damage the CD
player.
•
Do not use compact discs that have large
scratches, are misshapen, cracked, etc. Use of
such discs may cause misoperation or damage.
•
To remove a compact disc from its storage case,
press down on the center of the case and lift the
disc out, holding it carefully by the edges.
• Do not use commercially available CD protec-
tion sheets or discs equipped with stabilizers,
etc. These may damage the disc or cause
breakdown of the internal mechanism.
Storage
• Do not expose compact discs to direct sunlight
or any heat source.
• Do not expose compact discs to excess hu-
midity or dust.
• Do not expose compact discs to direct heat
from heaters.
Cleaning
•To remove fingermarks and dust, use a soft
cloth and wipe in a straight line from the center
of the compact disc to the circumference.
• Do not use any solvents, such as commercially
available cleaners, anti-static spray, or thinner
to clean compact discs.
•After using special compact disc cleaner, let
the compact disc dry off well before playing it.
Ball-point pen
Roughness
CAUTION
1. When the inside of the car is very cold and the
player is used soon after switching on the
heater moisture may form on the disc or the
optical parts of the player and proper playback
may not be possible. If moisture forms on the
disc, wipe it off with a soft cloth. If moisture
forms on the optical parts of the player, do not
use the player for about one hour. The conden-
sation will disappear naturally allowing normal
operation.
2. Driving on extremely bumpy roads which cause
severe vibration may cause the sound to skip.
3. This unit uses a precision mechanism. Even in
the event that trouble arises, never open the
case, disassemble the unit, or lubricate the ro-
tating parts.
Handling MD
Use only MDs bearing the mark.
Handling
• Never open the shutter on the MD cartridge.
Storage
• Do not expose minidiscs to direct sunlignt or
any heat source.
• Do not expose minidiscs to excess humidity or
dust.
• Do not expose minidiscs to direct heat from
heaters.
Cleaning
• If the MD cartridge is dirty, wipe off the dirt
with a soft dry cloth.
• Discs recorded in monaural mode cannot be
played on this unit.
• Never play a minidisc with an index label that
is peeling off .
If you try to play such a minidisc, you may not
be able to get it back out of the MD player or it
may damage the MD player.
Cartridge
Shutter
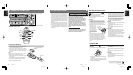
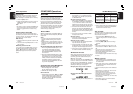
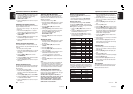
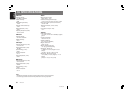
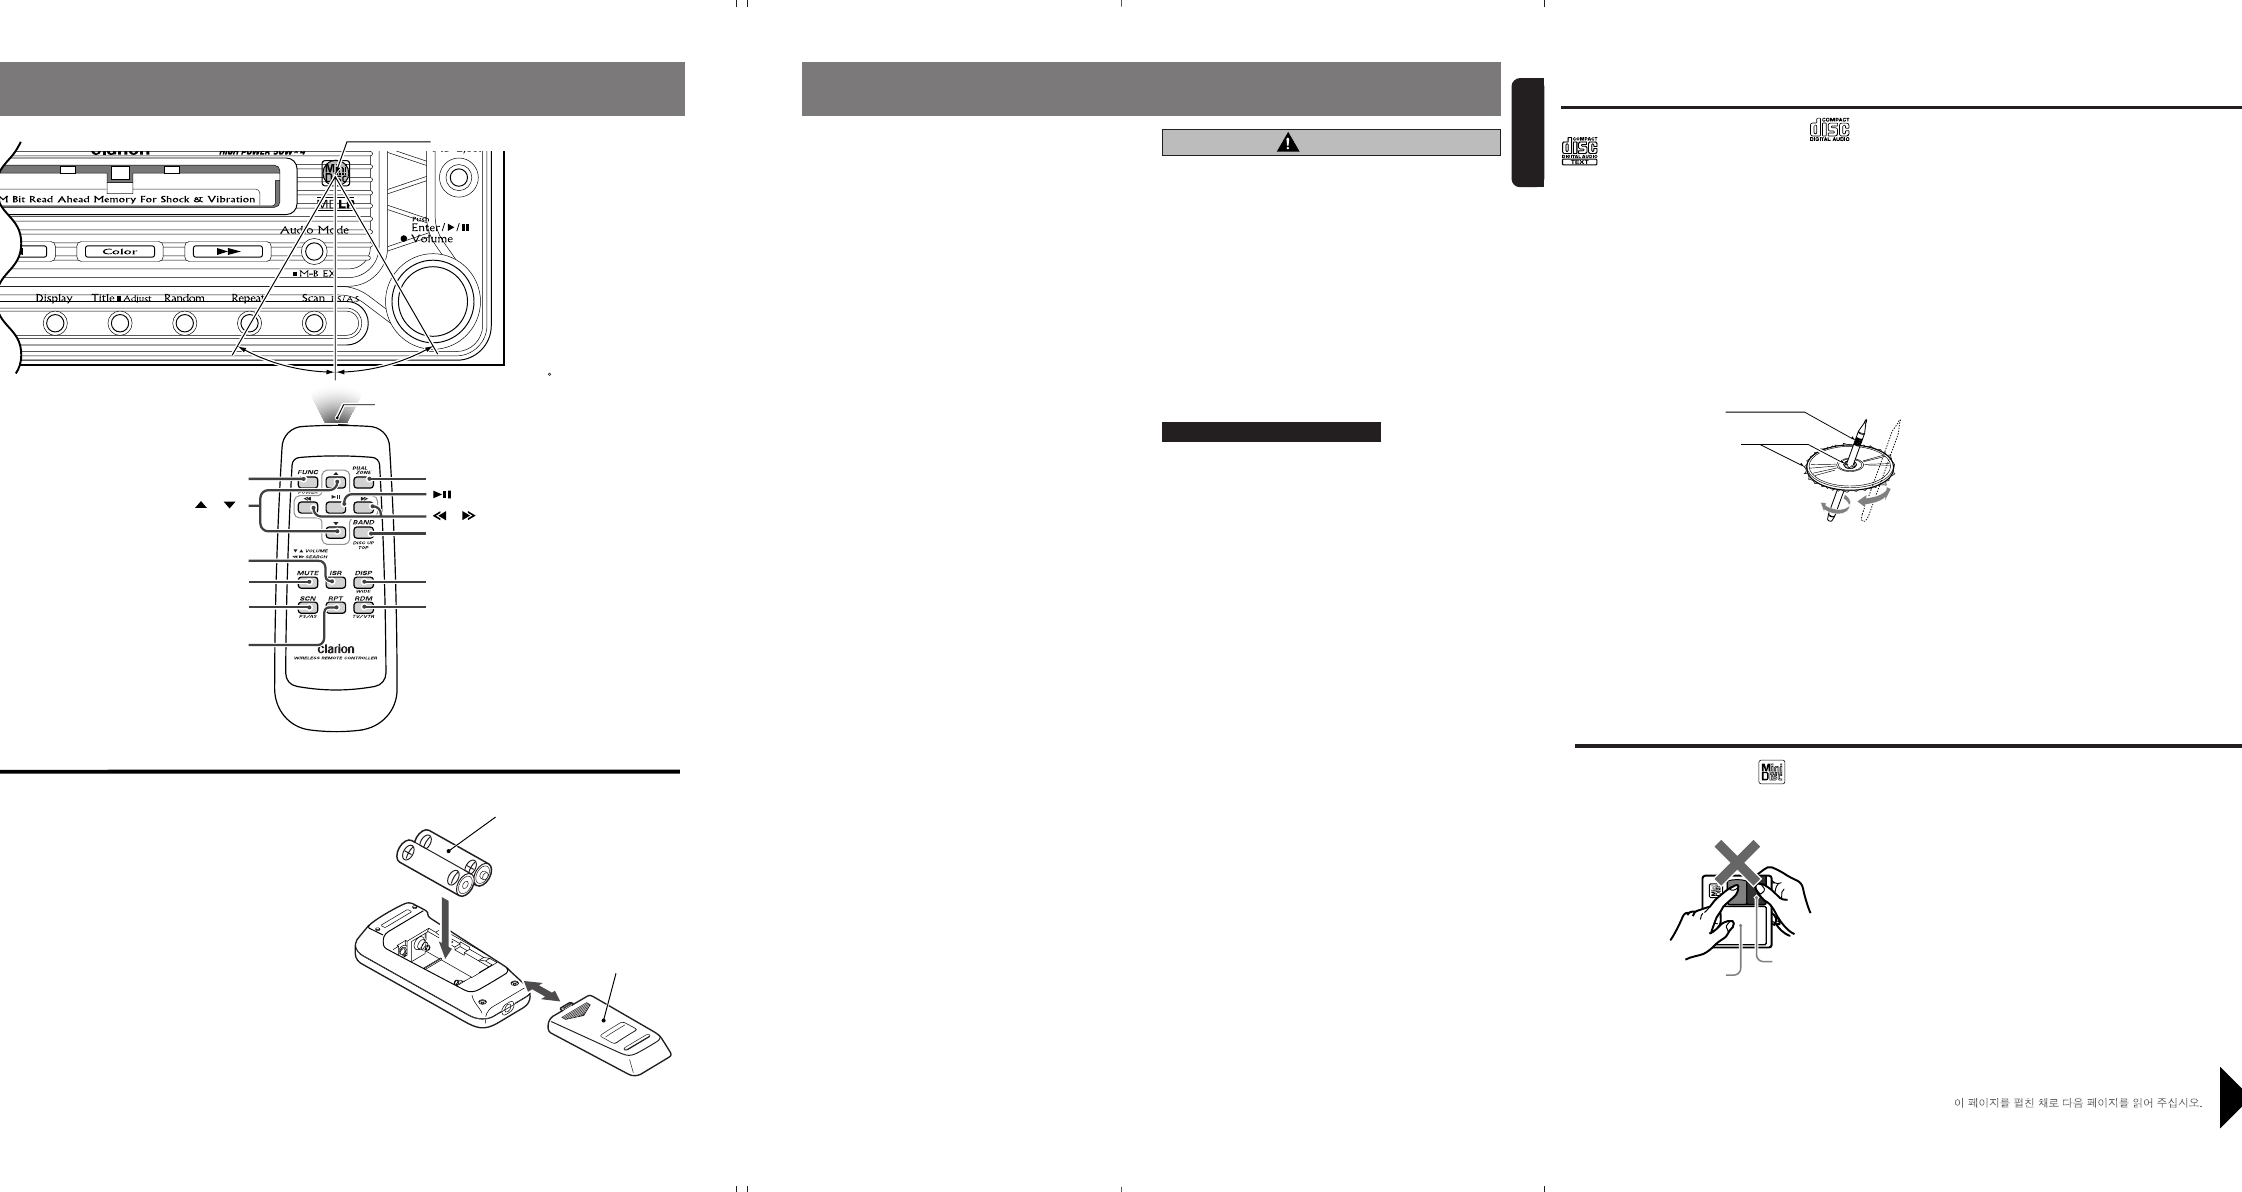
5. REMOTE CONTROL
Rear side
AA (SUM-3, IECR-6/1.5V)
Batteries
Rear cover
Remote control unit
Inserting the Batteries
1.Turn the remote control unit over, then slide the
rear cover in the direction of the arrow.
2.Insert the AA (SUM-3, IECR-6/1.5V) batteries
that came with the remote control unit facing in
the directions shown in the figure, then close the
rear cover.
Notes:
Using batteries improperly can cause them to
explode. Take note of the following points:
• When replacing batteries, replace both batteries
with new ones.
• Do not short-circuit, disassemble or heat batteries.
• Do not dispose of batteries into fire or flames.
• Dispose of spent batteries properly.
Receiver for remote control unit
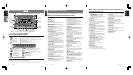
[
FUNC
] [
DUAL ZONE
]
[
],[ ]
[
ISR
]
[
MUTE
]
[
SCN
]
[
RPT
]
[
]
[
],[ ]
[
BAND
]
[
DISP
]
[
RDM
]
Signal transmitter
Operating range: 30 in all directions