23
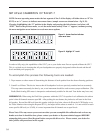
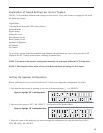
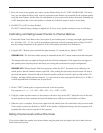
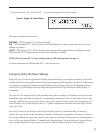
3. Move the cursor to the speaker you want to set the distance/delay for (L C R RS LS RB LB SB). Hit Select.
Now you can adjust the Delay value which is equivalent to the distance you measured for the selected speaker
using the arrow buttons. Set the delay for each speaker in your system to the nearest foot/meter. Rounding up
is OK. Remember that if one back speaker is selected, the Left Back output is used to set the delay.
4. Hit SELECT or [X] Exit when finished.
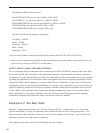
The SP1.7’s default factory settings as shipped are 10 feet to every speaker, resulting in zero overall delay.
Calibrating and Setting Levels/Channel to Channel Balance.
1. Position the Sound Level Meter at the Centre point of your listening area, at average ear height [approximately
40 - 46 inches {102 - 117 cm.} with its microphone positioned vertically (pointing at the ceiling). DO NOT
aim the sensing microphone at the speakers, as this will produce inaccurate level indications.
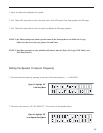
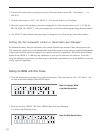
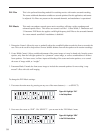
2. Using the SP1.7 Remote, press and hold for approximately 3-5 seconds the key labeled “TEST”.
IMPORTANT: The Test-Noise Mode can only be initiated from the SP1.7 remote, and not from the front panel.
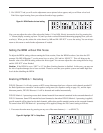
The shaped pink-noise test signal will begin with the left-front loudspeaker. If the signal does not appear in
this speaker please stop the process and check your wiring and connections for proper configuration.
IMPORTANT: When using the Pink Noise generator within the SP1.7 for speaker level calibration, the
salient point is that all channels measure equal dB. After pushing the test button, the pink noise will start in
the front left speaker. Record the dB level from this speaker (with the level trim value at 0 dB on the LCD
Display), and adjust all the others to match it. It is not critical to reach some specific dB level (ex. 85 dB), it
is more important that all channels are at equal levels.
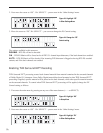
3. Hit the “TEST” button again to sequence the noise to the next speaker.
The sequence is L -> C -> R -> RS -> RB -> LB -> LS -> SUB -> EXIT.
4. Using the volume up/down arrows on the remote or the arrow keys on the SP1.7 adjust the level of the noise
for each speaker so that it matches the front left channel noise (dB) level on the Sound Level Meter.
5. When the cycle is complete, the test noise signal will end, and the unit will switch back to the previous mode.
If any output is unused (as defined by ‘NONE’ in the Speaker Configuration Setup), the noise sequence will
automatically skip to the next speaker in the sequence.
Setting Channel Levels without Pink Noise
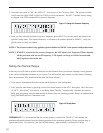
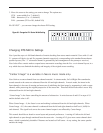
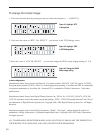
If you wish to adjust the speaker level trims without using the pink-noise test signal, this can be done from the
Front Panel menu system.


