3. Remove the speaker grille. Carefully pry each
corner with an awl or a small screwdriver.
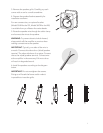
4. Prepare the speaker/bracket assembly for
installation as shown.
For new construction, an optional bracket
(Model 35UB for the 251, Model 36CB for the 261)
is available from your Boston Acoustics dealer.
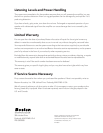
5. Route the speaker wire through the cable clamp
and connect the wire to the speaker.
WARNING: To prevent electrical shock hazard,
always switch off the amplifier or receiver when
making connections to the speaker.
IMPORTANT: Typically, one side of the wire is
smooth. Connect this side to the – (black) speaker
terminal. The other side has a rib or stripe. Connect
this to the + (red) speaker terminal. Connect wire
at the amplifier in the same way. Failure to do so
will result in degraded sound.
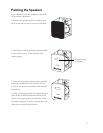
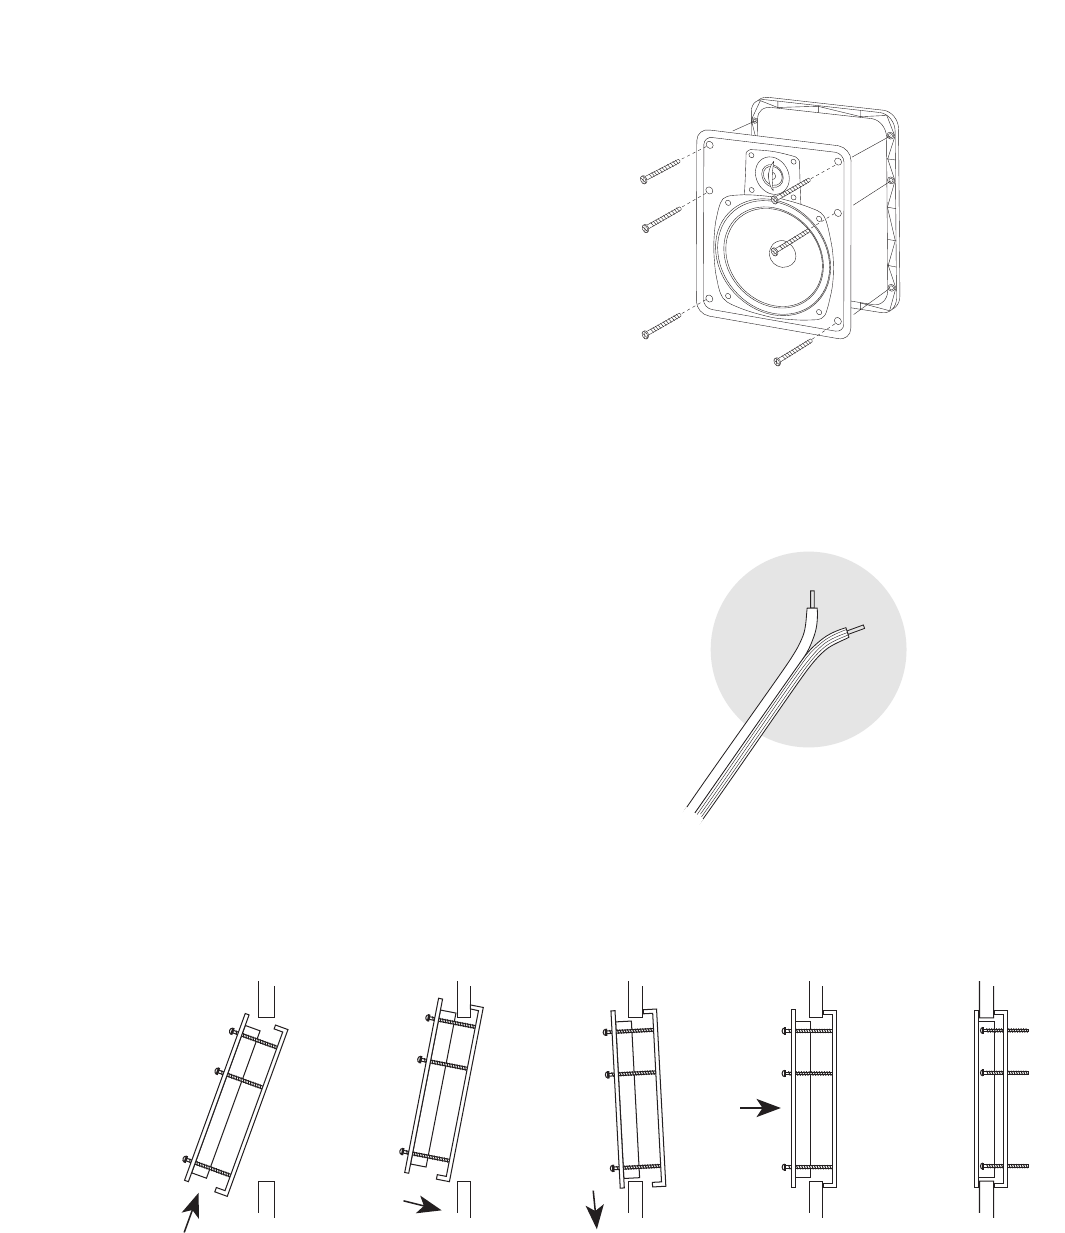
6. Install the speaker according to the diagram
below.
IMPORTANT: Do not overtighten the screws.
Doing so will break the frame and/or make it
impossible to insert the grille.
7


