


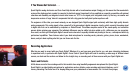

12
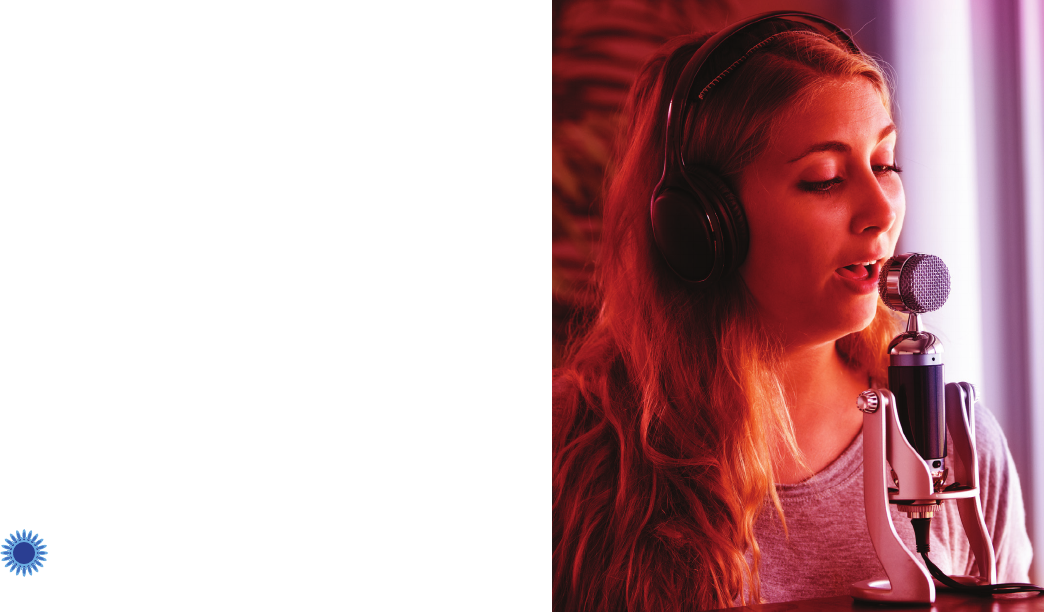
vocalist, or podcaster and you’re guaranteed to get a truly inspired vocal performance.
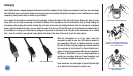
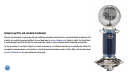
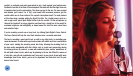
Position the vocalist at the front of the microphone (the side with the Blue logo) from one
to twelve inches from the microphone. The closer you get to the mic, the more present
and intimate you’ll sound. For a “big” vocal sound with maximum presence, get the
vocalist within one to three inches of the capsule (microphone head). To avoid plosives
at this close range, consider adding the Spark Pop filter. For a livelier sound, such as a
rock or pop vocal, place Spark Digital further from the vocalist. Tilt the microphone up
(toward the forehead) for more projection and head tone, straight on at the mouth for
maximum brightness and intelligibility, or down toward the chest for more robust lows
and smoother highs.
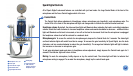
If you’re recording a vocal over a busy track, try utilizing Spark Digital’s Focus Control.
The Focus Control will help the vocal track stand out over a crowded music bed.
The key to recording a good vocal track, as well as any other track, is controlling your
room environment. A room with carpet and curtains will exhibit much less reverberation
of your vocal, making the recording sound less lively, allowing the recording track to
be more easily manipulated with after effects such as reverb and compression during
the mixing process. By contrast, a room with substantial glass, marble, wood floors or
tile will yield natural reverb, which may be pleasing to the ear but difficult to remove at
a later time, and will add complication and ‘busy-ness’ to your track. Armed with some
knowledge about these basics, you’re set to experiment and find what best fits your
desired vocal sound.