


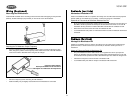
XCH10RF
6
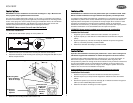
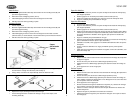
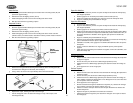
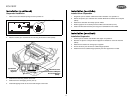
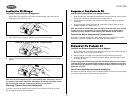
Metal Surface
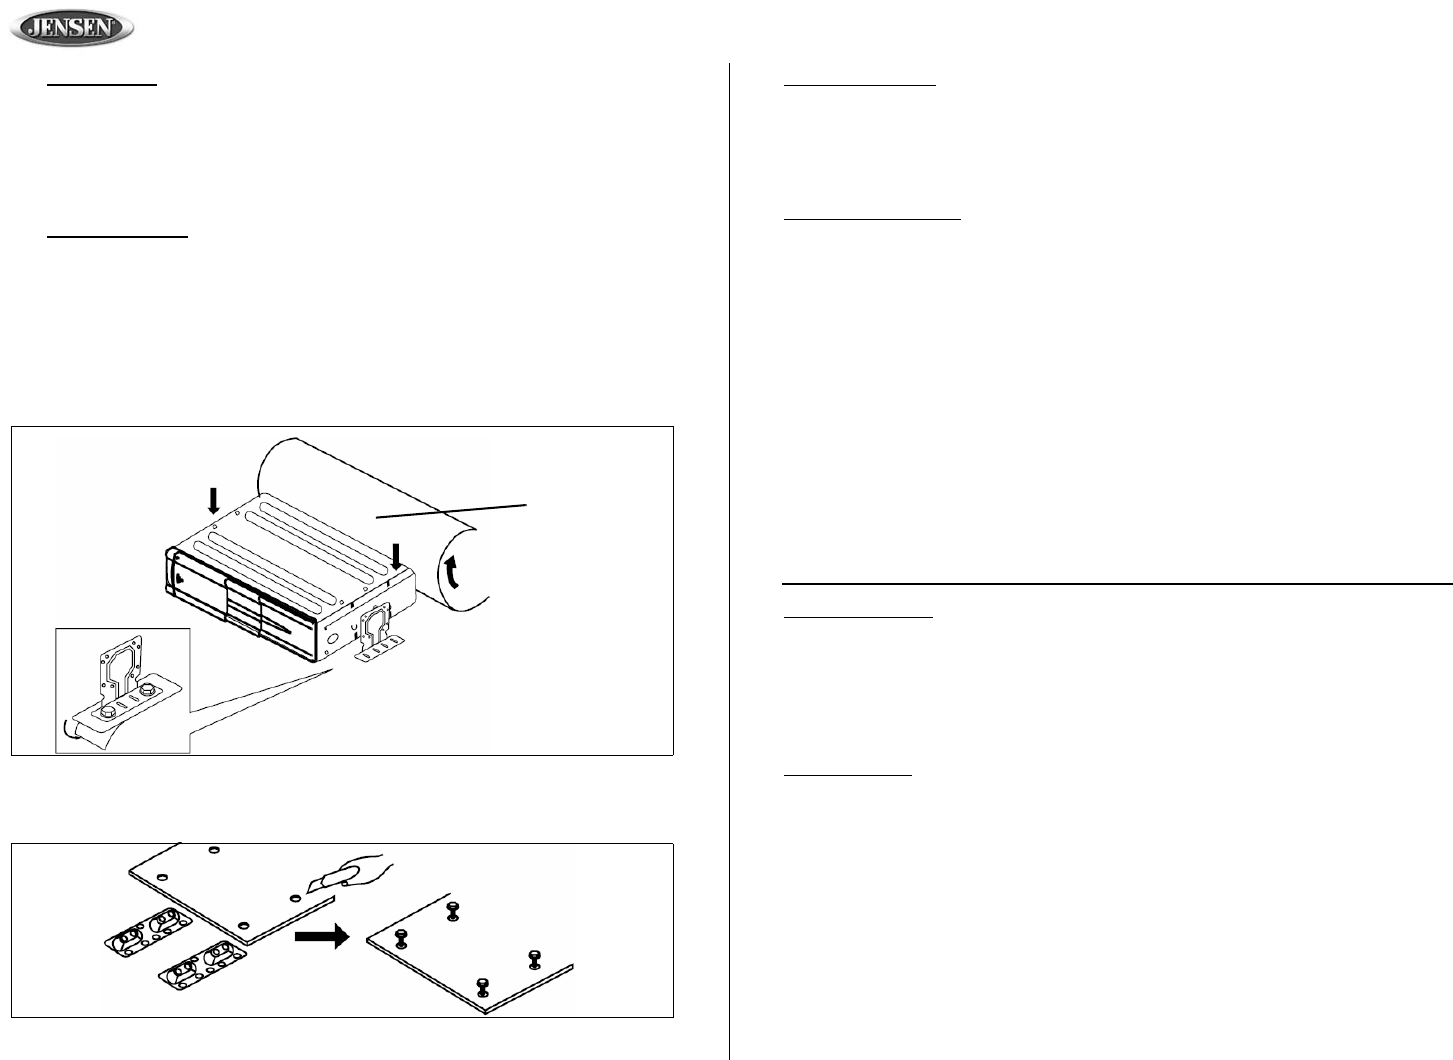
a. Stick the supplied double-sided tape to the bottom of the mounting bases (B) and
peel off the paper backing.
b. Drill holes for the self-tapping screws (T5x12).
c. Install self-tapping screws to secure the mounting base to the metal.
d. Affix the unit to the floor by pressing in place.
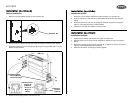
Carpeted Surface
a. Pull the carpet back.
b. Stick the supplied double-sided tape to the bottom of the mounting bases (B) and
peel off the paper backing.
c. Drill holes for the self-tapping screws (T5x12).
d. Install self-tapping screws to secure the mounting base to the metal. Use RTV
(silicone sealer) on screw threads or around the holes to prevent moisture intrusion.
e. Affix the unit to the floor by pressing in place.
f. Remove the hexagonal bolts attaching the brackets (A) to the mounting base (B)
and remove the changer from the base (refer to Step 3).
g. Using a knife, cut holes in the carpet directly above the bracket’s bolts.
h. Replace the carpet, allowing the bolts to stick through.
i. Use the hexagonal nuts to re-attach the changer, on top of the carpet, to the
mounting bases (B).
Carpet
Alfrombrada
Tapissé
Superficie Metálica
a. Pegue la cinta doble faz provista a la parte de abajo de las bases de montaje (B) y
pele el papel protector.
b. Realice agujeros con el taladro para tornillos autorroscantes (T5x12).
c. Instale los tornillos autorroscantes para asegurar la base de montaje al metal.
d. Pegue la unidad al piso presionándola en el lugar.
Superficie Alfombrada
a. Tironee hacia atrás la alfombra.
b. Pegue la cinta doble faz provista a la parte de abajo de las bases de montaje (B) y
pele el papel protector.
c. Realice agujeros con el taladro para tornillos autorroscantes (T5x12).
d. Instale los tornillos autorroscantes para asegurar la base de montaje al metal. Utilice
sellador para vulcanización a temperatura ambiental (sellador siliconado o RTV) en
las roscas de tornillos o alrededor de los agujeros para prevenir la intrusión de
humedad.
e. Pegue la unidad al piso presionándola en el lugar.
f. Quite los pernos hexagonales adhiriendo los soportes (A) a la base de montaje (B) y
quite el cambiador de la base (Paso 3 para referencia).
g. Utilizando un cuchillo, corte agujeros en la alfombra directamente sobre los pernos
del soporte.
h. Vuelva a colocar la alfombra en su lugar, permitiendo que los pernos puedan
pegarse.
i. Utilice tuercas hexagonales para readherir el cargador, encima de la alfombra, a las
bases de montaje (B).
Surface Métallique
a. Mettez la bande à deux faces fournie en bas des bases de montage (B) et éplucher
le support en papier.
b. Percez des trous pour des écrous à débouchage spontané (T5x12).
c. Installez les écrous à débouchage spontané pour attacher la base de montage au
métal.
d. Fixez l'appareil sur le sol et en appuyant.
Surface Tapissé
a. Tirez le tapis.
b. Mettez la bande à deux face fournie en bas des bases de montage (B) et éplucher le
support en papier.
c. Percez des trous pour des écrous à débouchage spontané (T5x12).
d. Installez les écrous à débouchage spontané pour attacher la base de montage au
métal. Utilisez le scellant en silicone RTV sur les filetages de vis ou autour des trous
pour empêcher l'entrée de l'humidité.
e. Fixez l'appareil au sol en appuyant.
f. Enlevez les boulons hexagonaux attachant les équerres (A) à la base de montage
(B) et enlevez le changeur de la base (référez-vous à 3).
g. Utilisez un couteau et coupez des trous dans le tapis directement au-dessus des
boulons d'équerres.
h. Replacez le tapis en permettant aux boulons de le traverser.
i. Utilisez les boulons hexagonaux pour rattacher le changeur sur le tapis aux bases
de montage (B).