


-3-
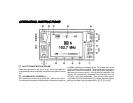
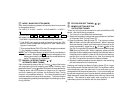
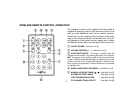
8 MODE / BAND SELECTOR (MODE)
Each time this button is pressed, the receiver band or input mode
is changed as follows:
FM à AM à TV à AUX1* à AUX2** à CD CHANGER*** à TAPE****
The indication FM , AM , TV , AUX1 , AUX 2 , CD or TAPE
will appear on the display panel according to your selection.
* If the AUX1 input has not been disabled during installation.
** If the AUX2 input switch on side of chassis is set to the “ON”
position and a compatible Navigation or Rear Observation
system is connected.
*** If the optional Model PAV-CD 6-disc CD changer is connected.
**** If a cassette is loaded in the tape player.
NOTE:The TV Receiver Mode is an option that is not available in
this model. Although the TV indication will appear on the
display panel when cycling through the mode selections,
actual TV reception is not possible.
9 MANUAL UP/DOWN TUNING ( / )
AUTOMATIC SEEK TUNING
Each momentarily press of the Up Tuning ( ) side of the button
will advance the unit one frequency step higher. Similarly, each
press of the Down Tuning ( ) side of the button will tune downward.
Pressing either side of the button for longer than 0.5 seconds
and then releasing will activate the Automatic Seek Tuning
function in the selected direction. The radio will seek the next
available station and stop at that frequency. The Seek function
can be stopped by pressing the button again or activating any other
tuning function.
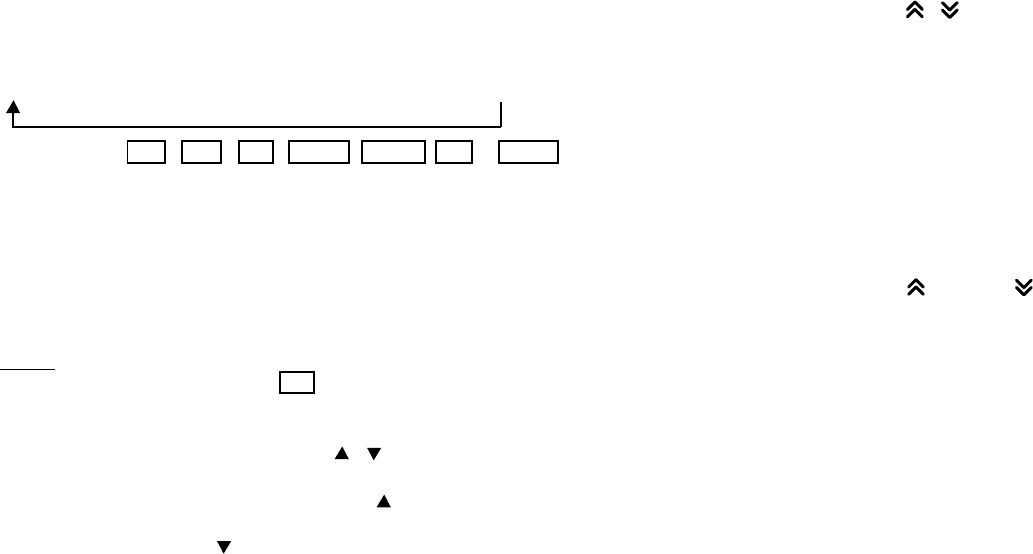
bl STATION PRE-SET TUNING ( / )
bm MEMORY SETTING BUTTON
AUTO-STORE TUNING
To set any of the 6 pre-set memories in each of the AM and FM
bands, use the following procedure:
1. Turn the unit on and select the desired band.
2. Select the first station to be pre-set using the Manual Up/Down
or Automatic Seek Tuning Control 9.
3. Press the Memory Setting button bm. The channel number
CH1 will flash; and the audio will be muted. Within 5 seconds
while the channel number is still flashing and the audio is still
muted, momentarily press the up or down side of the
Pre-Set Tuning button bl to select the channel (CH1 through
CH6) that you wish to set. When it appears, press and hold
the button until the display stops flashing and the audio returns,
indicating that the station is now set into that pre-set memory
position and can be recalled at any time by pressing the
Pre-Set Tuning button to select the desired number.
4. Repeat the above procedure to enter stations in the remaining
pre-set memories on the radio bands.
Pressing and holding the Memory Setting button bm for longer
than 2 seconds will activate the Auto-Store Tuning feature which
will automatically scan the radio band in use and enter up to 6
strong stations into the pre-set memories. If you have already set
the pre-set memories to your favorite stations, activating the Auto-
Store feature will erase those stations and enter the new strong
stations. This feature is most useful when traveling in a new
area where you are not familiar with the local stations.