


Owner’s Enjoyment Manual
Digital
Fusion
™
9
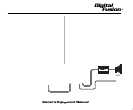
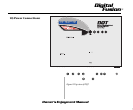
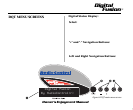
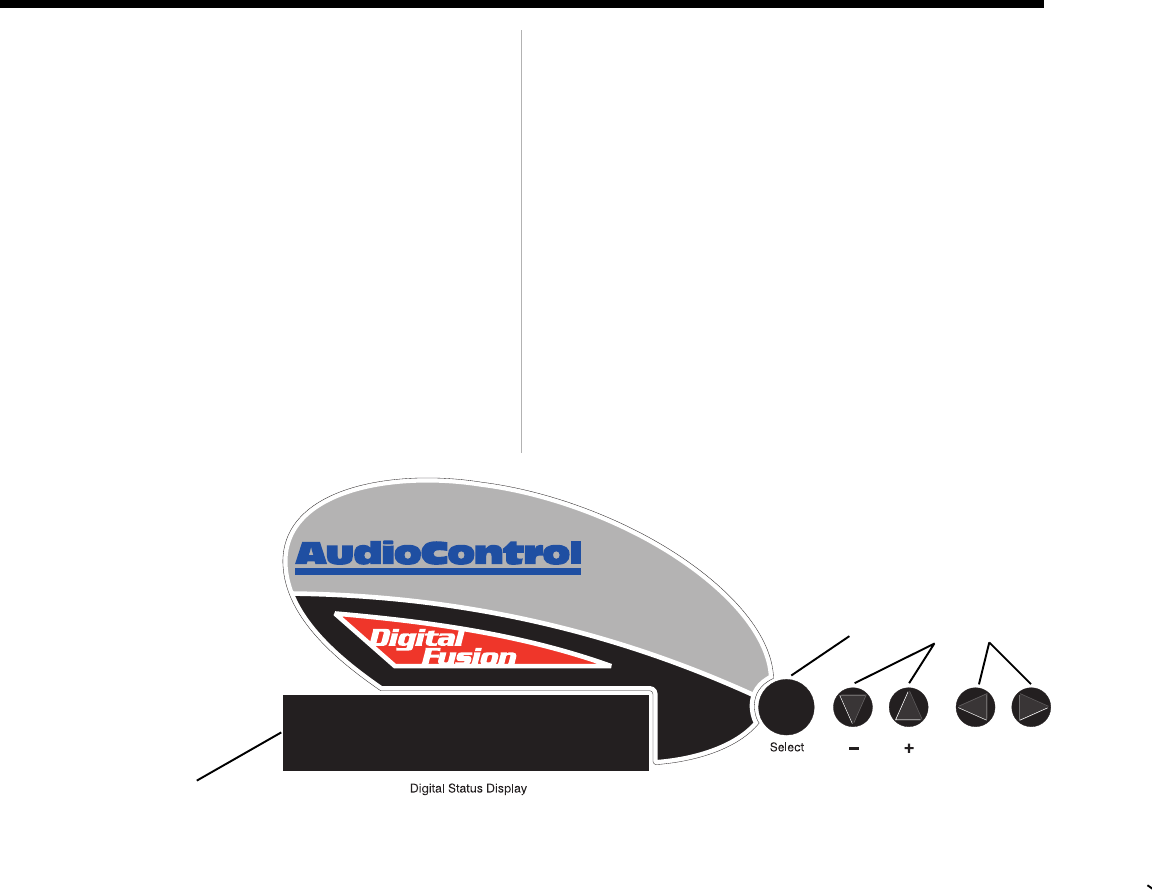
1) Digital Status Display: This sexy blue
display reflects which mode your DQT is in.
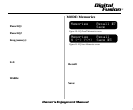
2) Select: Every time you touch this button, your
display will change reflecting the fact that you
are now accessing a one of the various modes in
the DQT. Your choices are GraphicEQ, ParaEQ 1,
ParaEQ 2, Memories, or Display. After a brief
period of no key presses, the display will return
the Splash Screen.
3) “+” and “-” Navigation Buttons: Depend-
ing upon where your cursor is flashing, these
buttons will allow you to change a frequency,
apply boost and/or vary the bandwidth of your
equalization filters.
4) Left and Right Navigation Buttons:
Within each mode there are generally 4 or 5
different functions you can select (i.e. Freq,
Width, Save, Bright,) By tapping on
these buttons and following the
cursor, you can navigate
through each function on
the screen.
Digital Fusion
By AudioControl(r)
Figure 6: DQT main menu screen
❶
❷❸❹
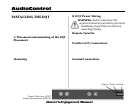
DQT MENU SCREENS
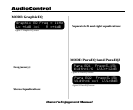
One of the major benefits of using Digital Fusion
technology is the ability to use less knobs and
buttons and get more control. The DQT has two
mono 30 band graphic equalizers plus two stereo
parametric equalizers. This is a stack of equipment
that would normally fill your trunk. Digital Fusion
technology allows the DQT to offer a plethora of
features in one compact chassis. In addition there
are only a few buttons to learn so navigating
through the DQT’s functions is quite simple.
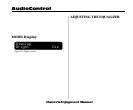
When you first apply power to your DQT, it will
go through a “wake up” screen, including some
subliminal advertising for AudioControl. It will
then display a friendly blue screen. Fear
not, the blue screen on the
DQT is actually a good
thing. Press the Select
button to select through
the menus. Once your
DQT has settled on one of
these menu screens, you will
want to spend a few minutes
familiarizing yourself
with the various modes.