


©American Audio® - www.AmericanAudio.us - CDI-300™ Instruction Manual Page 5
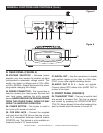
AUDIOOUT DIGITAL
OUT
POWER
ON
OFF
RELAY
ACIN~
230V 115V
I. Read Instructions - All the safety and operat-
ing instructions should be read before the CD
Player is operated. The safety and operating
instructions should be saved for future
reference.
2. Heed Warnings - All warnings on the CD
Player and in the operating instructions
should be adhered to.
3. Water and Moisture - The player should not
be used near water - for example, near a
bath tub, kitchen sink, laundry tub, in a wet
basement or near a swimming pool, etc.
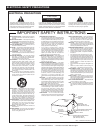
4. Ventilation - The CD Player should be situ
ated
so that its location or position does not inter-
fere with its proper ventilation. For example,
the CD player should not be situated on
a bed, sofa, rug, or similar surface that may
block the ventilation openings; or, placed in
a built-in installation, such as a bookcase
or cabinet that may impede the flow of
air through the ventilation openings.
5. Heat - The CD player should be situated
away from heat sources such as radiators,
heat registers, stoves, or other appliances
(including amplifiers) that produce heat.
6. Power Sources - The CD player should be
connected to a power supply only of the
type described in the operating instructions
or as marked on the CD Player.
7. Servicing - The user should not attempt
to service the CD Player beyond that
described in the operating instructions. All
other servicing should be referred to quali-
fied service personnel. The Player should be
serviced by qualified service personnel when:
A. The power-supply cord or the plug has
been damaged.
B. Objects have fallen, or liquid has been
spilled into the CD Player.
C. The CD Player has been exposed to
rain or water.
D. The CD Player does not appear to
operate normally or exhibits a marked
change in performance.
SAFETY INSTRUCTIONS
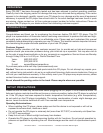
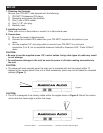
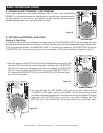
Line Voltage Selection
• The desired voltage may be set with the
VOLTAGE SELECTOR switch on the rear
panel (using a flat head screw driver).
• Do not force the VOLTAGE SELECTOR
switch as this may cause damage
• If the VOLTAGE SELECTOR switch does
not move smoothly, please contact a quali-
fied service technician.
VOLTAGE SELECTOR switch
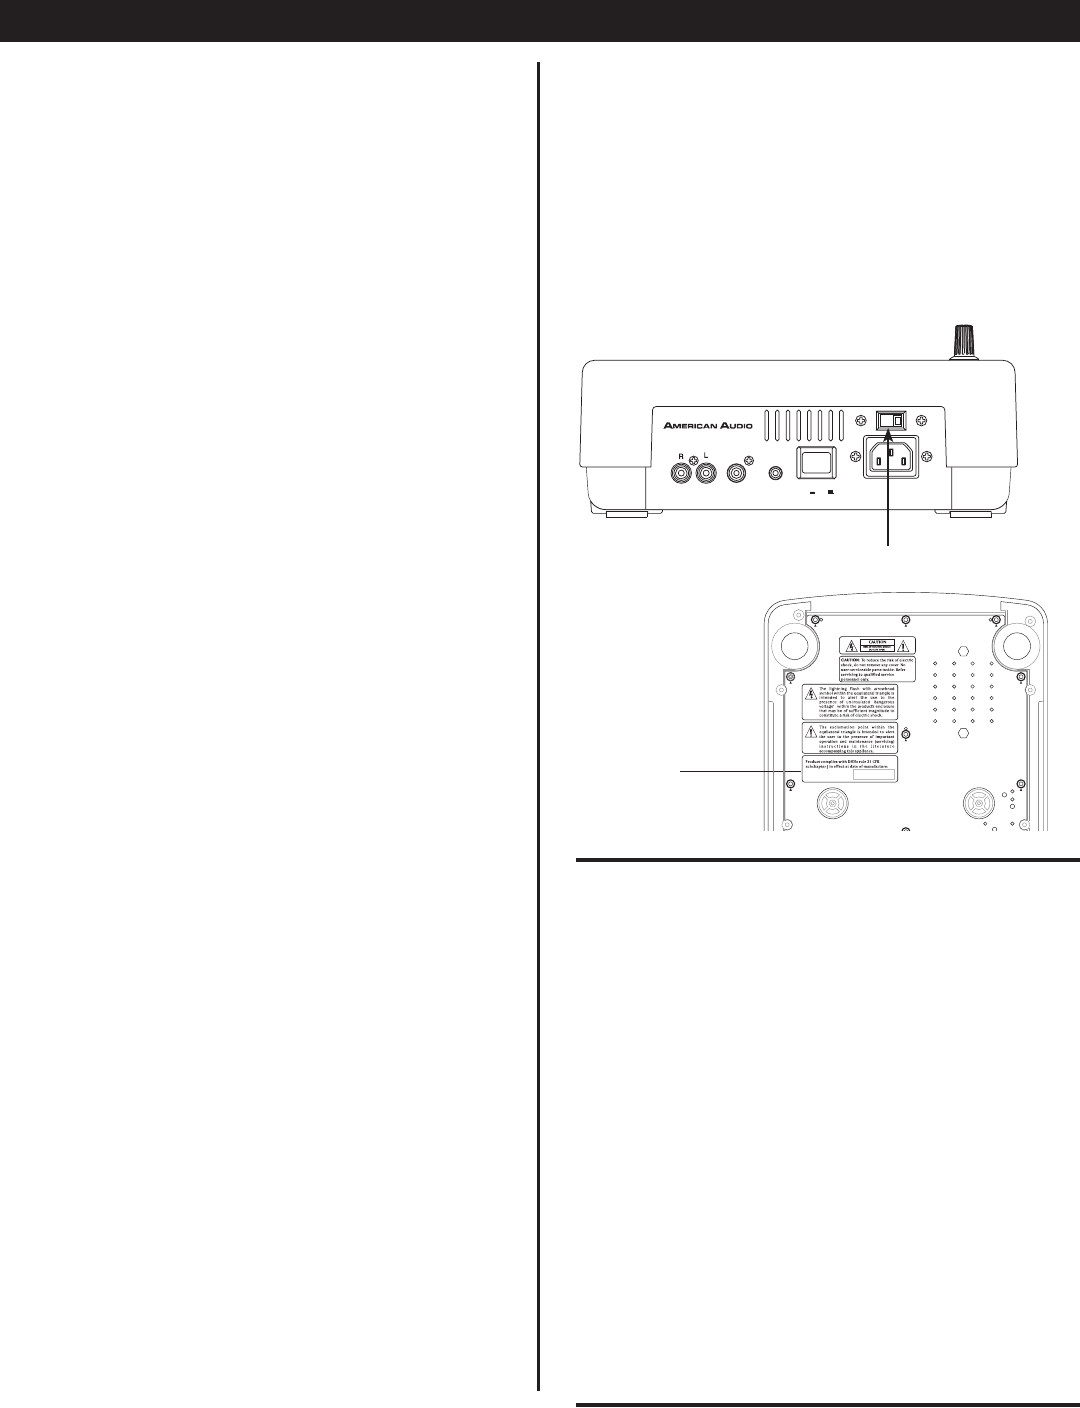
DATE LABEL
The serial and model number for this unit is
located on the rear panel. Please write down the
numbers here and retain for future reference.
Model No._____________________________
Serial No._____________________________
Purchase Notes:
Date of Purchase_______________________
Dealer Name__________________________
Dealer Address_________________________
__________________________________________
________________________________________
Dealer Phone__________________________