This function allows the loading of one of the 99 available presets, where the first 36 presets (6 for each EQ
type) are factory presets, and the presets from configurable presets and all not initialized37 to 99 are the user's
(empty) when CONTROL60 is shipped.
4.3.Operational Overview
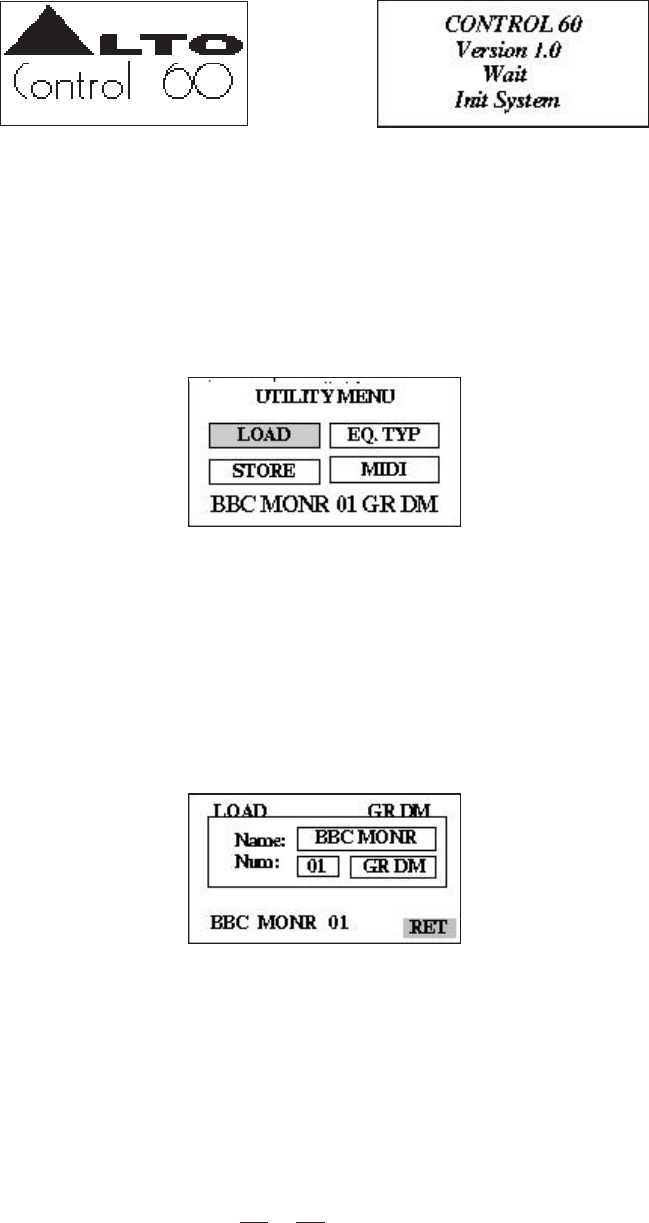
Switching ON the CONTROL60, at system startup these screens will appear:
This phase lasts some seconds, then, the system loads the last used preset and proceed to the utility menu,
the related LED on, if the system was not bypass when switched on.
4.3.1 UTILITY KEY
To access the UTILITY menu it's necessary to push the key. When pressing the utility key LEDUTILITY (utility
on), this screen will appear:
To load a preset:
The starting screen is this:
7
a. Load Preset
Here can be found the name, number, type of the current preset. Pressing enter when on the RET item
causes the system to return to the main menu.
Move into the screen with keys; the user can select the preset field, the selected itemsUP/DOWN are
reversed to underline them. To load a preset it is necessary to select the preset item, choose the desired
preset with the dial knob and at last press enter.
source (instrument or mic) into the CONTROL60 before the mixer's channel input. Usually, insert connections
require a special, stereo-splitting Y-cord to be connected, known as TRS connector. This connector has a stereo
jack which plugs into mixer's channel insert socket, and a couple of mono jacks (input and output) which will plug
into CONTROL60 via jack-XLR adapters. Fitting this kind of cabling will virtually insert into one mixer's channel
the EQ process. Take good care in adjusting CONTROL60 input and output levels, in order to satisfy the dynamics
needs of both the processed channels. Do not use for the CONTROL60 the effects send/return connections found
on most mixers for effect modules, as they could lead to heavy frequency response alterations.
Improper level setting when using a digital processor is the most common cause of noise and distortion problems.


