


- Page 10 -
6.4 Copying a TRACK to another TRACK of the same PART
To copy a single track to another track of the same part number, press and hold COPY, and select the
source track. The selected track's LED will remain lit, and all the other track LEDs will turn off. Now select
the destination track. This track's LED will now flash, indicating that it is the track to be copied to.
Pressing the RECORD button initiates the copy, and copies the source track to the destination track. If
any information existed in the destination track, it is erased.
6.5 Copying a TRACK to another TRACK of a different PART
To copy a single track of one part to a single track of another, press and hold COPY, select the source
track, select the destination part number, select the destination track, then press RECORD. If the
destination track is the same number as the source track, the destination track button does not have to
be selected before pressing RECORD.
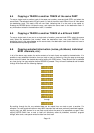
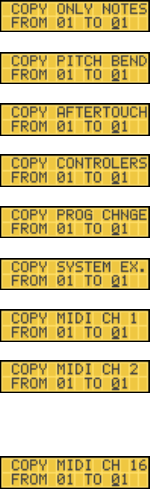
6.6 Copying selected information (notes, pitchbend, individual
MIDI channels, etc.)
In all of the above copy modes, the entire contents of a track of part are copied to the destination. It is
possible to copy selected information from one track or part to another by using the page up and page
down buttons to select the desired data while holding the COPY button. These buttons can be selected
any time during the copy selection before RECORD is pressed. They will scroll backwards and forwards
through 22 choices with the following displays:
through
By scrolling through the list, any selected data can be copied from one track or part to another. For
example, if a track contained notes on many MIDI channels that had been previously combined together,
copying only one MIDI channel to a new track would allow the parts to be separated out again. Also,
copying NOTES ONLY from a track to itself will effectively erase all pitchbend, controller, program
change, after touch, and system exclusive data from that track.