Load up to Make sure
100 sheets of custom-size paper
• The print side of the paper faces down.
• The paper size fits within these dimensions:
Width:
– 76.2–215.9 mm
– 3.0–8.5 inches
Length:
– 127.0–431.8 mm
– 5.0–17.0 inches
• The paper guides rest against the left, right, and bottom edges of the
paper.
20 sheets of banner paper
• The print side of the banner faces down when loading.
• The leading edge of the banner paper feeds into the printer first.
• You have selected the correct paper size for the banner in Printing
Preferences. For more information, see “Using the Printing
Preferences tabs” on page 69.
To load banner paper:
1 Pull Tray 1 completely out of the printer.
2 Remove all paper from Tray 1.
3 Move the paper guides as though you were loading legal-size paper.
4 Squeeze the lever and pull to extend the tray to legal size.
5 Tear off only the number of pages needed to print the banner.
6 Set the stack of pages in front of the printer.
7 Slide the first sheet from the banner stack of pages over the Tray 1
handle. Slide it all the way into the back of Tray 1.
8 Send the job to print.
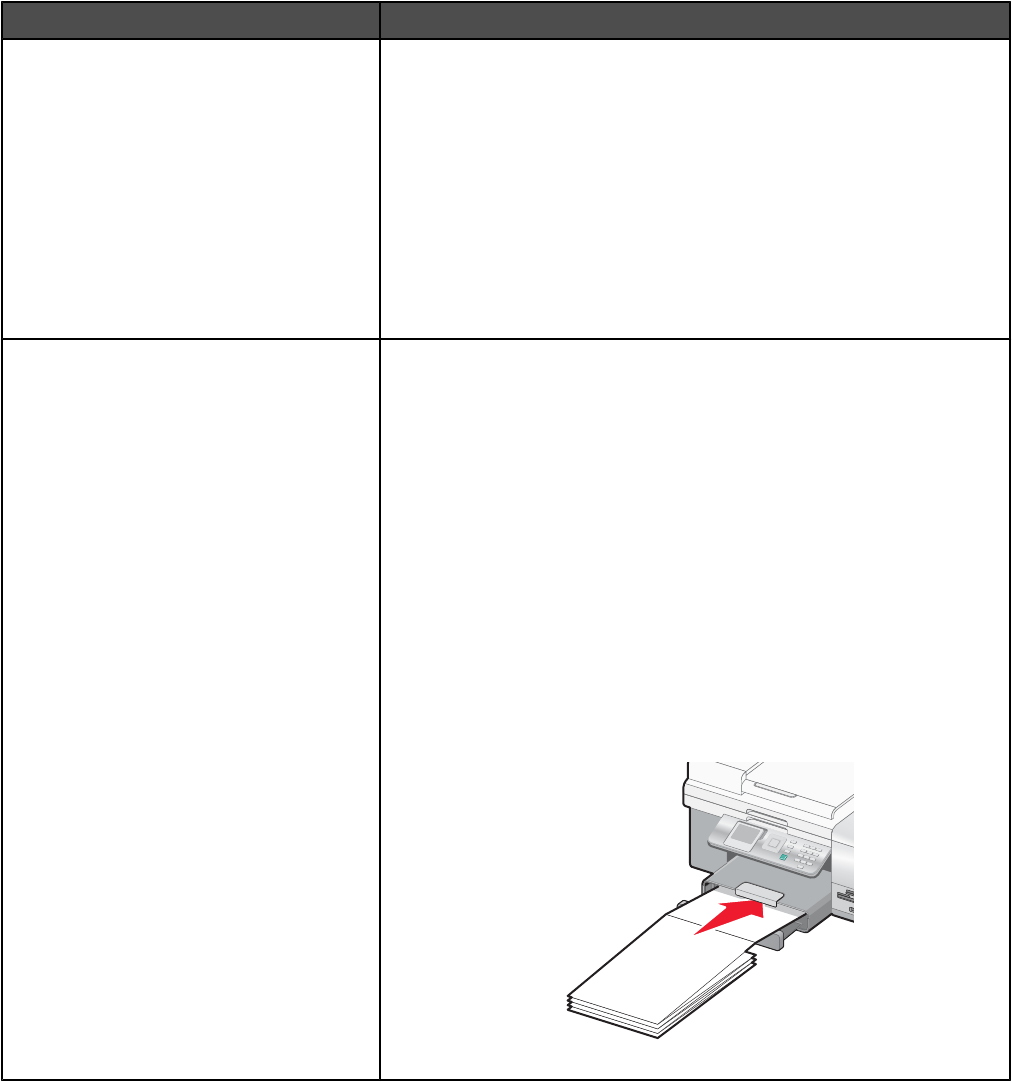
Using the small media feeder
The small media feeder, located on top of the paper exit tray toward the back, lets you load envelopes, 4 x 6 photo
paper, and other small card sizes without having to place them in Tray 1.
The small media feeder is helpful when:
• You want to print only one photo and you do not want to load Tray 1 with a photo card.
• You want to print one envelope for a letter. You would print the letter from paper loaded in Tray 1. Then, you print
the envelope quickly from the small media feeder.
81


