Printing from a Memory Card 21
English
4. On the LCD screen, make sure Print
Photos from Index Sheet is selected,
then press OK.
5. Press x Start.
Note:
If you have more than one index sheet, wait
each time until printing is complete. Then
repeat the steps above to scan and print
from each additional sheet.
Printing onto a CD/DVD
Making settings and printing
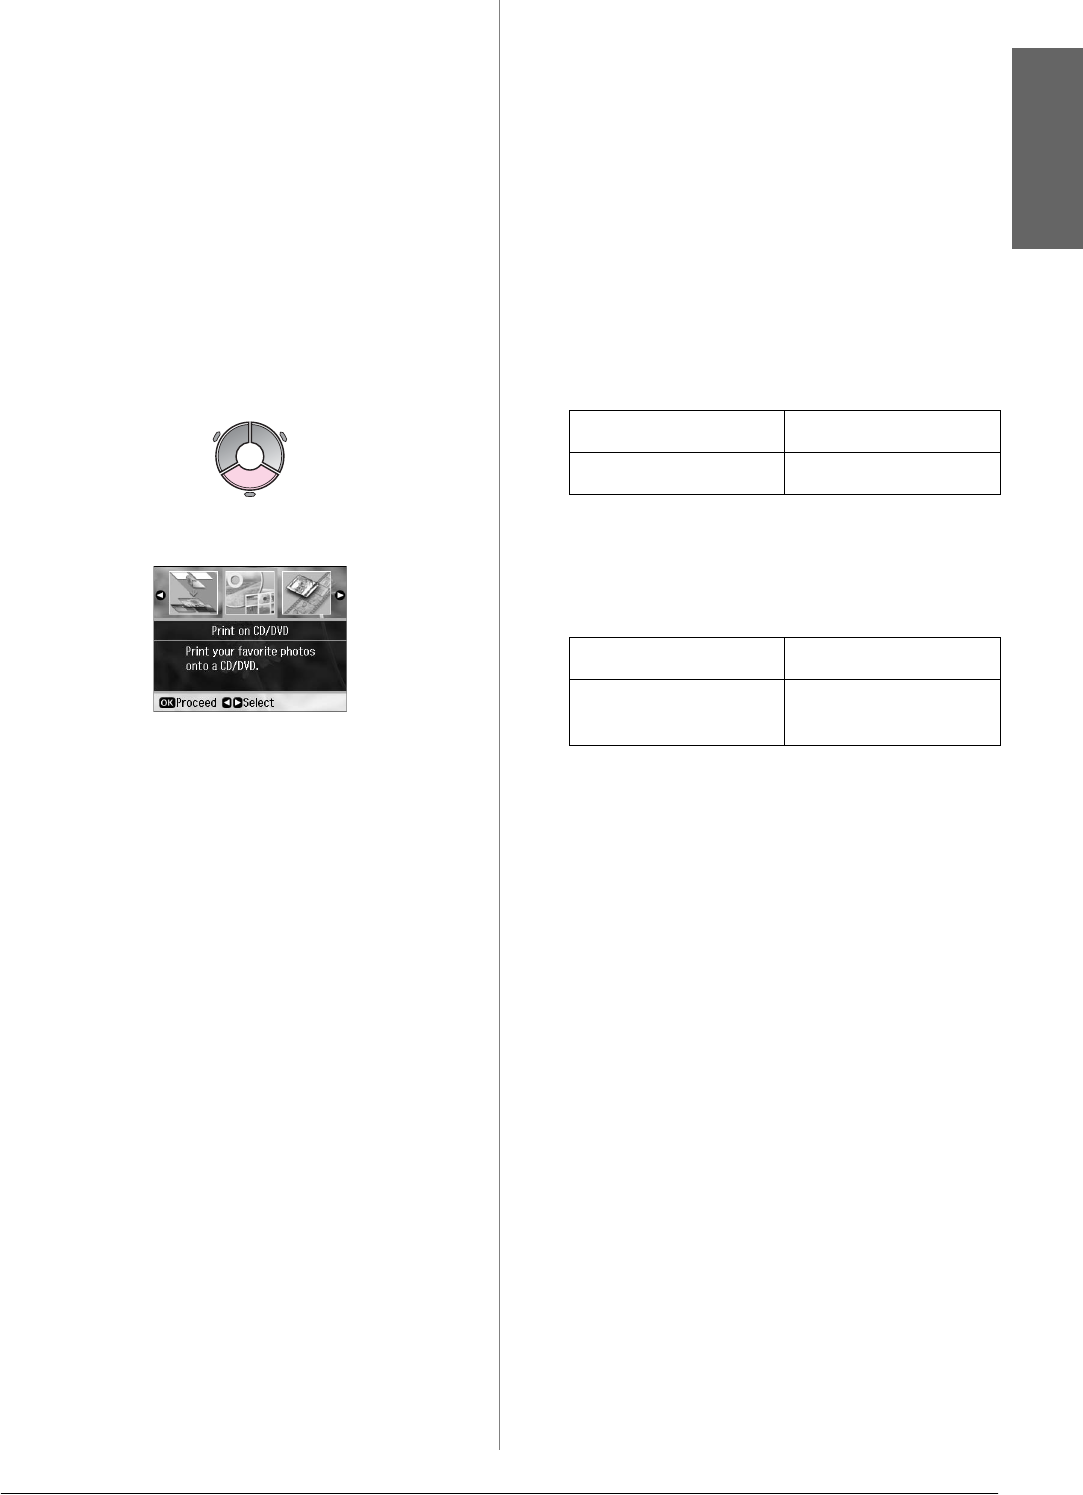
1. Press v Specialty Print.
2. Select Print on CD/DVD, then press OK.
3. Select the layout, then press OK
(& “Print settings for Print on
CD/DVD” on page 48).
Note:
When selecting photos for the CD/DVD
4-up or CD/DVD Variety layout setting, you
do not have to select the maximum number
of photos. Unused areas of the layout will be
left blank.
4. Press OK.
5. Select a photo and set the number of
copies.
6. Press x Menu and change the settings
(& “Print settings for Print on
CD/DVD” on page 48). Then press OK.
Tip:
If you want to print a test sample on paper
first, select Plain Paper as the Paper Type.
7. Press x Start.
Adjusting the print area
Adjusting the diameter
1. Press v Specialty Print.
2. Select Print on CD/DVD, then press OK.
3. Select the layout, then press OK.
4. Press OK.
5. Press x Menu.
6. Select CD Inner-Outer, then press r.
7. Set the inside diameter (Inner) and the
outside diameter (Outer), at intervals of
1 mm, and then press OK.
Note:
If you are printing in the following areas of
the disc, the disc or CD/DVD tray may get
stained with ink.
8. Press OK, then try printing again.
Adjusting the print position
1. Press F [Setup].
2. Select the CD/Sticker Position, and
press OK.
3. Select CD/DVD, then press r.
Inner 18 to 46 mm
Outer 114 to 120 mm
Inner hub area 18 to 42 mm
Outer periphery
area
117 to 120 mm


