Macromedia MAX 2005 - Anaheim, CA What’s New In Flash 8
96
Create the Motion Tween
1. In the tools panel, choose the Selection tool (V). In the Timeline double click the name
“Layer 1” to rename it to Flash Text.
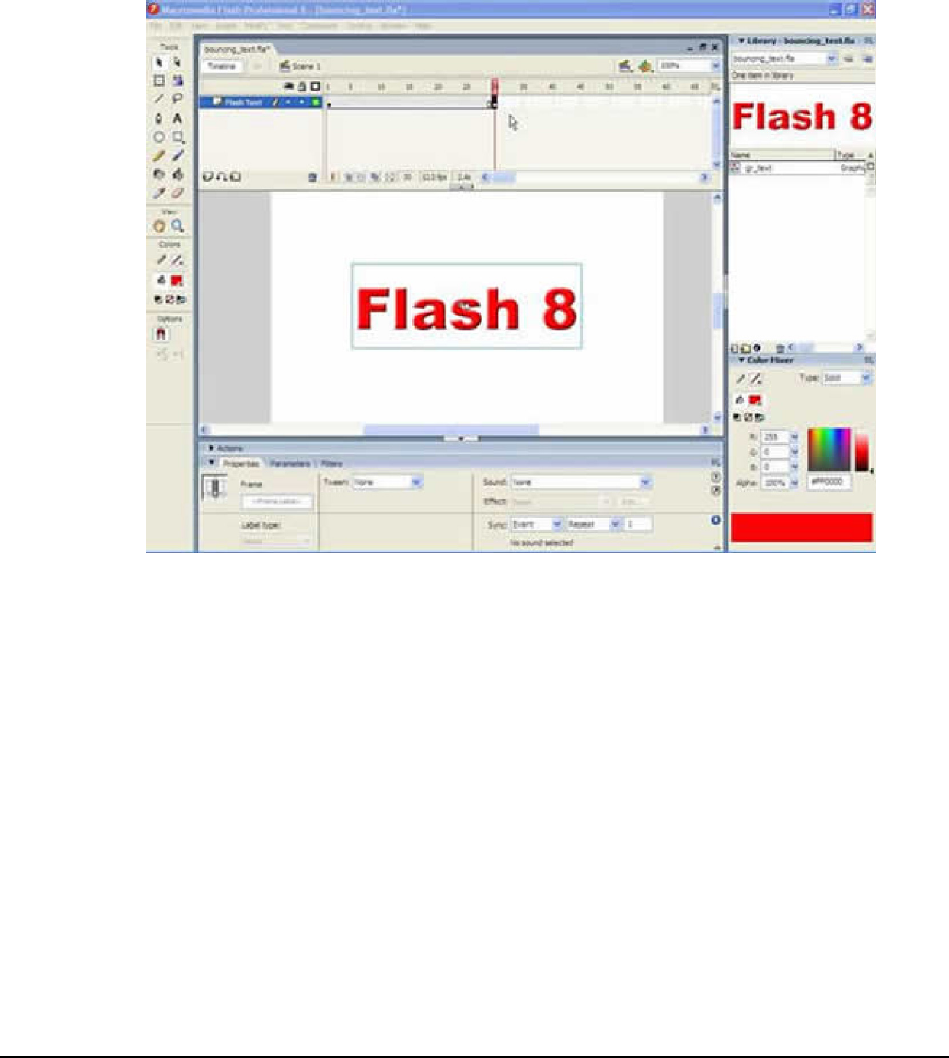
2. From the Library Panel, drag and instance of the gr_text symbol to the stage. At this point
we have our symbol on frame 1.
3. Next let’s add a keyframe to frame 30. Select frame 30 on the Flash Text layer. From the
Insert menu select (Insert > Timeline > Keyframe).
Figure 5. Place the symbol on the stage and add a keyframe
4. Select Frame 1 in the Flash Text layer.
5. In the Property Inspector, choose the Motion option from the Tween drop down menu. We
don’t have an animation just yet. We need to make another adjustment to Frame 1.
6. While still in Frame 1 take your Selection tool (V) and click on the graphic symbol to select
it.
7. We are going to scale the text down by selecting (Modify > Transform > Scale and
Rotate…)
8. In the Scale and Rotate dialog box, set the scale value to 10% and click the OK button. At
this point you can now click on the playback head in the timeline and scrub back and forth to
see the animation effect.


