


English
E-29
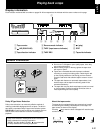
DISC
1
DISC
2
DISC
3
DOWN UP
VOLUME
STANDBY/ON
DIRECTION
PROGRAM
B.BOOST
MUSIC
INPUTINPUT
MIN
PRESET
/
TUNING
/
BAND A
/
B
/
C
/
D
/
E
DISC CHANGE OPEN
/
CLOSE
AUTO/MANUAL
TIMER
MEMORY
TIME ADJ
REC/PAUSEDOLBY NR
HOUR
RANDOM
REPEAT TIME
DISPLAYMODE
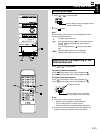
PROGRAM
BASS
BOOST
MUSIC
CENTER/
REAR/DELAY
TEST
LEVEL
VOLUME
POWER
SLEEP
/I
REC/PAUSE
DIRECTION
TAPE
1
1
2
2
3
3
4
4
5
5
6
6
7
7
8
8
9 0
TIME PROG R. TIME
C
EDIT
D
PRESET
+
I0
E
MODE REPEAT
RANDOM
TUNER
DISC SKIP
AB
TUNER
CD
INPUT
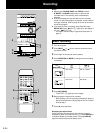
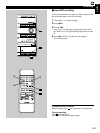
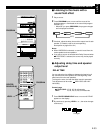
Ⅵ To listen to or watch a source played on
an external unit connected with this
system
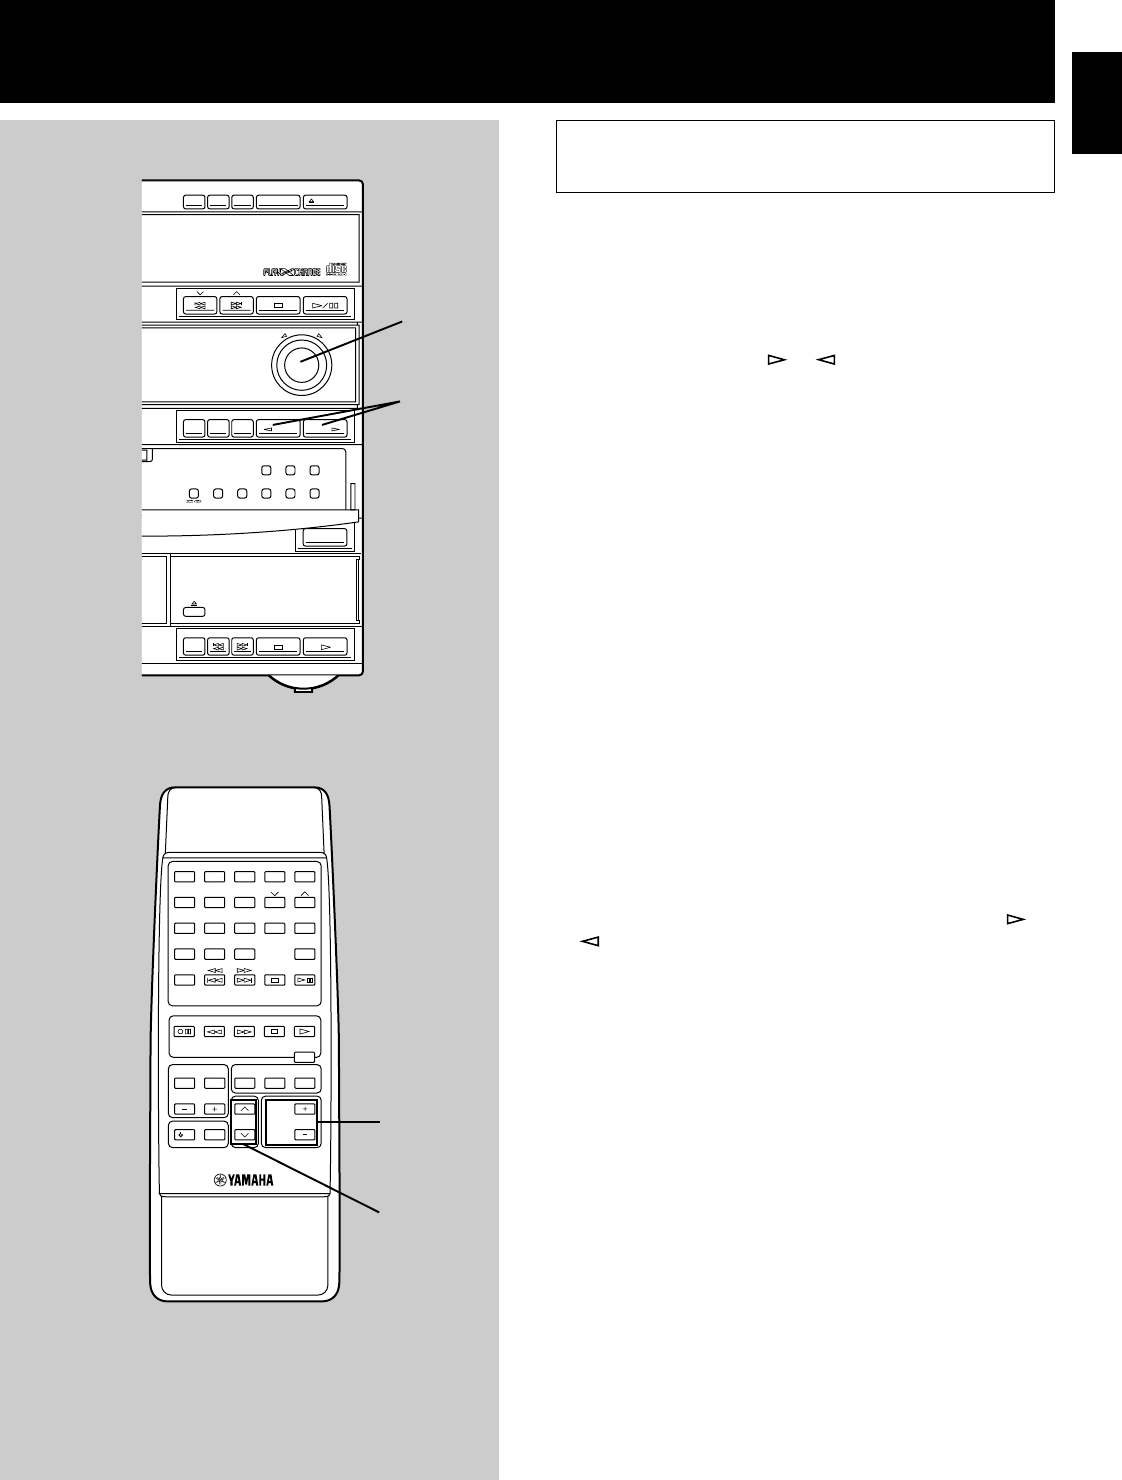
1 Select the input source (VIDEO, VCR or AUX/MD) you want
to play by using INPUT
or .
2 Play the source.
* If you play a video source, turn on the TV monitor
connected to this system.
3 Adjust the volume to the desired level by using VOLUME.
* If you prefer, you can control the sound quality by using
the built-in graphic equalizer (MUSIC), the sound field
processor (PROGRAM), BASS, TREBLE and/or
B. BOOST. (Refer to pages 30–33 for details.)
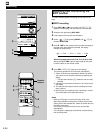
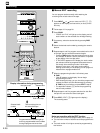
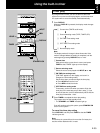
Operating the external units connected with this system
1, 11
3, 22
1, 11
3, 22
Use an external unit connected to the VCR, VIDEO or AUX/
MD terminals on the rear of the main unit.
Ⅵ To record a source by using the tape
deck, VCR etc. connected to this system
If a tape deck, VCR, etc. is connected to this system, you can
record a source played on this system or an external audio/
video unit connected to this system by using the tape deck,
VCR, etc.
11 Select the source you want to record by using INPUT or
.
22 Play the source and then turn VOLUME up to confirm the
input source.
33 Begin recording on the tape deck, VCR, etc.
Note
A digital-to-digital recording is possible from a CD played on
the built-in CD player to an MD (or tape) on the MD recorder
(or DAT) by connecting the DIGITAL OUT (OPTICAL) terminal
on the rear of the main unit to the MD recorder (or DAT).