


E-24
DISC
1
DISC
2
DISC
3
DOWN UP
VOLUME
STANDBY/ON
DIRECTION
PROGRAM
B.BOOST
MUSIC
INPUTINPUT
MIN
PRESET
/
TUNING
/
BAND A
/
B
/
C
/
D
/
E
DISC CHANGE OPEN
/
CLOSE
AUTO/MANUAL
TIMER
MEMORY
TIME ADJ
REC/PAUSEDOLBY NR
HOUR
RANDOM
REPEAT TIME
DISPLAYMODE
PROGRAM
BASS
BOOST
MUSIC
CENTER/
REAR/DELAY
TEST
LEVEL
VOLUME
POWER
SLEEP
/I
REC/PAUSE
DIRECTION
TAPE
1
1
2
2
3
3
4
4
5
5
6
6
7
7
8
8
9 0
TIME PROG R. TIME
C
EDIT
D
PRESET
+
I0
E
MODE REPEAT
RANDOM
TUNER
DISC SKIP
AB
TUNER
CD
INPUT
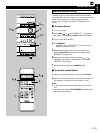
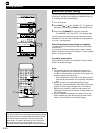
Notes
● Adjusting the VOLUME, BASS and TREBLE controls,
B. BOOST and MUSIC buttons have no effect on the
recorded sound. The recording level is automatically
adjusted.
● A sound field program may have effect on the recorded
sound. If a sound field program is selected, cancel it before
you begin recording. Refer to page 33 for how to cancel the
sound field program.
● If you want to make a recording using Dolby NR, press
DOLBY NR so that “
NR” (2) lights up on the display. If
not, turn “
NR” (2) off.
* For details, refer to “Dolby B Type Noise Reduction” on
page 21.
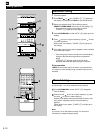
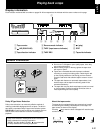
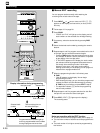
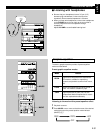
Basic recording
1
Turn on the power.
2 Press INPUT or once or more to select the source
you want to record.
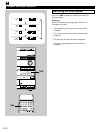
3 Load a tape on the tray with side A upward.
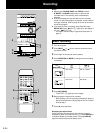
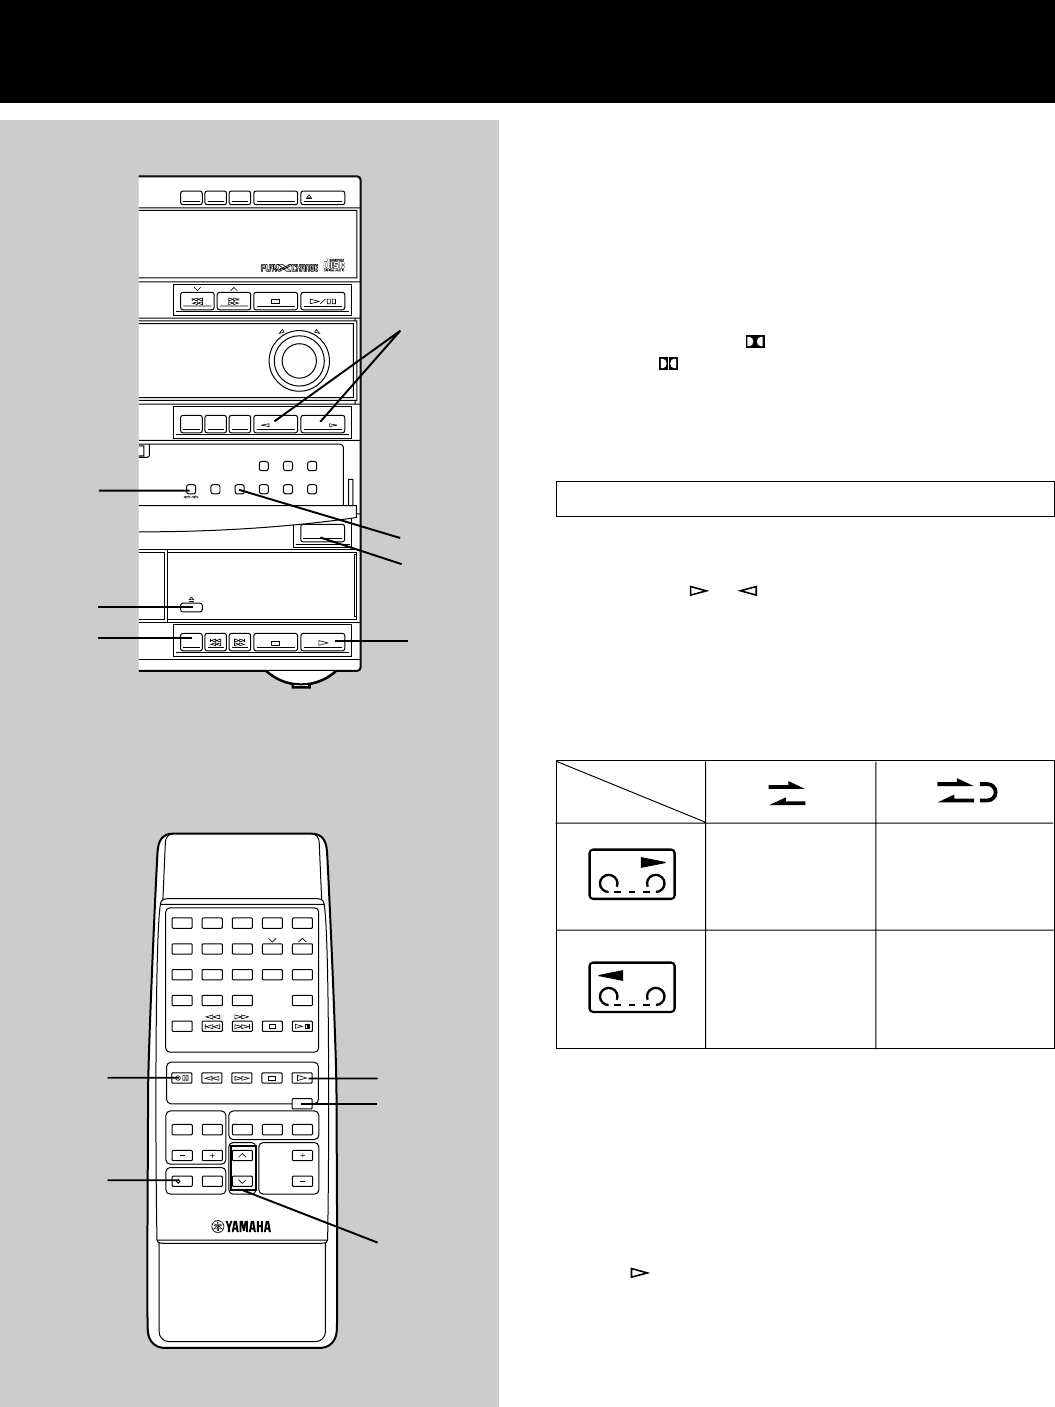
4 Press DIRECTION or MODE to change the current setting
if necessary.
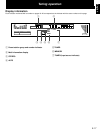
5 Press REC/PAUSE.
* “TAPE REC” (
6) lights up on the display.
6 Begin playing the source to be recorded.
* When playing a CD, the recording automatically begins a
few seconds before the CD play begins. You do not need
to follow step 7.
7 Press of the tape deck.
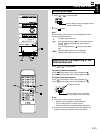
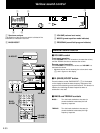
Displaying the tape counter
During recording, the information of the playing source is
displayed in place of the tape counter (1). Press DISPLAY to
change the display to the tape counter. Pressing DISPLAY
again will restore the previous display mode.
Recording
2
7
5
2
5
4
7
3
4
4
1
1
Side A only
Side B only
Side A → Side B
Side B only
MODE
DIRECTION