


8
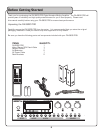
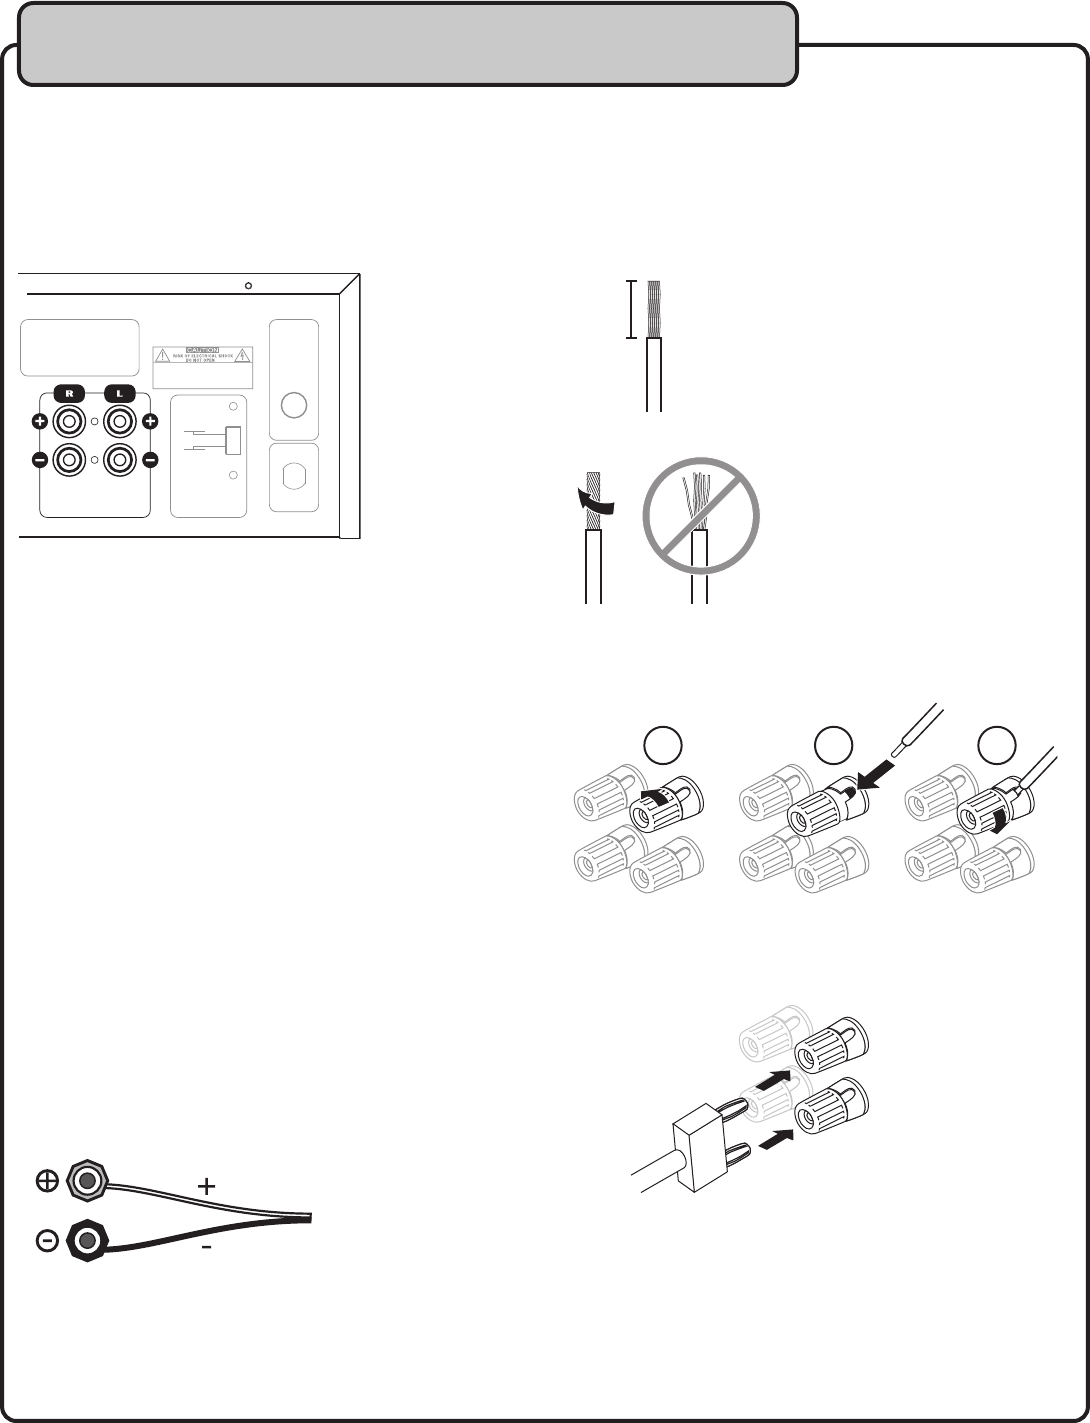
Connecting Speakers
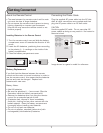
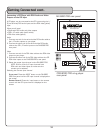
The Speaker Terminals are located on the rear panel.
There are two STEREO terminals. Be sure to connect the
left channel (L), right channel (R), “+” (red) and “--” (black)
properly.
WARNING: TO REDUCE THE RISK
OF FIRE OR ELECTRIC SHOCK, DO
NOT EXPOSE THIS EQUIPMENT TO
RAIN OR MOISTURE
CAUTION: TO
REDUCE THE
RISK OF FIRE,
REPLACE
ONLY WITH
SAME TYPE
FUSE
CAUTION: TO PREVENT ELECTRIC
SHOCK, DO NOT REMOVE COVER
SCREWS. NO USER-SERVICEABLE
PARTS INSIDE. REFER SERVICING TO
QUALIFIED SERVICE PERSONNEL.
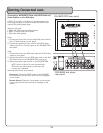
THE POWER
SUPPLY CORD
SHOULD BE
DISCONNECTED
BEFORE
CHANGING THE
VOLTAGE
SELECTOR
110V
220V
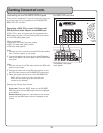
• Before connecting the speakers, make sure that the DA-
3800 PRO is disconnected from the power source.
• Do not let the bare speaker wires touch each other or
another metal part of this unit. This could damage the DA-
3800 PRO and/or the speakers.
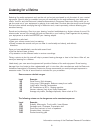
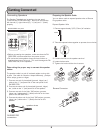
Determining the proper way to connect the speaker
cables:
The speaker cable is a pair of insulated cables running side
by side. One cable is colored or shaped differently , perhaps
with a stripe, groove or ridges.
1. Connect one end of the striped (grooved, ridged, etc.)
cable to the “+” (red) terminal on the rear panel of the
DA-3800 PRO.
2. Connect the other end of the striped (grooved, ridged,
etc.) cable to the “+” (red) terminal on the speaker.
3. Connect one end of the “plain” (NO stripes, grooves,
ridges, etc.) cable to the “--” (black) terminal on the rear
panel of the DA-3800 PRO.
4. Connect the other end of the “plain” (NO stripes, grooves,
ridges, etc.) cable to the “--” (black) terminal on the
speaker
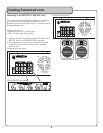
Preparing the Speaker Cable
You can either used an exposed speaker wire or Banana
Plug speaker cable.
Exposed Speaker Wire
1. Remove approximately 3/8” (10mm) of insulation
2. Twist the exposed wires together to prevent short circuits
3. Loosen the knob on the speaker terminal
4. Insert the bare wire
5. Tighten the knob until the wire is secure
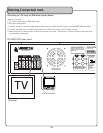
Getting Connected