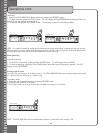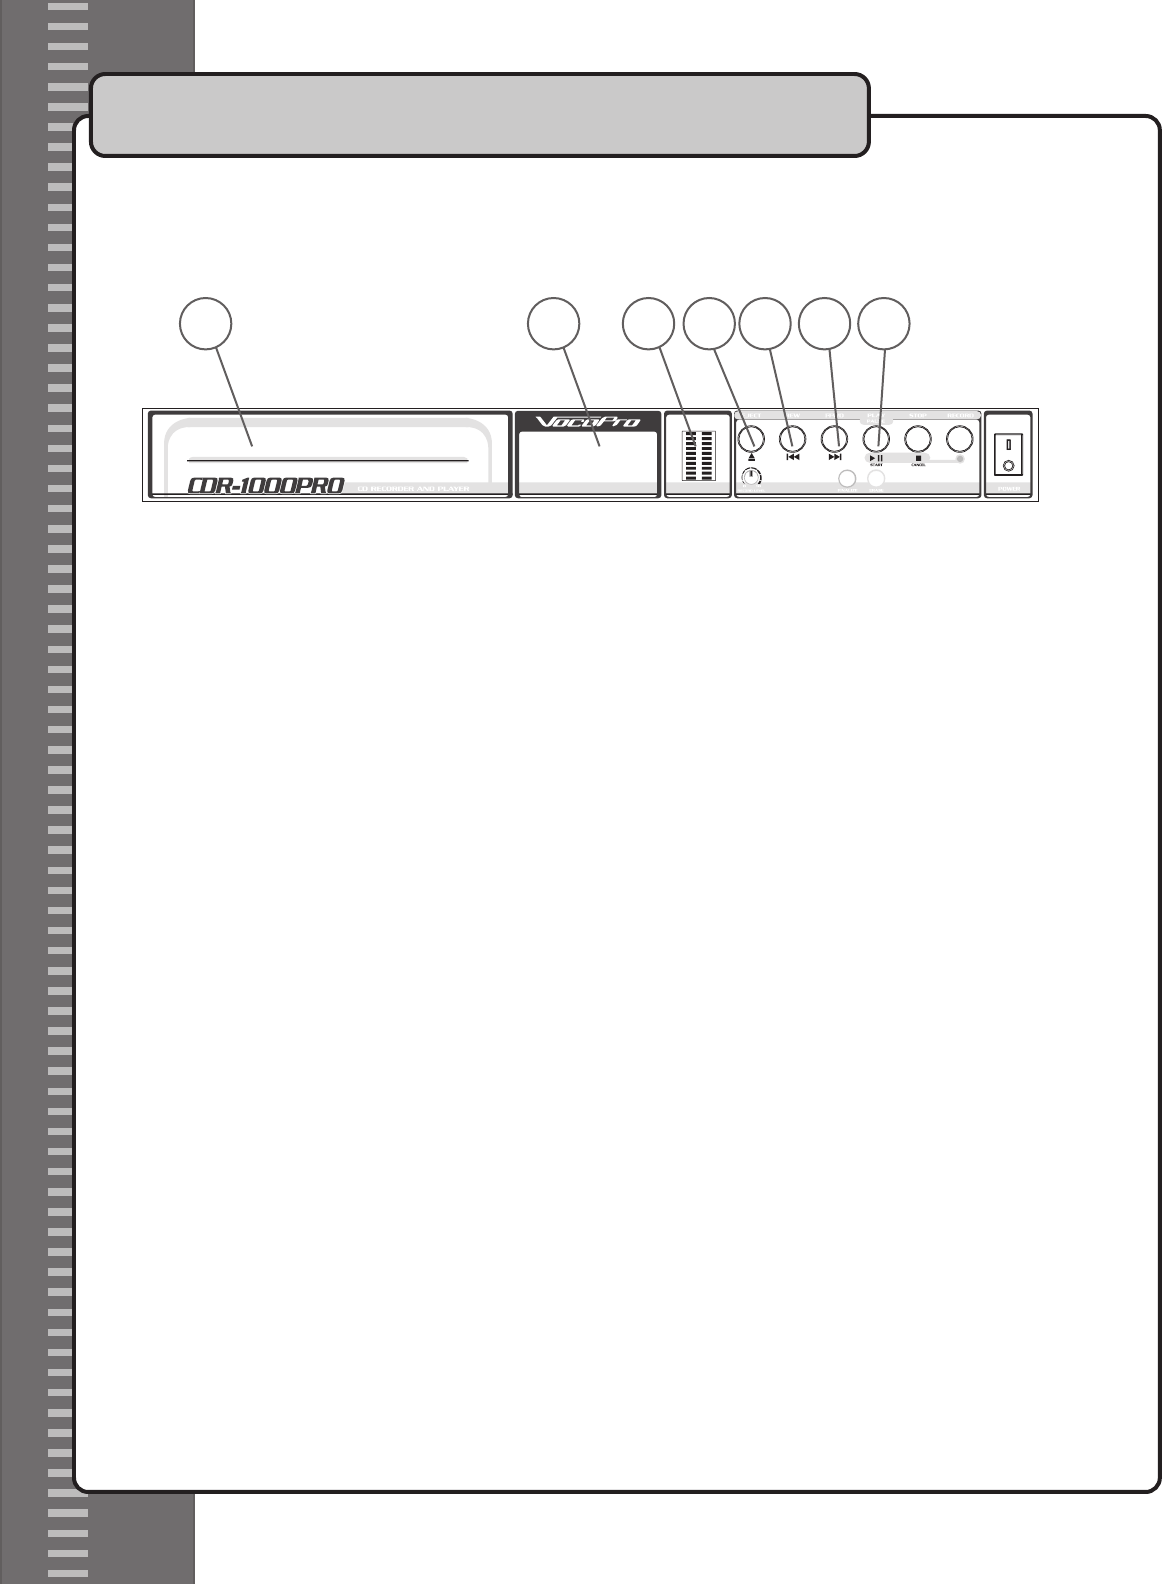
Front Panel Controls and Functions
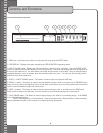
1. DISC tray - Insert discs here. Open and close the disc tray using the EJECT button.
2. LED DISPLAY - Displays information regarding the CDR-1000 PRO’s operating status.
3. INPUT VOLUME meter - Displays the volume level that is being input for recording. Use the RECORD LEVEL
control to keep the volume from peaking or from being too low. The volume is peaking when the orange bars at
the top of the meter are lit. For best results, the meter should remain in the middle. Doing so should prevent
unwanted distortion, which is present when the recording level is too loud. If it is too low, the recording will be
difficult to hear when played back.
4. EJECT (**EJECT SYMBOL) button - This button is used to open and close the DISC tray.
5. PREV |<< button - This button is used to scan backwards through a track or to go back to a PREVIOUS track.
Press it once to skip to the beginning of the current track, twice quickly to jump to the previous track and hold it
down to scan backwards through the current track.
6. NEXT >>| button - This button is used to scan forwards through a track or to advance to the NEXT track.
Press it once to skip to the next track, and hold it down to scan forwards through the current track.
7. PLAY/PAUSE button - This button is used to begin playing a disc when it is not already playing. It will PAUSE
a disc that is already playing.
START recording (When in Record Mode) - Press this button while in Record Mode, to start recording.
See the Operations section of this manual for in-depth recording instructions.
Controls and Functions
6
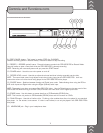
OUTPUT
LEFT RIGHT
BAL
UNBAL BAL UNBAL
ANALOG i/O INPUT DIGITAL
AC INPUT
~90V-24V~50/60HZ
LEFT RIGHT INPUT
BAL UNBAL BAL UNBAL S/PDIF
LA VERNE, CALIFORNIA U.S.A.
www.vocopro.co
m
1 2 3 4 5 76


