


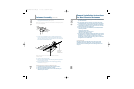

11
Types of Support Structures
and Mounting
(continued)
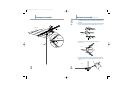
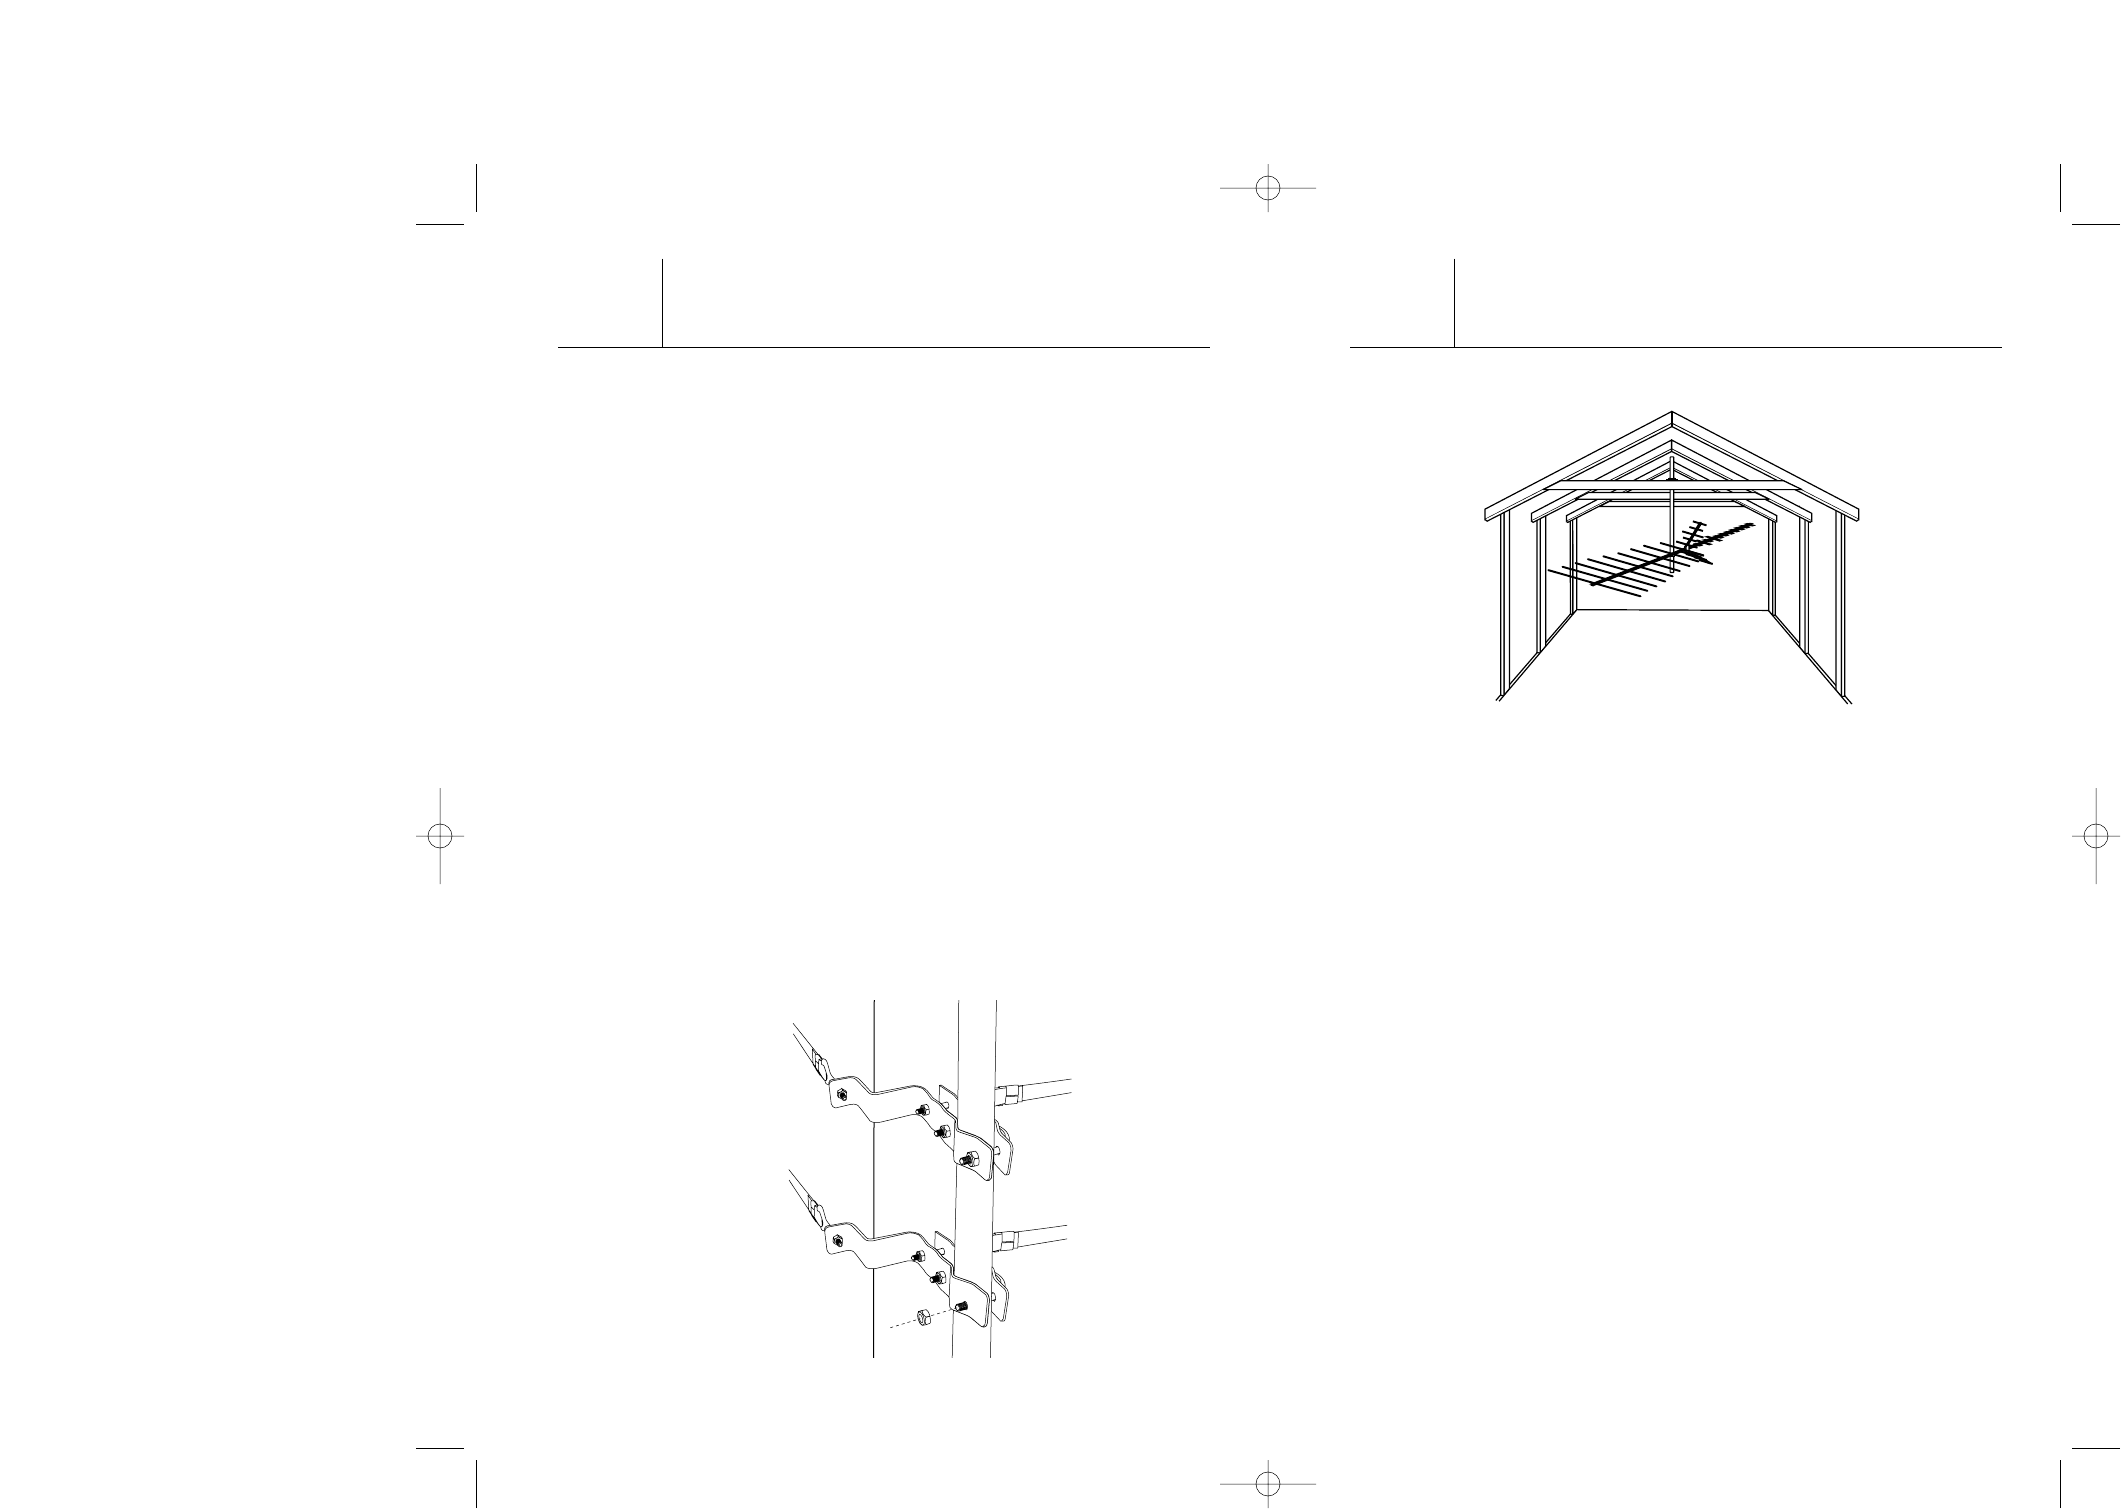
1. Insert the threaded end of the strap hook, (the one secured to
the strap) through the end portion of the “Z” mount (hole A).
Take one of the loose strap hooks and insert into hole B.
NOTE: It is important to thread the nut only 1/4” onto the hook, so
that it may later be tightened to take out the slack and make the
strap secure to the chimney.
2. Go around the chimney with the strap; slip the strap clip onto
the strap, and then secure the other end of the strap by inserting
the strap into the strap hook that is in hole B. The strap clip is
used as follows: (See figure 8.)
a. Slide the strap through the loop section of the clip and bend it
around through the upright section of clip.
b. Bend the upright sections of the clip down with pliers,
pinching the strap firmly.
3. At this time, remove any slack in the strap by tightening the nuts
at holes A and B.
4. Repeat the above steps to secure the lower mount to chimney.
(It is recommended that the mounts be a minimum of 18” apart.)
NOTE: Install the upper bracket just below the top course of
bricks, and the lower bracket two or three feet below the upper
bracket. For maximum strength, space the brackets as far apart
as possible.
5. Place the mast against the mount and secure it in place using
the mast support clamps and nuts.
TV36
Fig. 8
B
B
A
A
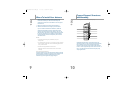
12
Types of Support Structures
and Mounting
(continued)
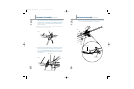
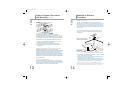
Universal Mount - For attic installations
An attic installation is the easiest, fastest and most convenient type
of antenna installation, especially if you do not have easy or secure
access to an outdoor area. Attic installations work best in areas
where strong signals are present. Roofing materials, aluminum
foil on insulation, aluminum or steel siding, metal gutters at the
attic level, and metal lath under old plaster walls all can interfere
with reception. Use the universal mount to secure the mast and
antenna to a rafter.
1. Screw the universal mount into a supported rafter
or beam.
2. Using the U-bolt, bracket and nuts, secure the mast to the
universal mount.
3. After you align the mast perpendicular to the floor, tighten
the nuts securely.
TV36
Attic
T0436-TV36 Revise-OM.qxp 11/11/03 03:53 AM Page 11