


23
ENGLISH
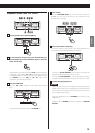
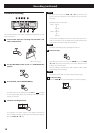
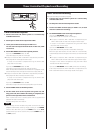
Connections with a timer
Connecting a commercially available timer to your audio setup lets
you wake up to your favorite cassette tape, or start recording at
specified times.
Refer to the illustration below, and connect your audio components.
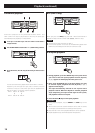
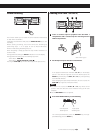
5. Tune in a broadcasting station to be recorded.
6. Press the RECORD (K) key of the deck to be recorded to
set the deck to the record-pause mode.
7. Adjust the recording level.
8. Set the TIMER switch to the REC position.
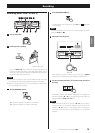
9. Set the audio timer to the required start (power on) and
stop (power off) times. When this setting is completed,
the power to all components will be switched off.
When the preset start time is reached, power will be supplied
and recording will start automatically.
Recording always starts from side “A”.
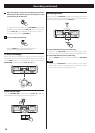
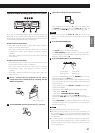
CAUTION
If you directly connect the deck’s AC power cord to the AC outlet,
recording automatically starts by simply pressing on the POWER
switch of this deck when you set the TIMER switch to the REC
position. When you do not use the timer for a while, be sure
to set the TIMER switch back to the OFF position to prevent
accidental erasure of your important tape.