


User's Manual
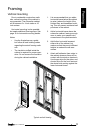
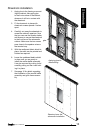
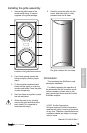
3. With the help of an assistant to lift
the cabinet, check the t into the
framing, and use shims if required.
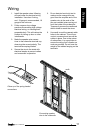
4. Wiring the subwoofer is the same
as described previously, except that
there is not much room to make the
connections to the binding posts.
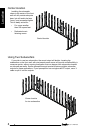
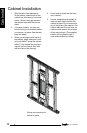
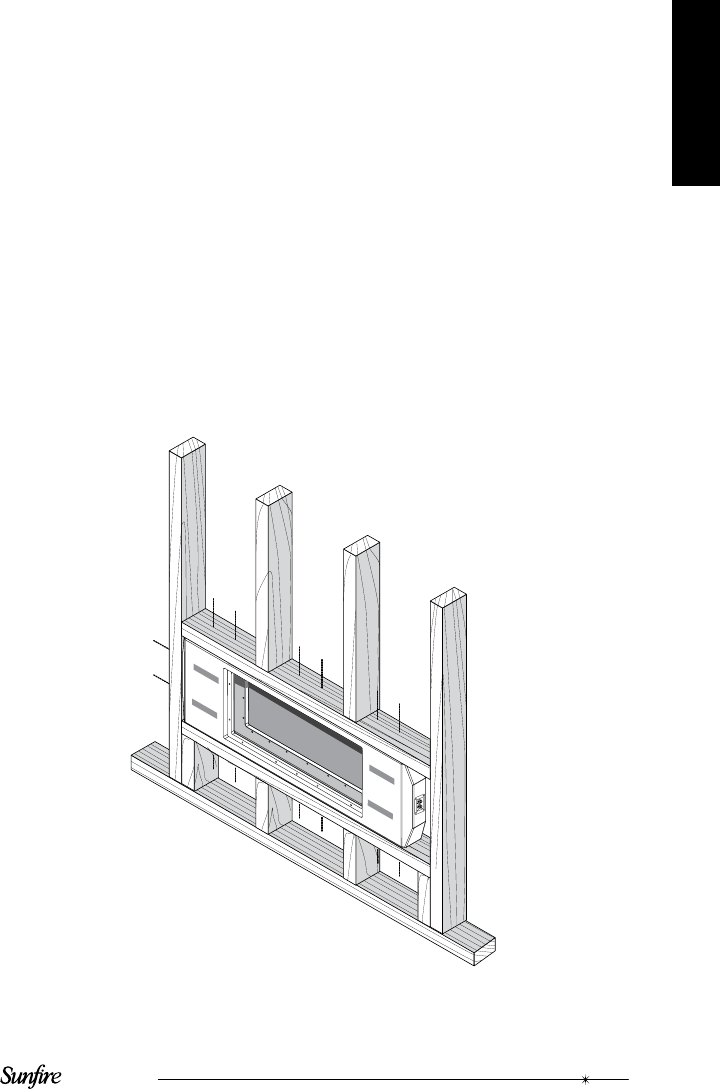
5. Use wood glue, such as Liquid
Nails™ along the cabinet top and
side. Fit the cabinet into the framing
until its front face is ush with the
front face of the framing.
6. Use a level to make sure the cabi-
net is horizontal.
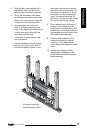
7. Use six woodscrews or more along
the top, and a few into the side to
secure the cabinet in place. If pos-
sible, add a few screws to secure
the bottom face of the cabinet. You
may have to angle them in, but do
not screw in to any of the cabinet
joints. The cabinet walls are 3/4
inch thick, so make sure the screws
do not pass all the way through.
8. Do an electrical continuity test to
make sure the connections are
good from the amplier-end of the
speaker wire to the ends of the two
pre-installed wires coming out from
the inside of the subwoofer.
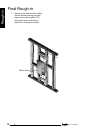
9. Finishing with sheetrock is the
same as described for vertical
mounting. Fit the debris shield
before starting the sheetrock instal-
lation.
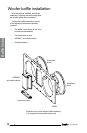
10. See the next page for details
regarding the installation of the
woofer bafe assembly and grille
frame assembly.
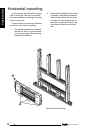
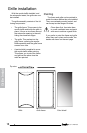
Horizontal
15
Screwing and gluing
the subwoofer in place