33
Editing Recorded MDs
Naming a Track or MD
You can enter a name for a recorded MD as well as for
individual tracks. Names can consist of uppercase and
lowercase letters, numbers, and symbols. A total number
of 1,700 characters can be stored for all the names on the
MD.
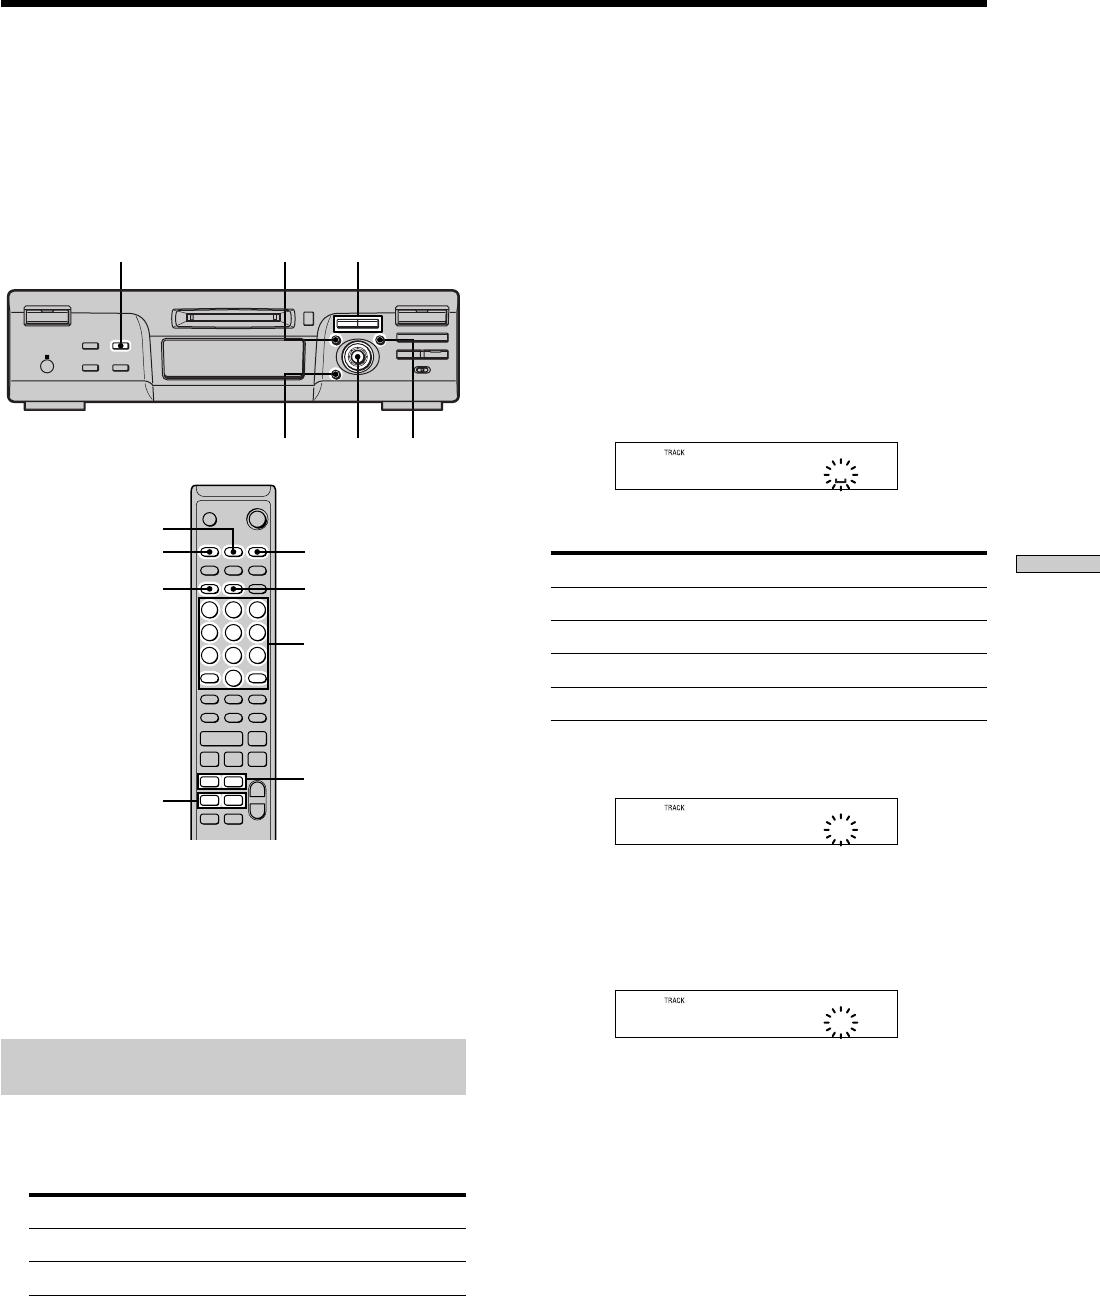
AMS YES
m/M
CLEAR
MENU/NO
LEVEL/DISPLAY/CHAR
MENU/NO
NAME
m/M
./>
CLEAR
CHAR
YES
H
M
m
?/1
A
x
X
.>
z
••
. >
m M
z x
X
H
Z
` / 1
+
–
>.X
Note
If you name a track while it is being recorded, be sure to finish
the naming operation before the track ends. If the track ends
before you finish, the entered character data will be discarded
and the track will remain unnamed. Also, you can’t name tracks
while the deck is recording over existing material.
Naming a track or MD using the controls
on the deck
1 Press MENU/NO while the deck is in one of the
operating statuses listed below, depending on
what you want to name:
To name Press while the deck is
A track or the MD Stopped, playing, or paused
The track being recorded Recording the track
“Edit Menu” appears in the display.
2 Turn AMS until “Name ?” appears, then press AMS
or YES.
While the deck is recording, a flashing cursor appears
in the display and you can enter a name for the track
being recorded. In this case, go to step 6.
3 Turn AMS until “Nm In ?” appears, then press AMS
or YES.
4 Turn AMS until the track number (when naming a
track) or “Disc” (when naming the MD) flashes,
then press AMS or YES.
5 Press AMS or YES again.
A flashing cursor appears.
6 Press LEVEL/DISPLAY/CHAR repeatedly to select the
character type.
To select Press repeatedly until
Uppercase letters “A” appears in the display
Lowercase letters “a” appears in the display
Numbers “0” appears in the display
Symbols* “!” appears in the display
*
The following symbols can be selected:
! ” # $ % & ’ ( ) * + , – . / : ; < = > ? @ _ `
A
To enter a space
Press M while the cursor is flashing.
7 Turn AMS to select the character.
The selected character flashes.
D
To change a selected character
Repeat steps 6 and 7.
Letter/number
buttons
