37
Using Various Functions with the Control Menu
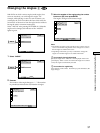
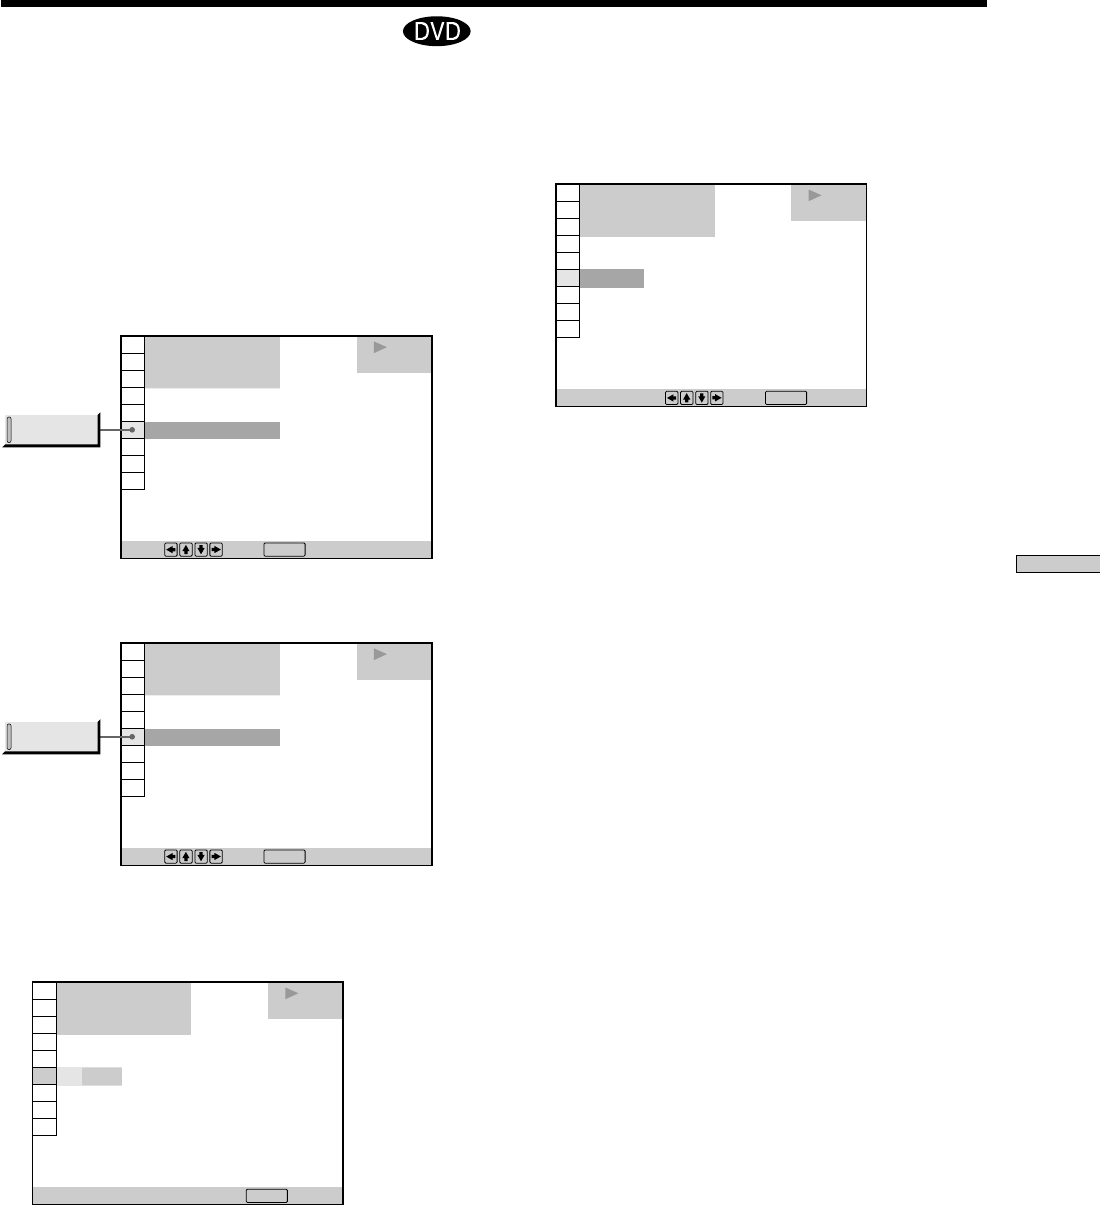
Changing the Angles Z
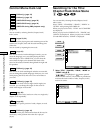
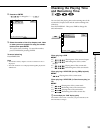
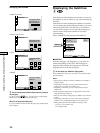
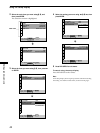
3 Select the number of the angles using the number
buttons or M/m, then press ENTER.
The angle is changed to the selected angle.
Notes
• The number of angles varies from disc to disc or from scene to
scene. The number of angles that can be changed on a scene is
that of angles recorded for that scene.
• Depending on the DVD, you may not be able to change the
angles even if multi-angles are recorded on the DVD.
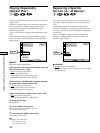
z You can specify the angle beforehand
Specify the angle when “ANGLE” is not displayed on the front
panel display. When a scene on which multi-angles are recorded
comes, the angle is automatically selected.
z You can select the angle directly
Press ANGLE on the remote. Each time you press the button, the
angle changes.
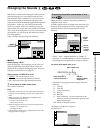
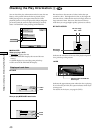
With DVDs on which various angles (multi-angles) for a
scene are recorded, you can change the angles. For
example, while playing a scene of a train in motion, you
can display the view from either the front of the train, the
left window of the train or from the right window without
having the train’s movement interrupted.
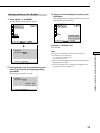
Select “ANGLE” after pressing DVD DISPLAY. When the
angles can be changed, the indicator of the “ANGLE”
lights in green.
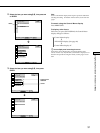
1 Select “ANGLE.”
2 Press ,.
The number of the angle changes to “–.” The number
in parentheses indicates the total number of angles.
1 8
(
3 4
)
1
(
9
)
1 2
(
2 7
)
C
0 1 : 3 2 : 5 5
DVD
Press , then .
ENTER
ANGLE
1 8
(
3 4
)
1
(
9
)
1 2
(
2 7
)
C
0 1 : 3 2 : 5 5
DVD
Press , then .
ENTER
ANGLE
Enter with number buttons, then .
ENTER
1 8
(
3 4
)
–
(
9
)
1 2
(
2 7
)
C
0 1 : 3 2 : 5 5
DVD
To select, press , then .
ENTER
1 8
(
3 4
)
5
(
9
)
1 2
(
2 7
)
C
0 1 : 3 2 : 5 5
DVD


