


28
US
Follow the steps below to make the minimum
number of basic adjustments for using the
system.
To skip an adjustment, press >. To return to
the previous adjustment, press ..
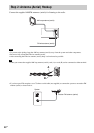
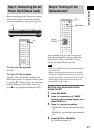
1 Turn on the TV.
2 Press [/1.
• Disconnect the headphone when you perform
the Quick Setup. You cannot operate steps after
8 with the headphone connected.
• Make sure that the function is set to “DVD.”
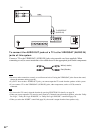
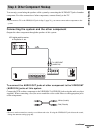
3 Switch the input selector on your TV so
that the signal from the system
appears on the TV screen.
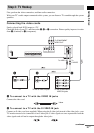
[Press [ENTER] to run QUICK SETUP.]
appears at the bottom of the screen. If this
message does not appear, display the Quick
Setup and perform again (page 29).
• When you press CLEAR in message, the
message disappears. When you need to perform
the Quick Setup, see “To recall the Quick Setup
display” (page 29).
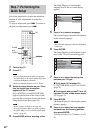
4 Press ENTER without inserting a disc.
The Setup Display for selecting the
language used in the on-screen display
appears.
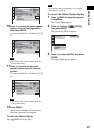
5 Press X/x to select a language.
The system displays the menu and subtitles
in the selected language.
• The selectable language is different depending
on the area.
6 Press ENTER.
The Setup Display for selecting the aspect
ratio of the TV to be connected appears.
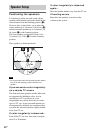
7 Press X/x to select the setting that
matches your TV type.
x If you have a 4:3 standard TV
[4:3 LETTER BOX] or [4:3 PAN SCAN]
(page 72)
x If you have a wide-screen TV or a 4:3
standard TV with a wide-screen mode
[16:9] (page 72)
8 Press ENTER.
The Setup Display for selecting the speaker
distance appears.
9 Press X/x to select the front speaker
distance from the listening position,
then press ENTER.
You can set from 1.0 to 7.0 meters (4 to 23
ft).
Step 7: Performing the
Quick Setup
Note
Note
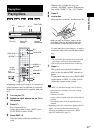
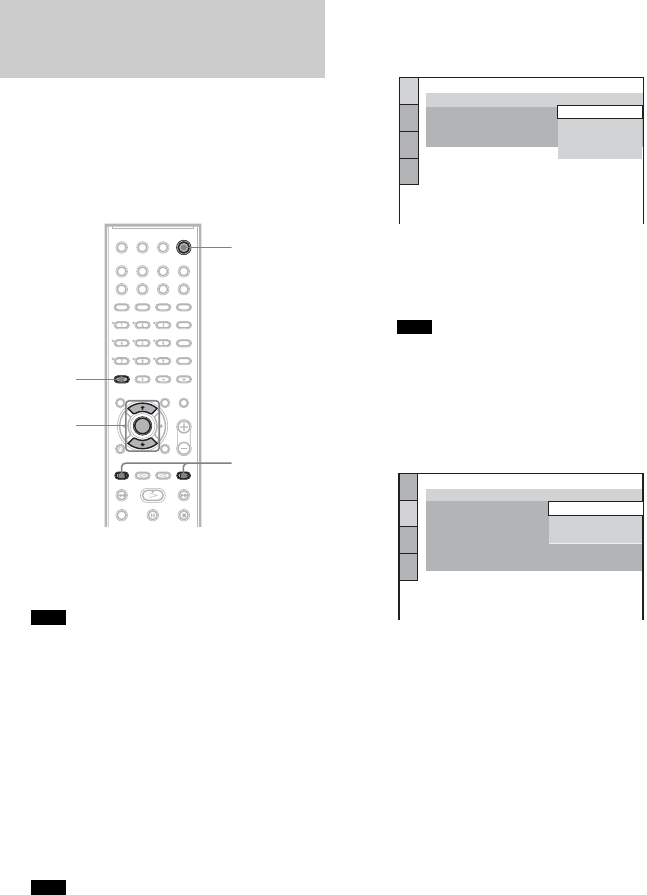
"/1
./>
X/x
ENTER
CLEAR
Note
LANGUAGE SETUP
OSD:
MENU:
AUDIO:
SUBTITLE:
PORTUGUESE
FRENCH
ENGLISH
ENGLISH
SPANISH
SCREEN SETUP
TV TYPE:
4:3 LETTER BOX
16:9
4:3 PAN SCAN
OFF
FULL
SCREEN SAVER:
BLACK LEVEL:
BACKGROUND:
BLACK LEVEL
(COMPONENT OUT)
:
4:3 OUTPUT:
4:3 LETTER BOX